Star Stitch Headband Free Pattern

Star Stitch Headband: Free Crochet Pattern
Do you love learning new stitches? Have you tried the Star Stitch yet?
Today I am combining one of my favourite stitches with one of my favourite things to make: The Star Stitch and a crochet headband!
Recently I have been having so much fun exploring all the different headband styles and trying out some new stitches and textures. Are you a headband fan?
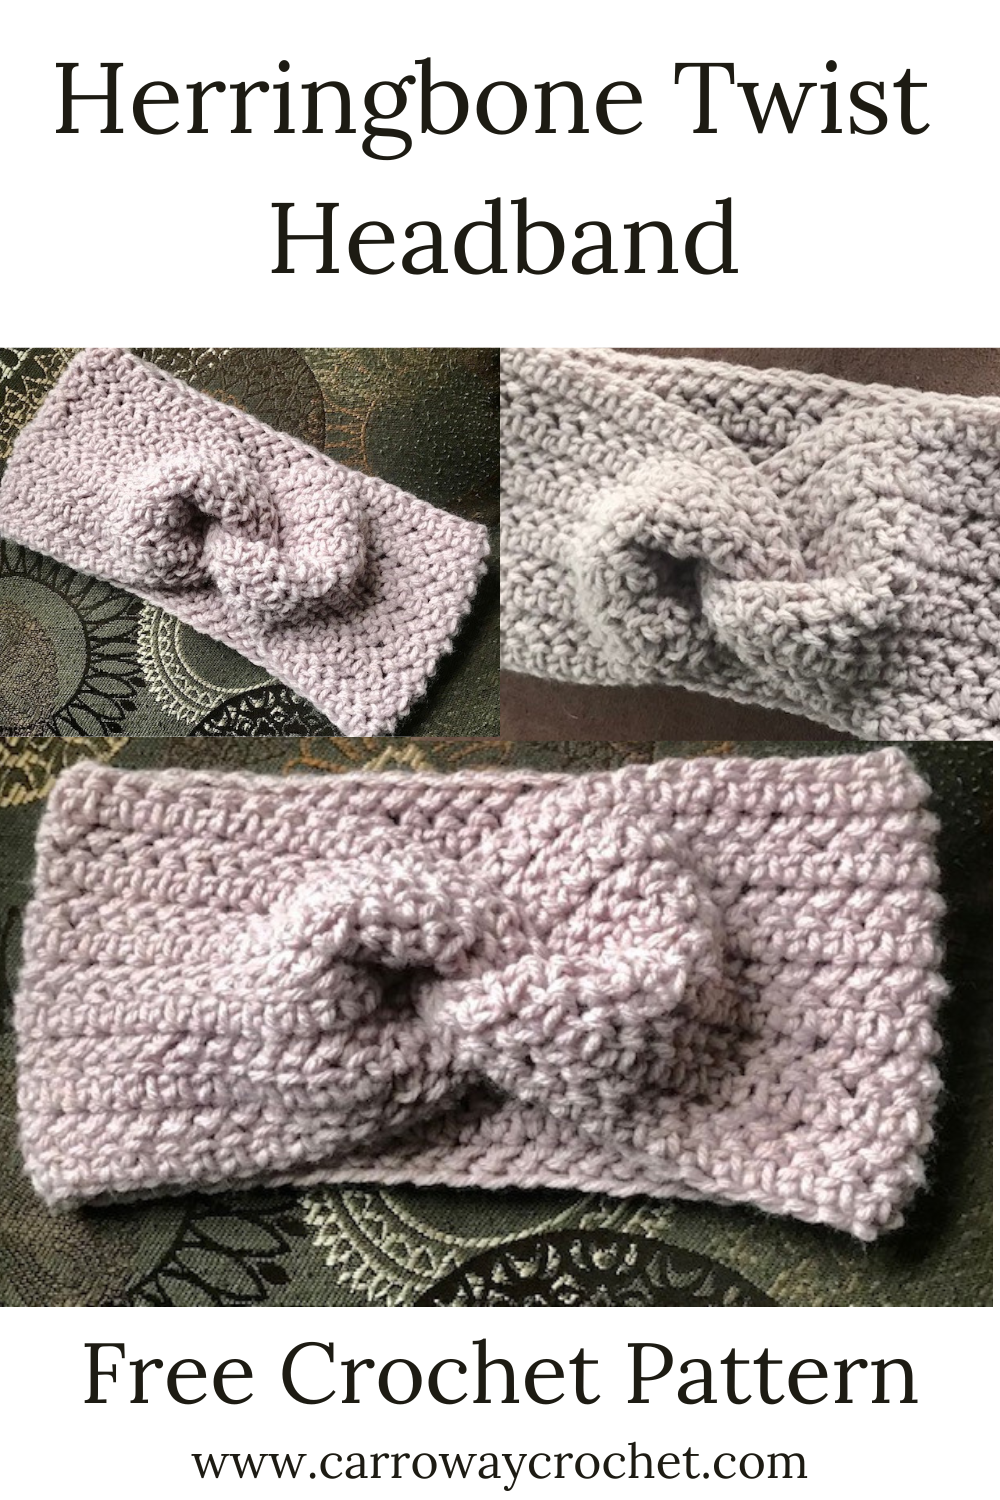
So far I have created the Simple Headband with a super bulky yarn for winter wear and the Herringbone Twist Headband as well as the Velvet Twist Headband from worsted weight yarn.
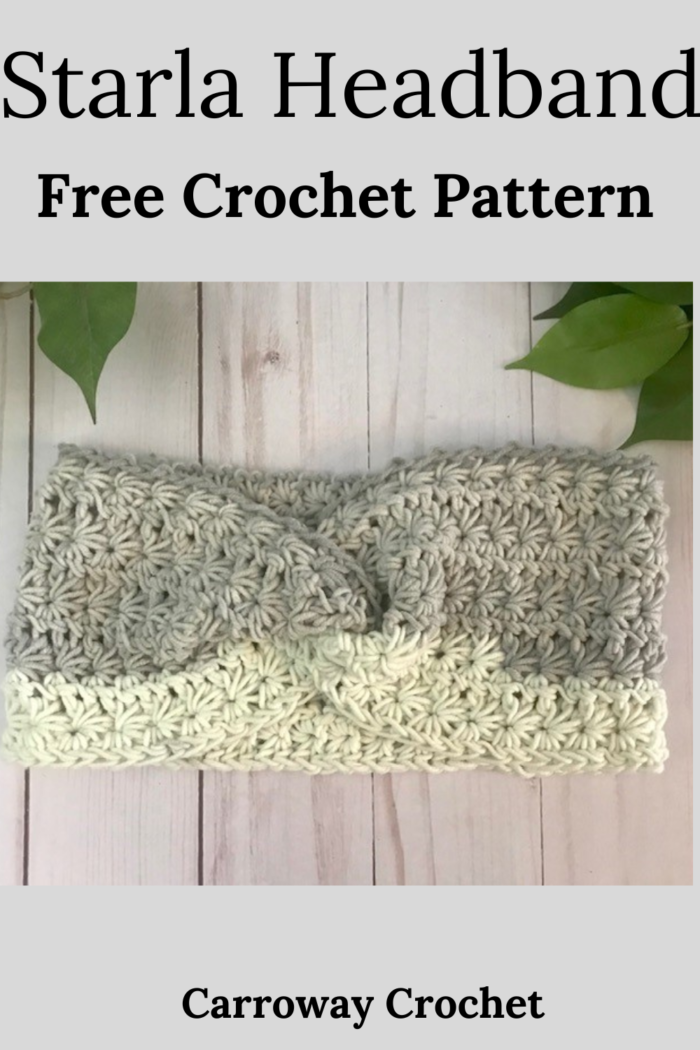
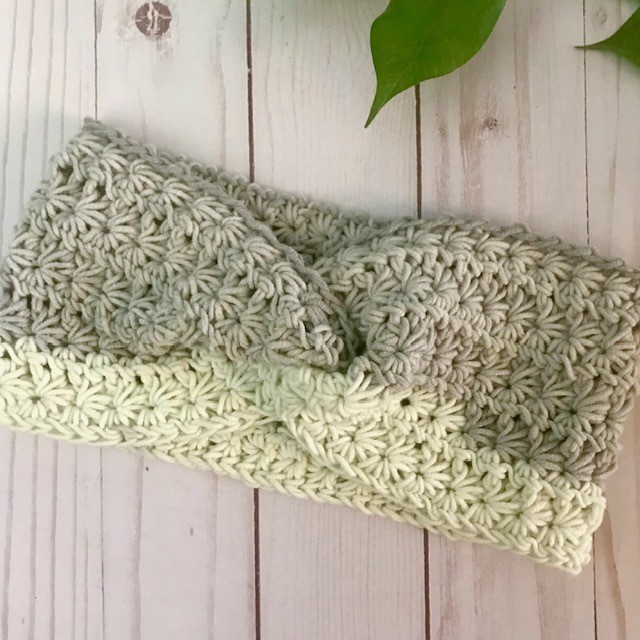
I am happy to introduce my latest headband, it is a Star Stitch Headband Free Pattern. I call it the Starla Headband and it features the Star Stitch.
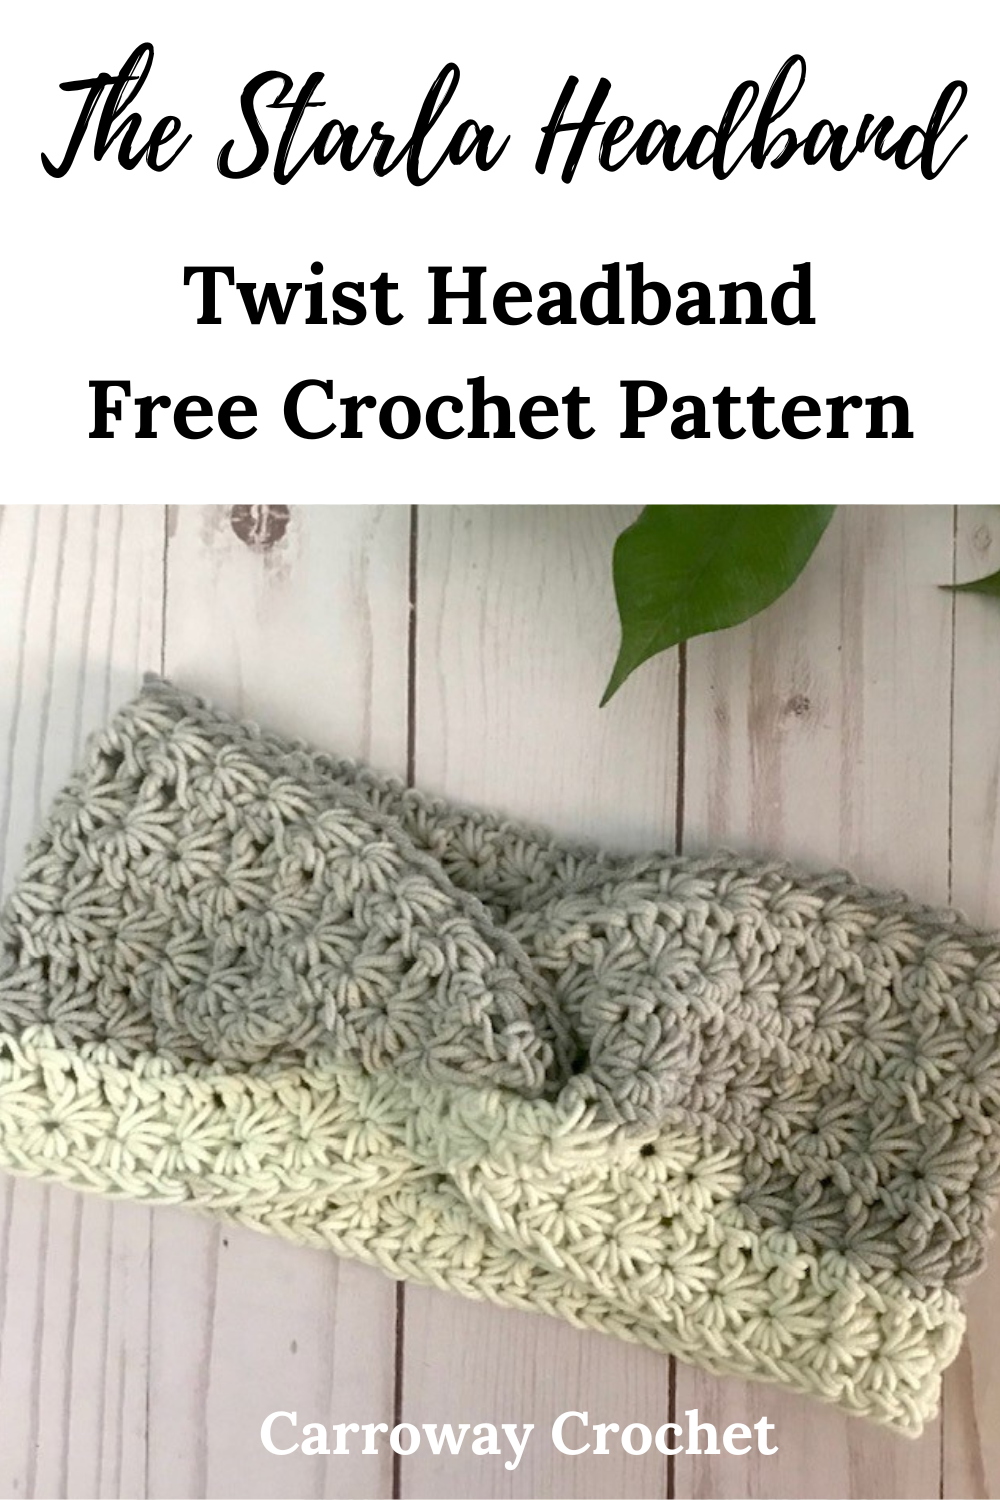
The Starla Headband is a modern style headband featuring the popular twisted design and it is so easy to make. Once you get how to make the twist I am sure you will try many more headbands in this style.
**This post contains affiliate links. If you make a purchase using some of my links I may receive a small commission at no extra cost to you.**
The Starla Headband is the perfect project for year round wear. I used some Caron Cotton Cakes yarn from my stash for mine.
It is also available as a pdf in my Ravelry Shop.

Sign up for my Newsletter
Get the latest info on free patterns and fun blog hops.
Join Me on Facebook.
Follow me on Facebook for lots of great crochet news and all the latest videos and free patterns coming from Carroway Crochet.
Get the latest updates on free patterns and new designs and also share your crochet projects with our Carroway Crochet Community on Facebook. You will also get the updates on new blog hops I host or new pattern releases.

Description of the Star Stitch Headband Free Pattern.
The Starla Headband is crocheted flat and then sewn together in a special way to create the magical twist. You start with quite a long chain as the star stitch is created in an unusual way. Once you have made your headband piece and fastened off you sew the ends together using the special twist technique. I have lots of pictures showing you how to do that.
Don’t Forget to Pin this so you can Find It Later. 
Looking for a Beginner Friendly Beanie?
Here are the video tutorials on how to make my Basic Chunky Beanie.
All About the Yarn for the Star Stitch Headband Free Pattern.
I chose Caron Cotton Cakes Yarn for this project in the colour Cracked Pepper. I think this colour might be discontinued. There are lots of pretty colours available in this yarn.
Caron Cotton Cakes Description.
Caron Cotton Cakes is a cotton blend yarn, 60% Cotton, 40% Acrylic.
It is a versatile yarn, ideal for various projects such as accessories, blankets and home decor. The solid and stripe shades in Caron Cotton Cakes coordinate perfectly for your Spring/Summer knit and crochet projects! This soft, versatile yarn with its unique cotton blend and larger ball size is ideal for creating accessories, light blankets and other home décor projects. Have fun mixing the solids and stripes with these trending shades!
Caron Cotton Cakes Self Striping Yarn is 530 yd/485 m long and weighs 8.8 oz/250 g
It is a Medium (4) worsted weight yarn.
You can however substitute any worsted weight (4) yarn you have available to make this headband.
Care Instructions:
Machine wash and dry, do not bleach, do not iron, do not dry clean.
Are you a Visual Learner? Here is a crochet tutorial showing you how to do the Star Stitch.
Here is the Right Handed Tutorial for the Star Stitch
Here is the Left Handed Tutorial for the Star Stitch
The Starla Headband
by Pam Carr ©2023
Introducing the Starla Headband.
This is an intermediate crochet pattern as the star stitch has a lot of steps. Hopefully the video above helps you understand the process of making the star stitch. Once you get it down it is easy to do.
This headband is made with a Worsted Weight (4) yarn, I used Caron Cotton Cakes yarn but you can substitute any Aran/worsted weight (4) yarn) . It comes in beautiful colours and is so easy to work with and makes up to a beautiful textured star stitch for this headband.
I am in love with this modern twisted design as it looks so stylish when it is finished. I have included pictures to show you how to fold the ends to create the twist in the headband. I chose to create a headband using the star stitch as it was a new crochet stitch for me. Using the star stitch in this pattern creates such a beautiful dense texture.
The Star Stitch Headband
Finished Sizes:
Child /Teen: 4.5” tall and 20” circumference.
Teen/Women’s Small: 4.5” tall and 21” circumference.
Women’s Large: 4.5” tall and 22” circumference.
Supplies you will need:
Yarn: Category (4) Worsted Weight Yarn. I used Caron Cotton Cakes but you can use any Aran/Worsted Weight yarn.
Hook: I/9 -5.50 mm
Notions: Yarn needle and scissors.
Gauge: 7 star stitch clusters x 8 rows = 4” x 4” square
Abbreviations (uses US conventions)
- Ch = chain
- st = stitch
- sc = single crochet
- hdc = half double crochet
Special stitch for this pattern.
The Star Stitch
Note: I have posted a video on how to make the Star stitch in the blog post above.
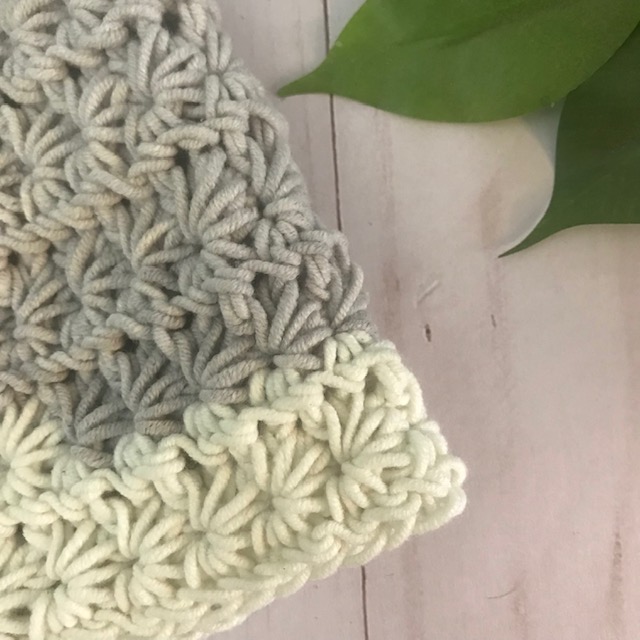
The crochet star stitch is a beautiful stitch and forms rows of starburst-like stitches, each worked with multiple loops. Each ‘star’ is made with a cluster of “spikes,” which you work between. After each row of stars or spikes, you work a row of half double crochet stitches.
This headband uses the common five-spike star stitch, but you can often use other variations of this stitch.
Note: As you pull the loops through try and keep all the loops the same tension. They need to be loose enough to pull the yarn through when you complete the star.
Chain 15 for your test swatch.
Row 1:
- Insert your hook into the second chain from the hook, yarn over and pull up a loop.
- This is the like you are starting to make a single crochet stitch, but instead of completing the entire stitch, leave the loop on the hook.
- You have 2 loops on your hook.
- Insert your hook into the next chain, yarn over and pull up a loop. There are now 3 loops on your hook.
- Repeat the step above until there are 6 loops on your hook.
- Yarn over and pull through all 6 loops
- Chain one. This finishes your first star. You will be able to see an ‘eye’ or hole in the center of the star. You will be working into this eye as we progress with the stitch pattern.
Making the second star.
- Insert your hook into the “eye” of the star you just completed. Yarn over and pull through. There are 2 loops on your hook
- Insert your hook into the space between the two last “spikes” from the first star. Yarn over and pull through. You have 3 loops on your hook.
- Insert your hook into the same chain that you worked the final stitch of the previous star into. Yarn over and pull through. You will have 4 loops on your hook.
- Insert your hook into the next chain, yarn over and pull through. You will have 5 loops on your hook.
- Insert your hook into the next chain, yarn over and pull through. You will have 6 loops on your hook.
- Yarn over and pull through all six loops on the hook.
Chain one to finish your second star.
Repeat the steps for the second star to make stars all the way across. Make 1 hdc in the final st. Turn work.
HDC for the Second Row
Row 2: Ch 2. This counts as the first hdc stitch of the row. Crochet 2 hdc stitches into the eye of the 1st star in the row below and make 2 hdc into the eye of each star across. Make 2 hdc into the final st. Turn work.
Row 3: Ch3.
- Insert your hook into the 2nd chain from the hook. Yarn over and pull through. You now have 2 loops on the hook.
- Insert your hook into the next chain, yarn over and pull through. You now have 3 loops on the hook.
- Insert your hook into the next stitch, yarn over and pull through. You now have 4 loops on your hook.
- Insert your hook into the next stitch, yarn over and pull through. You now have 5 loops on your hook.
- Insert your hook into the next stitch, yarn over and pull through. You now have 6 loops on your hook.
- Yarn over and pull through all six loops on the hook.
- Chain 1 to close the star.
This creates the eye of the first star of Row 3.
Continue to make the second and subsequent star.
- Insert your hook into the “eye” of the star you just completed. Yarn over and pull through. There are 2 loops on your hook.
- Insert your hook into the space between the two last “spikes” from the first star. Yarn over and pull through. You have 3 loops on your hook.
- Insert your hook into the same stitch that you worked the final stitch of the previous star into. Yarn over and pull through. You will have 4 loops on your hook.
- Insert your hook into the next stitch, yarn over and pull through. You will have 5 loops on your hook.
- Insert your hook into the next stitch, yarn over and pull through. You will have 6 loops on your hook.
- Yarn over and pull through all six loops on the hook.
- Chain one to finish your second star.
Repeat these steps for the second star to make stars all the way across to the end of the row. Make 1 hdc in the final st. Turn work.
Row 4: Repeat the hdc row as in Row 2.
Continue working Star Stitch alternating with hdc rows as described above.
Remember you are working star stitch rows on odd number rows and hdc stitches on even-numbered rows.
This pattern uses US terminology. The US and UK crochet terms are different, but they use the same terms to describe different stitches. Here is a simple conversion chart for anyone in the UK.
| US Single Crochet (sc)Half double crochet (hdc) |
UK Double crochet (dc)Half Treble (htr) |
Instructions for the Starla Headband
NOTE: This headband is created flat and you don’t count the turning chain as a stitch. You turn your work at the end of each round.
There are three sizes for this headband. The first number you see is for the smallest size. The numbers in the brackets are for the second and third sizes.
Loosely chain 79 (81, 83)
Row 1:
- Insert your hook into the second chain from the hook, yarn over and pull up a loop.
- This is the like you are starting to make a single crochet stitch, but instead of completing the entire stitch, leave the loop on the hook. You have 2 loops on your hook.
- Insert your hook into the next chain, yarn over and pull up a loop. There are now 3 loops on your hook.
- Repeat the Step above until there are 6 loops on your hook.
- Yarn over and pull through all 6 loops
- Chain one. This finishes your first star. You will be able to see an ‘eye’ or hole in the center of the star. You will be working into this eye as we progress with the stitch pattern.
Making the second star.
- Insert your hook into the “eye” of the star you just complete. Yarn over and pull through. There are 2 loops on your hook
- Insert your hook into the space between the two last “spikes” from the first star. Yarn over and pull through. You have 3 loops on your hook.
- Insert your hook into the same chain that you worked the final stitch of the previous star into. Yarn over and pull through. You will have 4 loops on your hook.
- Insert your hook into the next chain, yarn over and pull through. You will have 5 loops on your hook.
- Insert your hook into the next chain, yarn over and pull through. You will have 6 loops on your hook.
- Yarn over and pull through all six loops on the hook.
Chain one to finish your second star.
Repeat the steps for the second star to make stars all the way across. Make 1 hdc in the final st. Turn work. 37 (38, 39) stars
Row 2: Ch2, (this counts as the first hdc), make 2 hdc stitches into the eye of the 1st star in the row below, make 2 hdc into the eye of each star across. Make 2 hdc into the final st. Turn work. 76, (78, 80) hdc stitches.
Row 3: Ch3,
- Insert your hook into the 2nd chain from the hook. Yarn over and pull through. You now have 2 loops on the hook.
- Insert your hook into the next chain, yarn over and pull through. You now have 3 loops on the hook.
- Insert your hook into the next stitch, yarn over and pull through. You now have 4 loops on your hook.
- Insert your hook into the next stitch, yarn over and pull through. You now have 5 loops on your hook.
- Insert your hook into the next stitch, yarn over and pull through. You now have 6 loops on your hook.
- Yarn over and pull through all six loops on the hook.
Chain 1 to close the star.
This creates the eye of the first star of Row 3.
Continue to make the second and subsequent stars.
- Insert your hook into the “eye” of the star you just completed. Yarn over and pull through. There are 2 loops on your hook.
- Insert your hook into the space between the two last “spikes” from the first star. Yarn over and pull through. You have 3 loops on your hook.
- Insert your hook into the same stitch that you worked the final stitch of the previous star into. Yarn over and pull through. You will have 4 loops on your hook.
- Insert your hook into the next stitch, yarn over and pull through. You will have 5 loops on your hook.
- Insert your hook into the next stitch, yarn over and pull through. You will have 6 loops on your hook.
- Yarn over and pull through all six loops on the hook.
- Chain one to finish your second star.
Repeat these steps for the second star to make stars all the way across to the end of the row. Make 1 hdc in the final st. Turn work. 37 (38, 39) stars.
Row 4: Ch2, (this counts as the first hdc), make 2 hdc stitches into the eye of the 1st star in the row below, make 2 hdc into the eye of each star across. Make 2 hdc into the final st. Turn work. 76, (78, 80) hdc stitches.
Row 5: Repeat row 3.
Row 6: Repeat row 4.
Row 7: Repeat row 3.
Row 8: Repeat row 4.
Row 9: Repeat Row 3.
Row 10: Repeat row 4.
Leave a long tail when you fasten off. Use this to sew the ends together to form the twist.
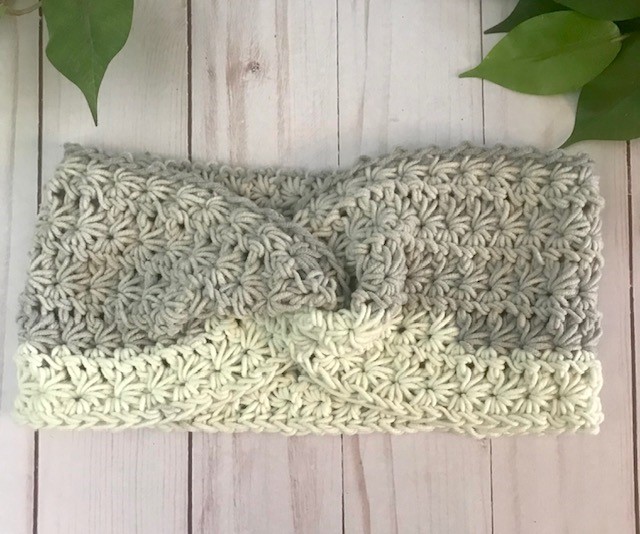
Making the Twist.
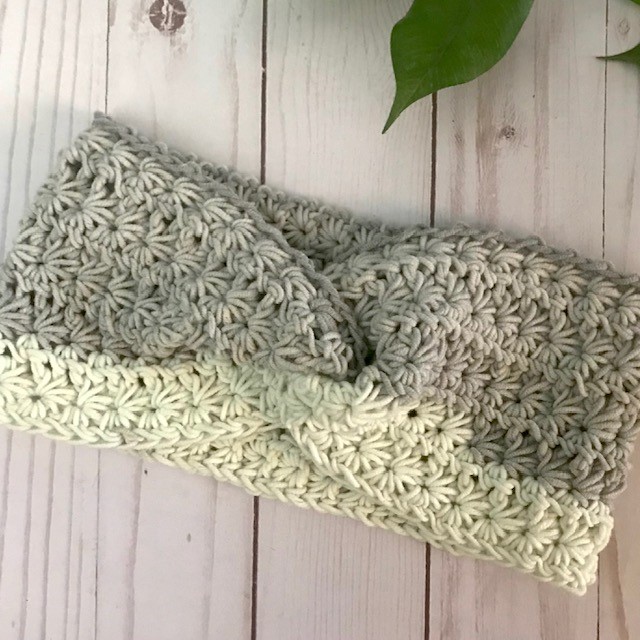
Note: This is what the star stitch looks like when you have finished the headband ready for creating the twist. You can clearly see the star stitch texture. This is the right side of the headband and will be the outside of the headband when completed.
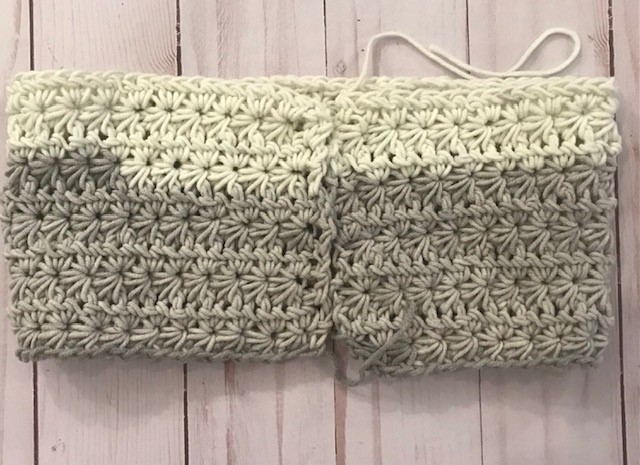
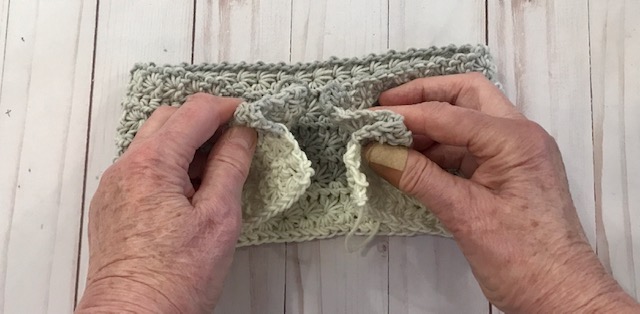
Open this up and turn it so the right side is facing up before you make the twist.
Make sure the headband is laid flat and the right side is facing up.
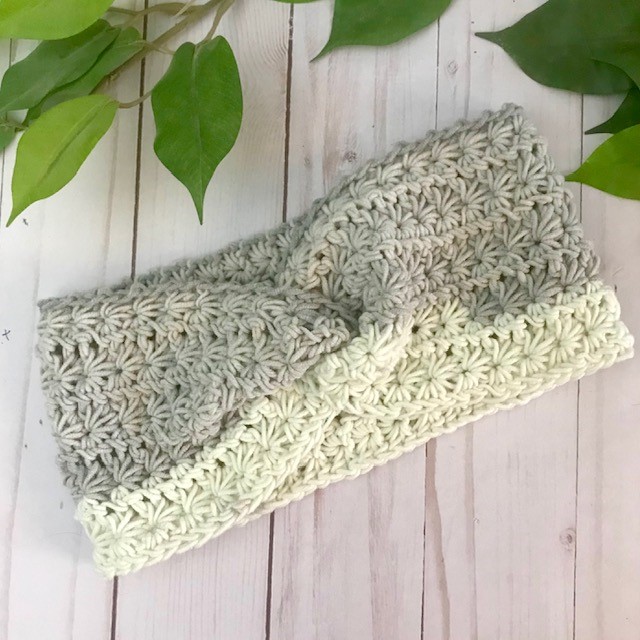
Fold the outer edges into the middle. This is what is will look like. The star stitches are all inside.
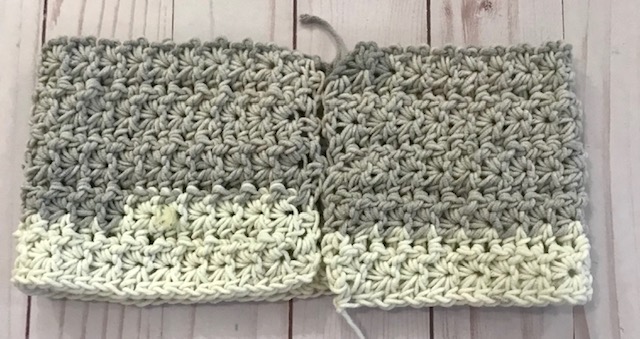
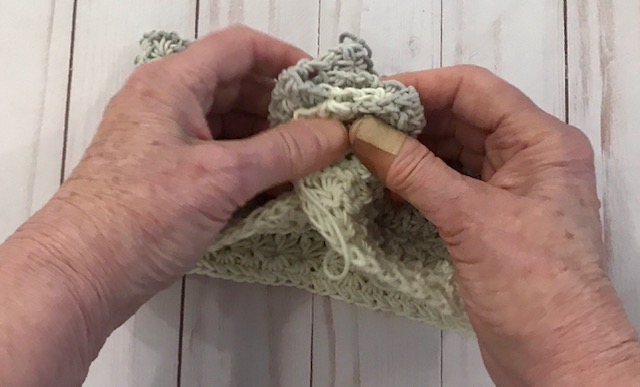
Now pinch the ends together.
This is how they will look before you begin to sew them together.
Using the long yarn tail you left when you finished off, and your yarn needle, sew through all the ends of the folded ends of the headband.
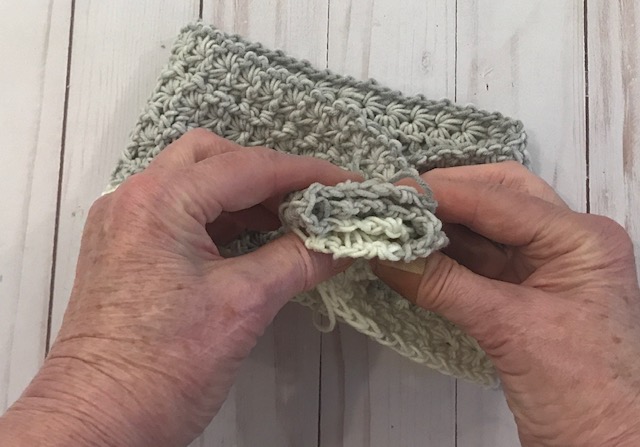
Fasten off and weave in the ends. Turn the headband right side out.
You now have a Starla Headband. I hope you enjoyed this Star Stitch Headband Free Pattern
I am happy to answer any questions you may have, Email me at carrowaycrocht@outlook.com
April Fools Freebie 2026
This year is my fifth year of posting the Aprils Fool Freebie crochet event.
This year I am doing things a little bit differently. There will be some foolish fun for you.
Each pattern will be randomly shared. I will be sending out an email announcing whenever a new free pattern is being shared.
There will be no rhyme or reason as to when they will be announced, so it will be a bit of April Free Pattern Fun.
Freebie # 8 is available on April 22nd and 23rd.
Go claim your free pdf by clicking on the pic below and enter your coupon code APRILFREEBIE26 at the check out.


OTHER FREE CROCHET PATTERNS YOU MIGHT LOVE!
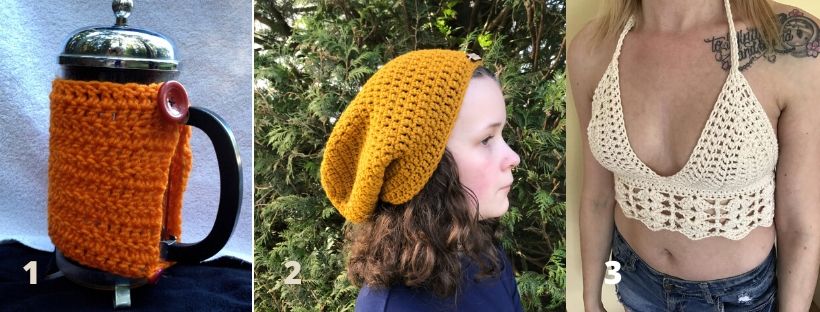
1. French Press Cozy
2. The Dreamer Beanie
3. The Ivory Lace Bralette
More Places to Find Crochet Free Patterns:
If you love crochet, you can find over a thousand free crochet patterns including some for crop tops and bralettes over at All Free Crochet
I am honoured to have my free crochet bralette pattern, the Earth Mother Bralette Pattern added to the All Free Crochet site.

It is a great resource for crochet lovers and I am proud to also have my Bella B Shorts posted over on the All Free Crochet Site.
Selling items made from my patterns?
You are more than welcome to se items made from my pattern. Please do share my link and tag and help promote it on social media. Thank you.
On row 2, I am getting 81 stitches on the Adult size. If you start out with one HDC and the 2 HDC in each stitch across, then I get 81stitches, not 80.
Thanks for letting me know. I will check it out and let you know. I could be a typo. It will not affect your headband. You will be working into the eyes when doing the hdc. The star rows alway begin with the ch3.
Thanks so much for the pattern! Love this design also and turned out really nice using a soft variegated baby yarn. I used the same hook size and the women’s large adult pattern! Might have been able to see the “eyes” better on the hdc rows of I had used a thicker solid color yarn, but still turned out nice and will be soft on my ears! 😊
Blessings!
Hi Regina. That is wonderful. I am so glad it turned out nicely for you. Thank you for letting me know.