
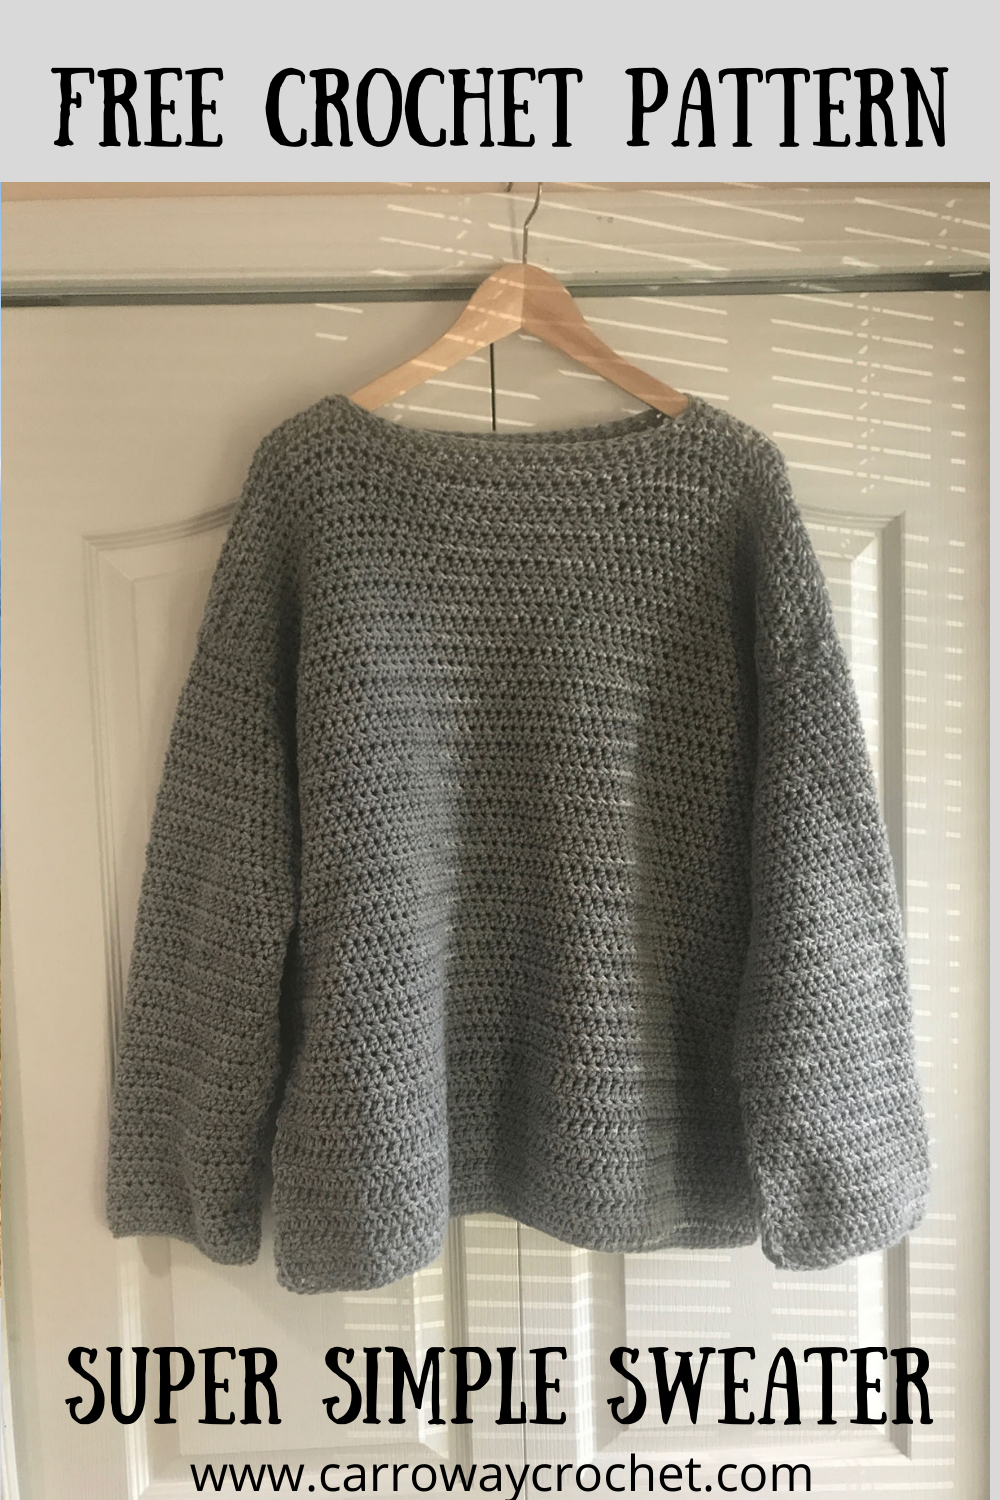
Super Simple Sweater: Free Pattern

Have you been waiting to get started on your first every sweater project, but are nervous to take on such a big project. The Super Simple Sweater could be the pattern you have been waiting for. I designed it with new makers in mind, keeping it really simple for you.
I am so excited to bring you the Super Simple Sweater Pattern.
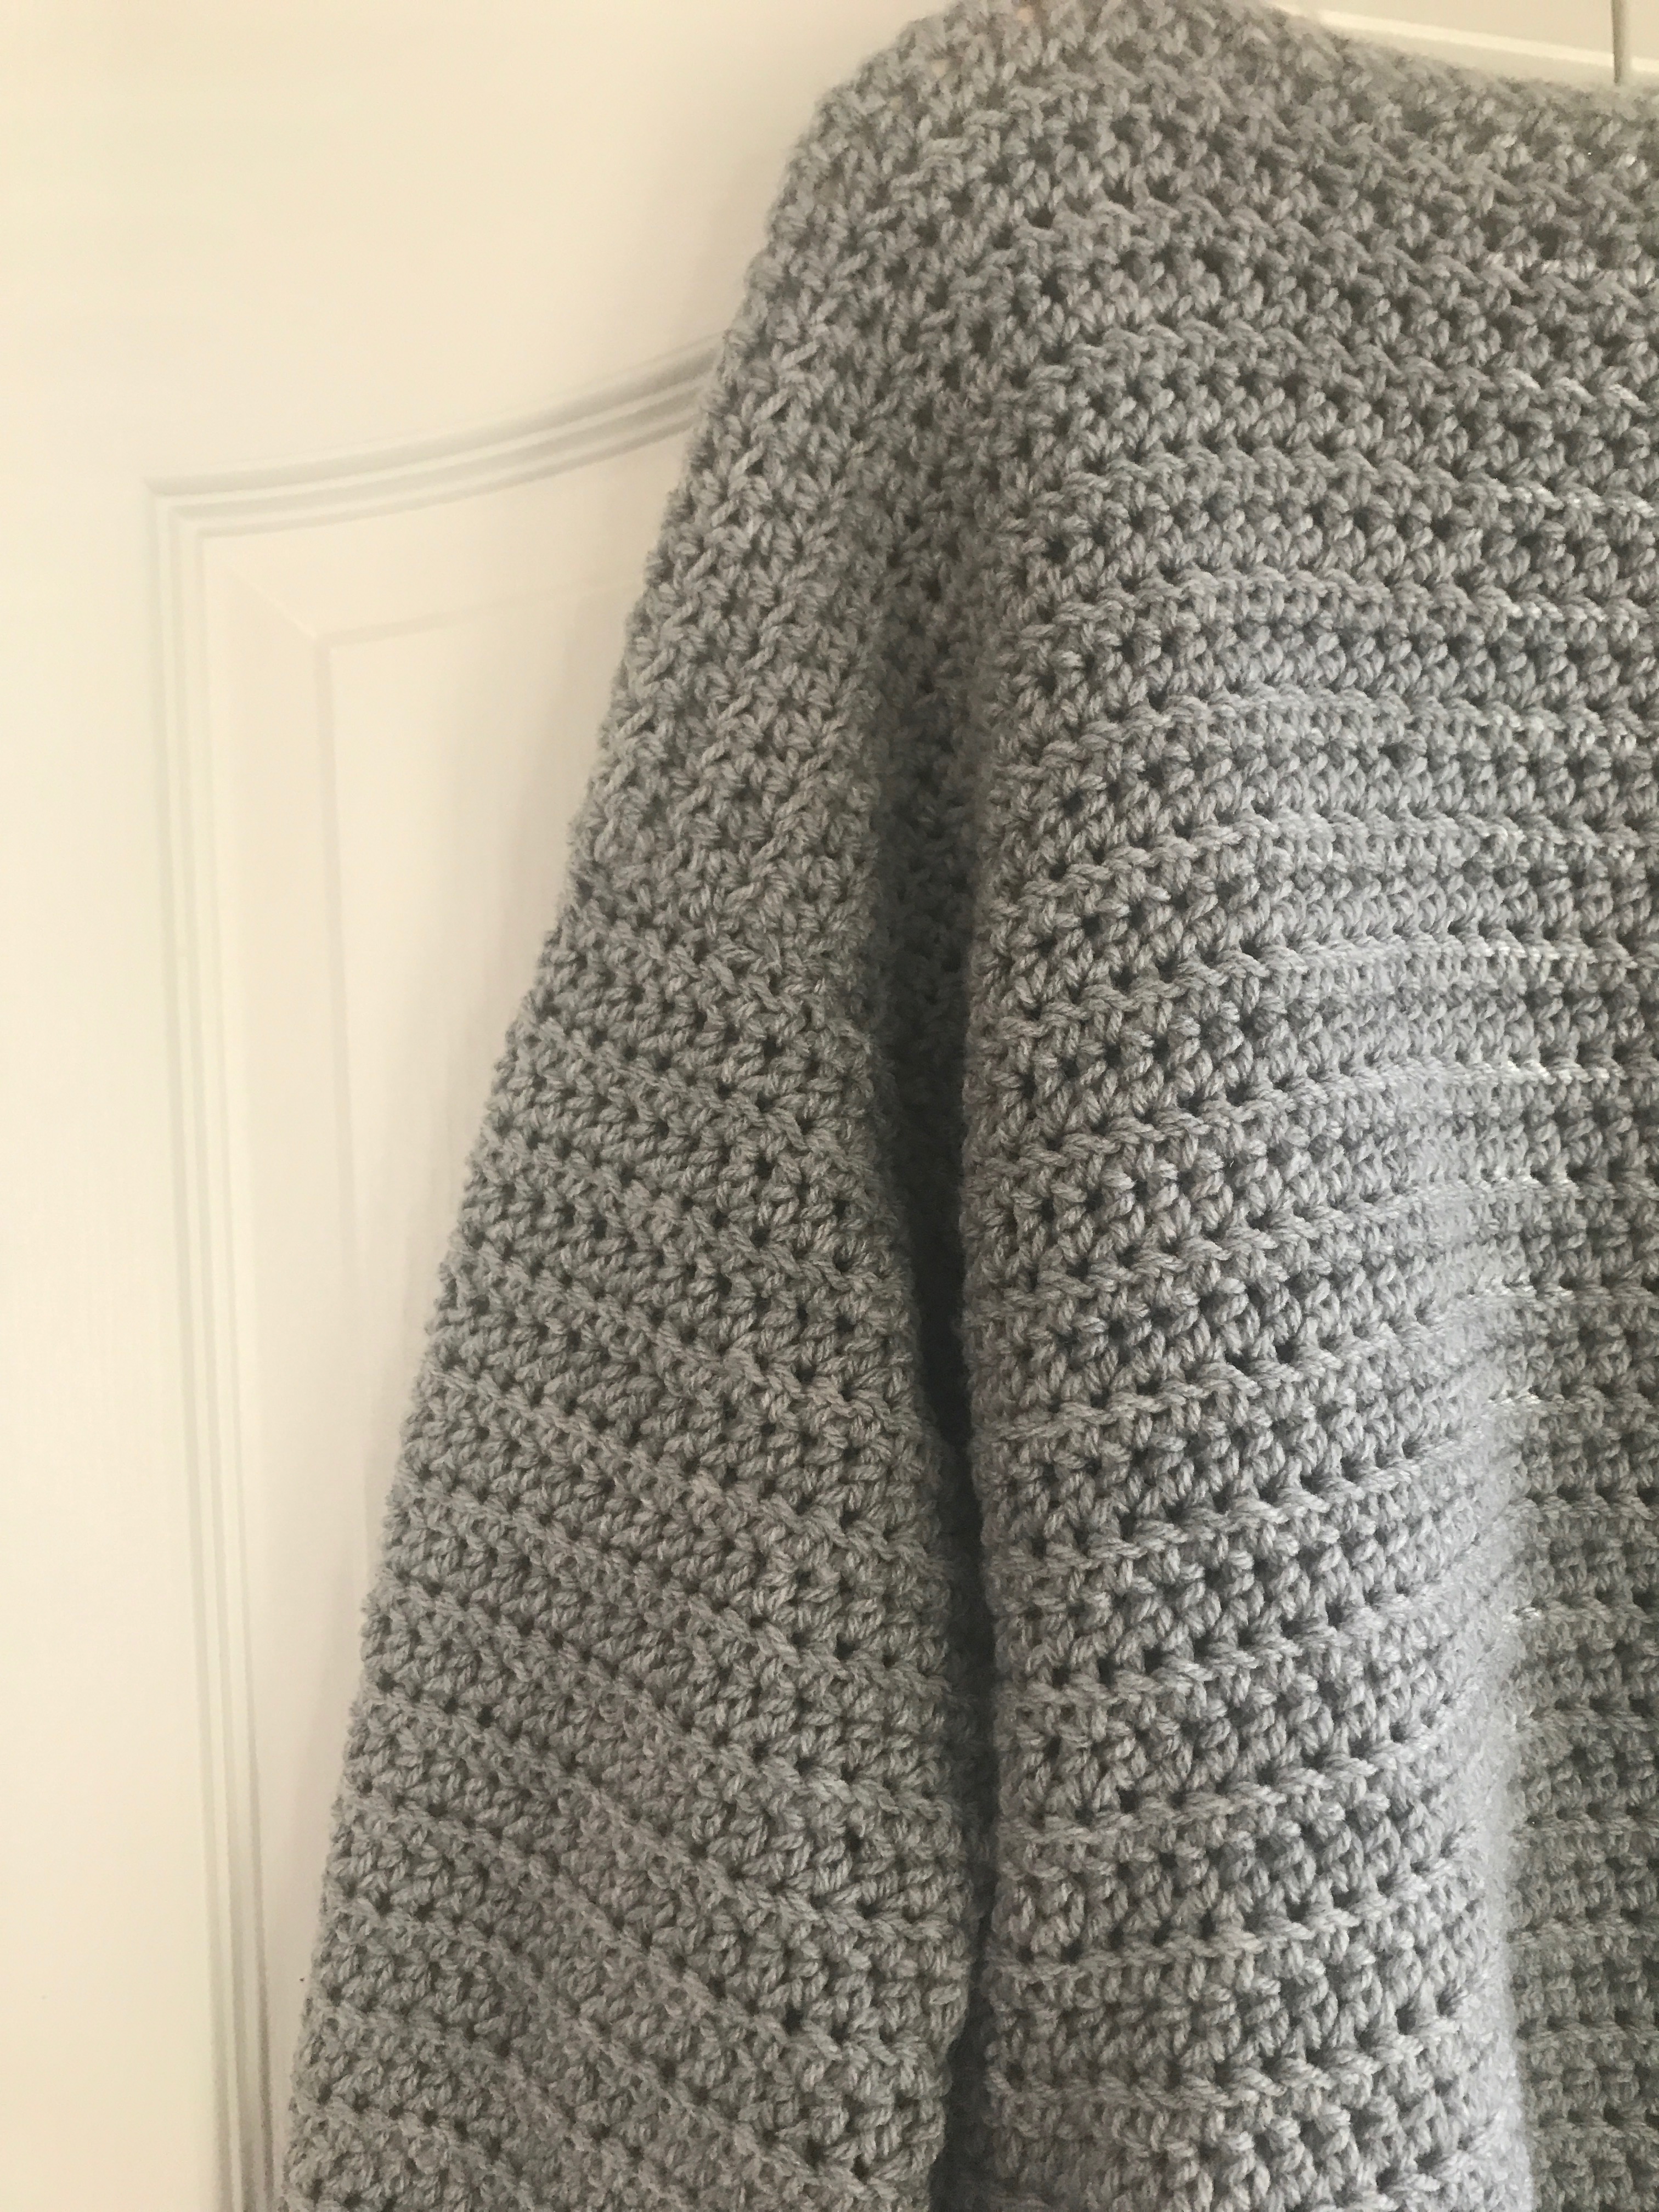
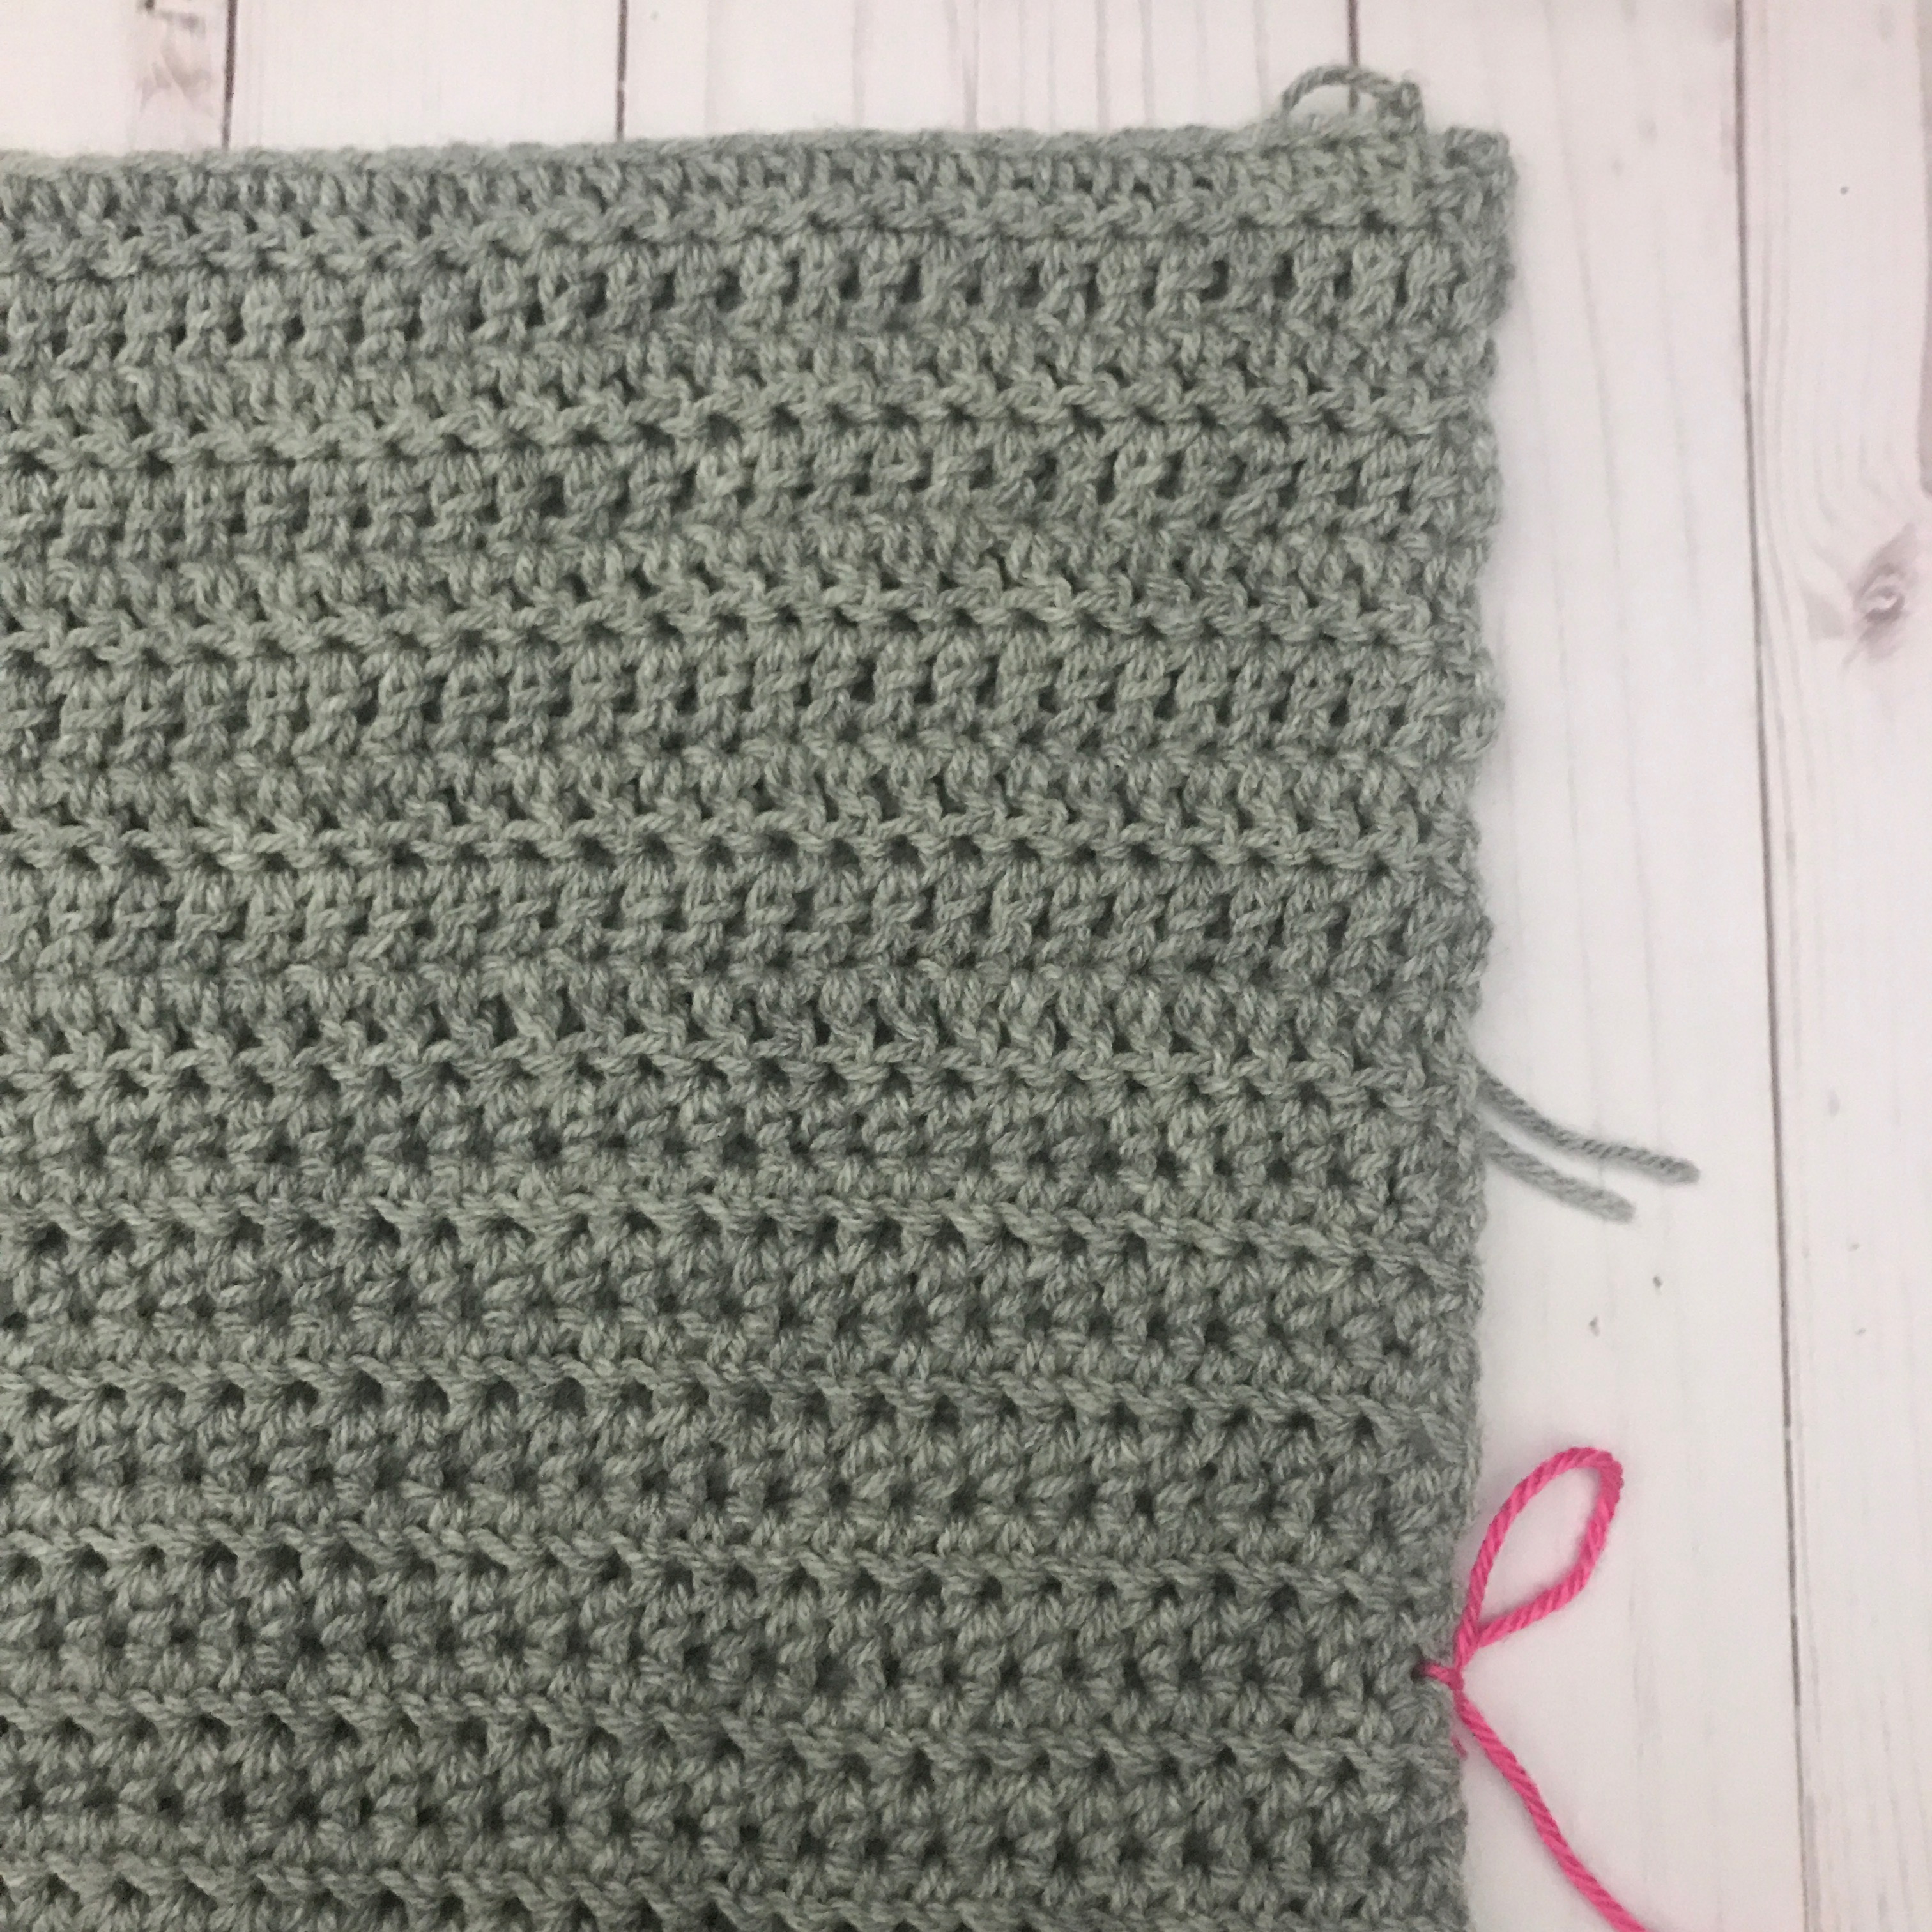
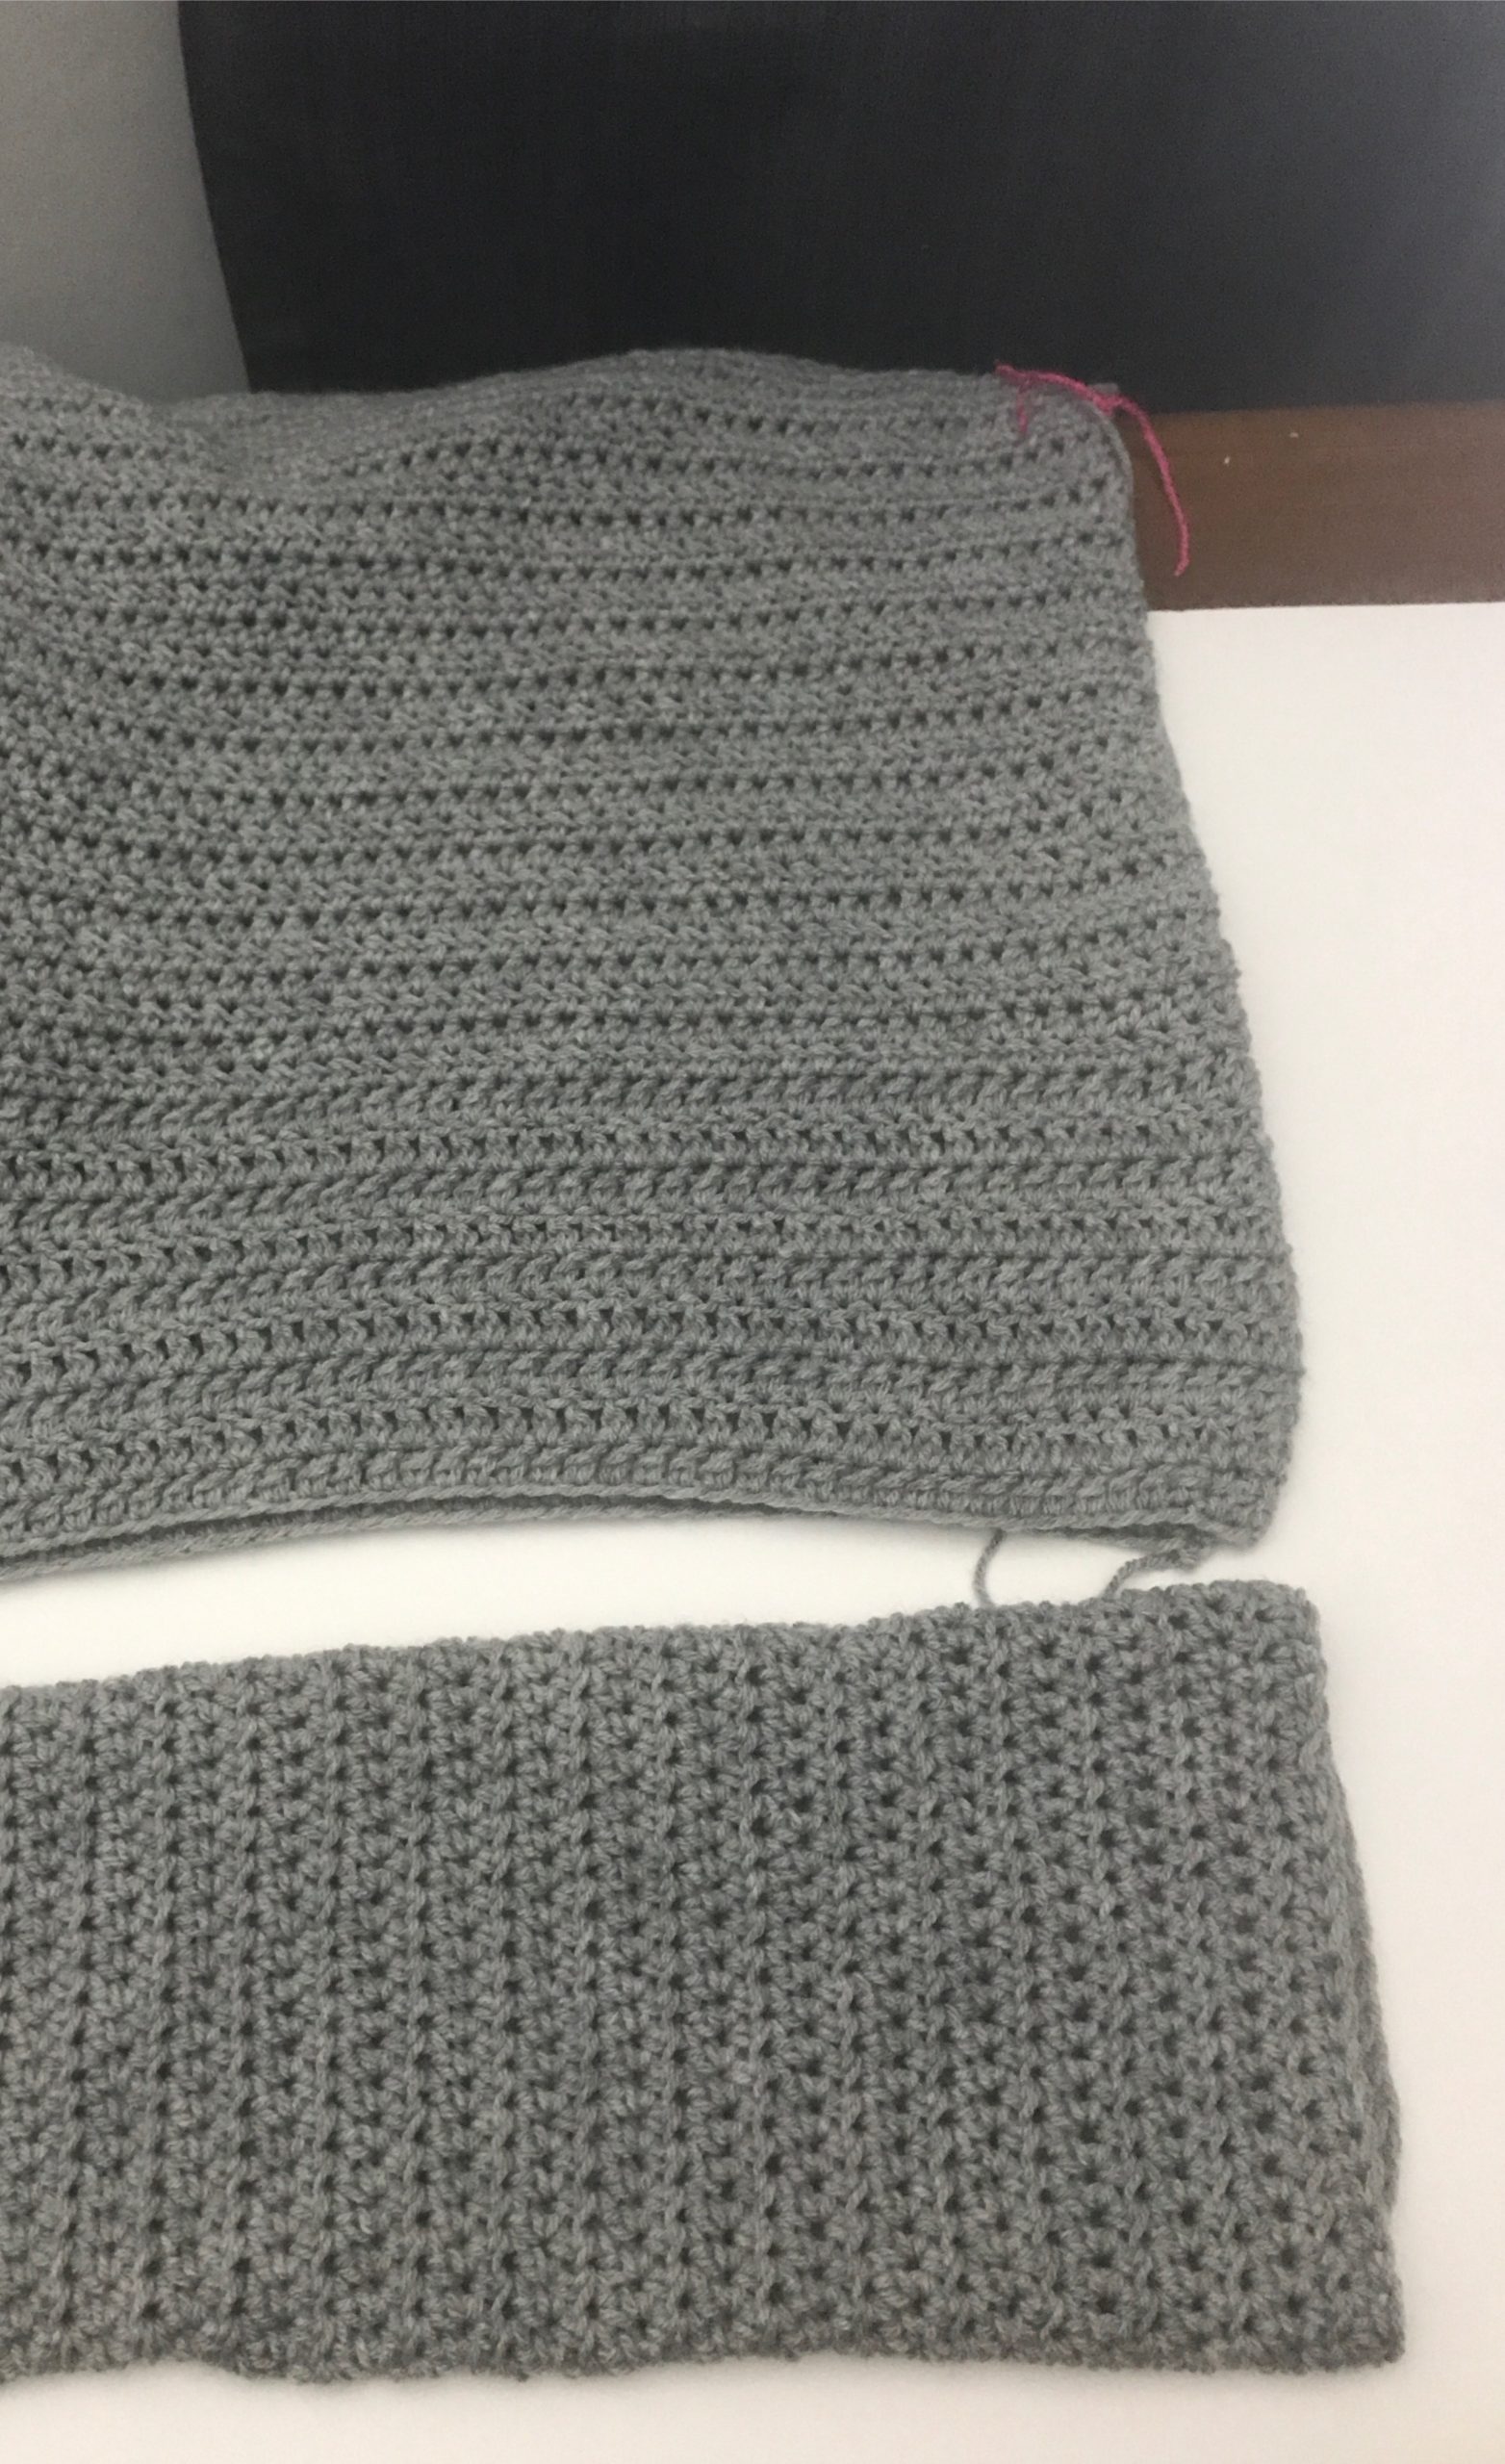
The Super Simple Sweater Pattern is beginner friendly as it uses only the half double crochet stitch for most of the project. I added nine rows of double crochet at the bottom of the front and back to accentuate where the vents are, but you could always just do half double crochet stitches there instead.
Once you have made your Super Simple Sweater you will be so comfy wearing it around the house and out and about.
**This post contains affiliate links. If you make a purchase using some of my links I may receive a small commission at no extra cost to you.**

Have You Seen My Newsletter.
Please consider signing up for my newletter and joining me over on facebook so you are always in the loop for what is happening with Carroway Crochet.
Sign up for my Newsletter
Get the latest info on free patterns and fun blog hops.
Join Me on Facebook.
Follow me on my Facebook Page for the latest video news and what I am up to.
I HAVE A FACEBOOK GROUP TOO
Get the latest updates on my latest free and new patterns and share your crochet projects with our Carroway Crochet Community on Facebook. You will also get the updates on new blog hops I host or new pattern releases.

About the Super Simple Sweater Pattern.
I am so happy to share this classic sweater pattern with you as I feel it is the perfect starter project to begin building your crochet wardrobe. Once you discover how easy it is to make a sweater, then you will be confident to move on to more garment patterns.
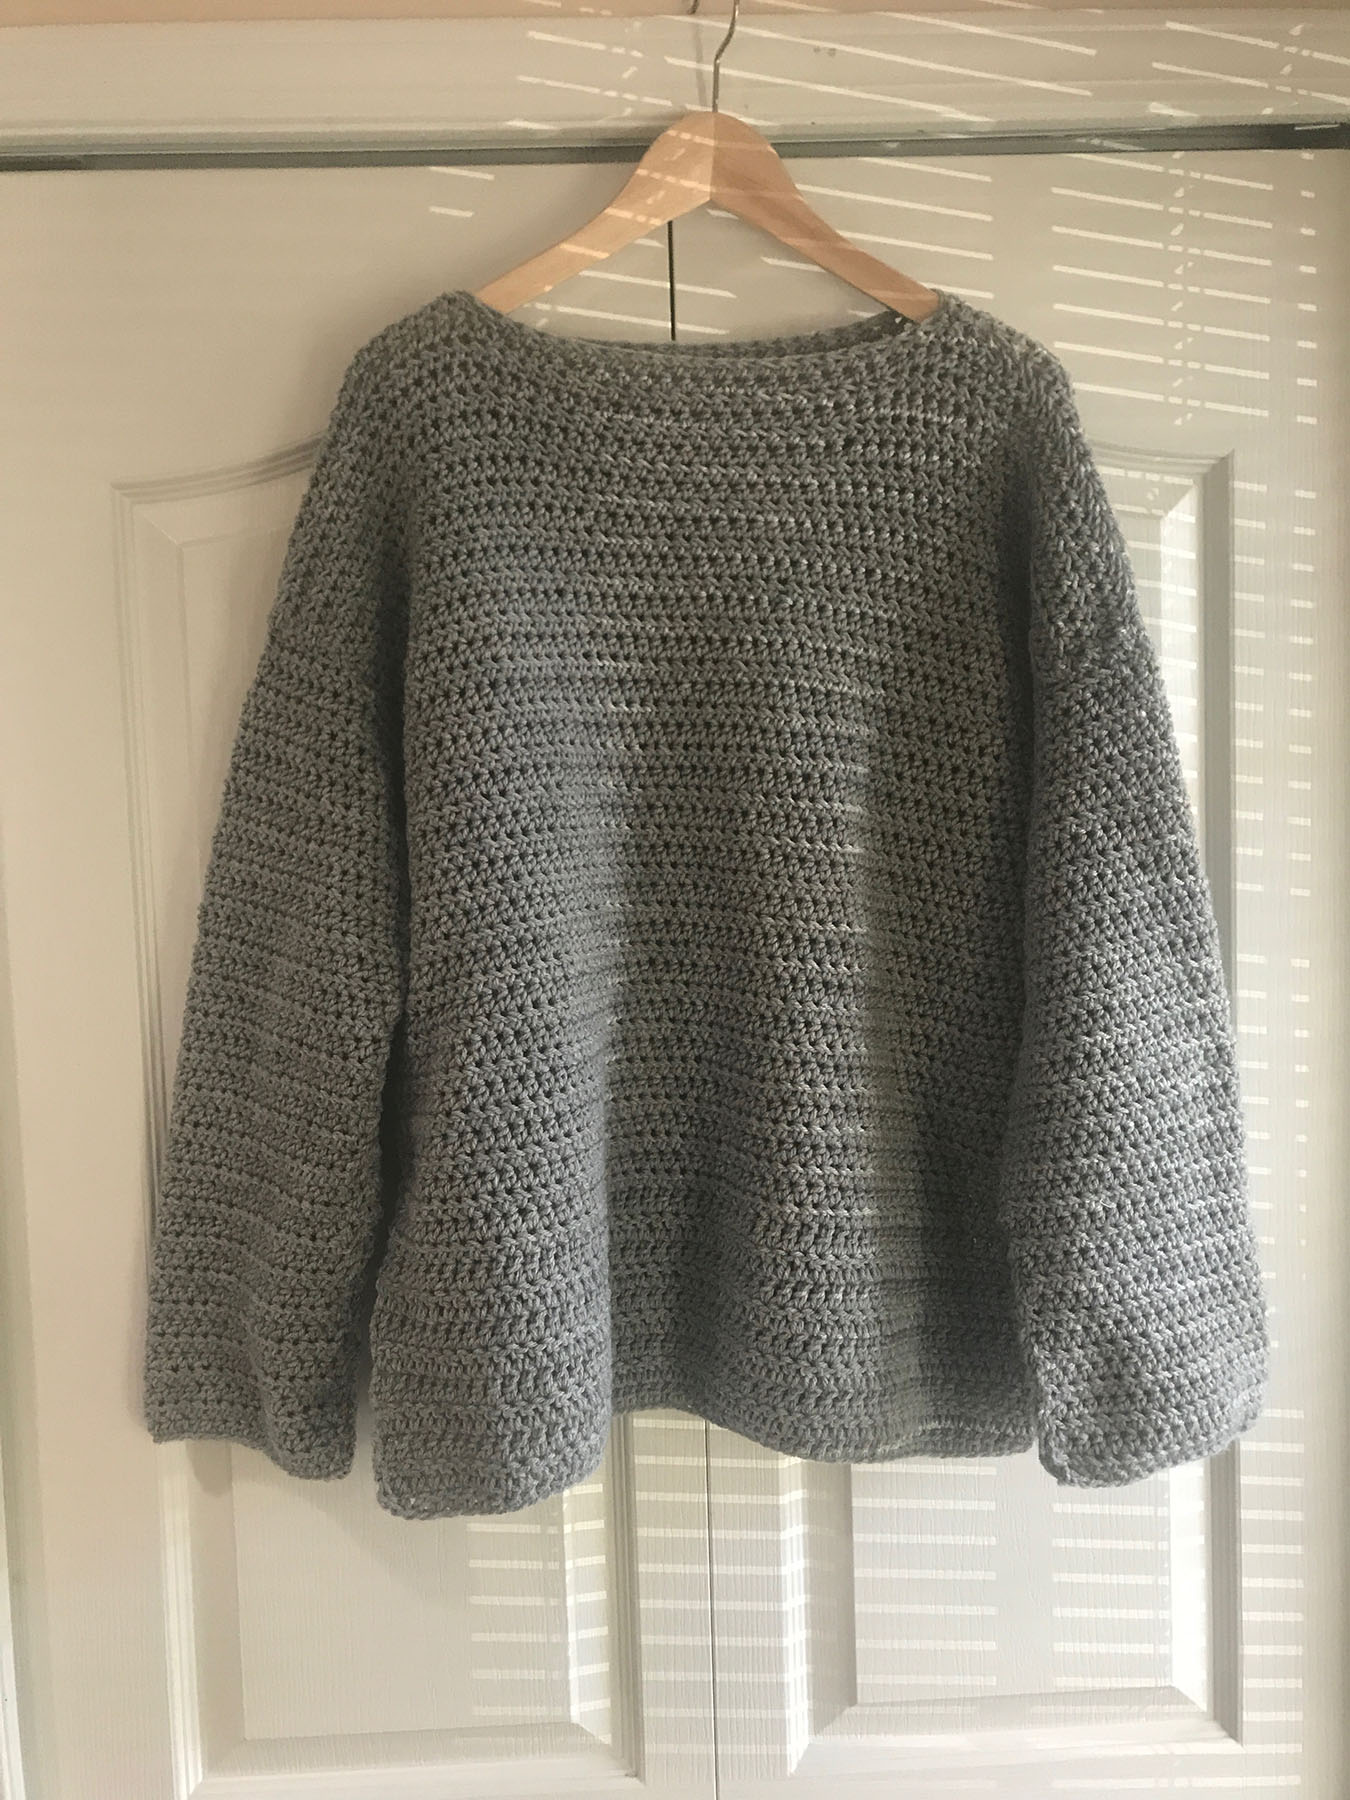
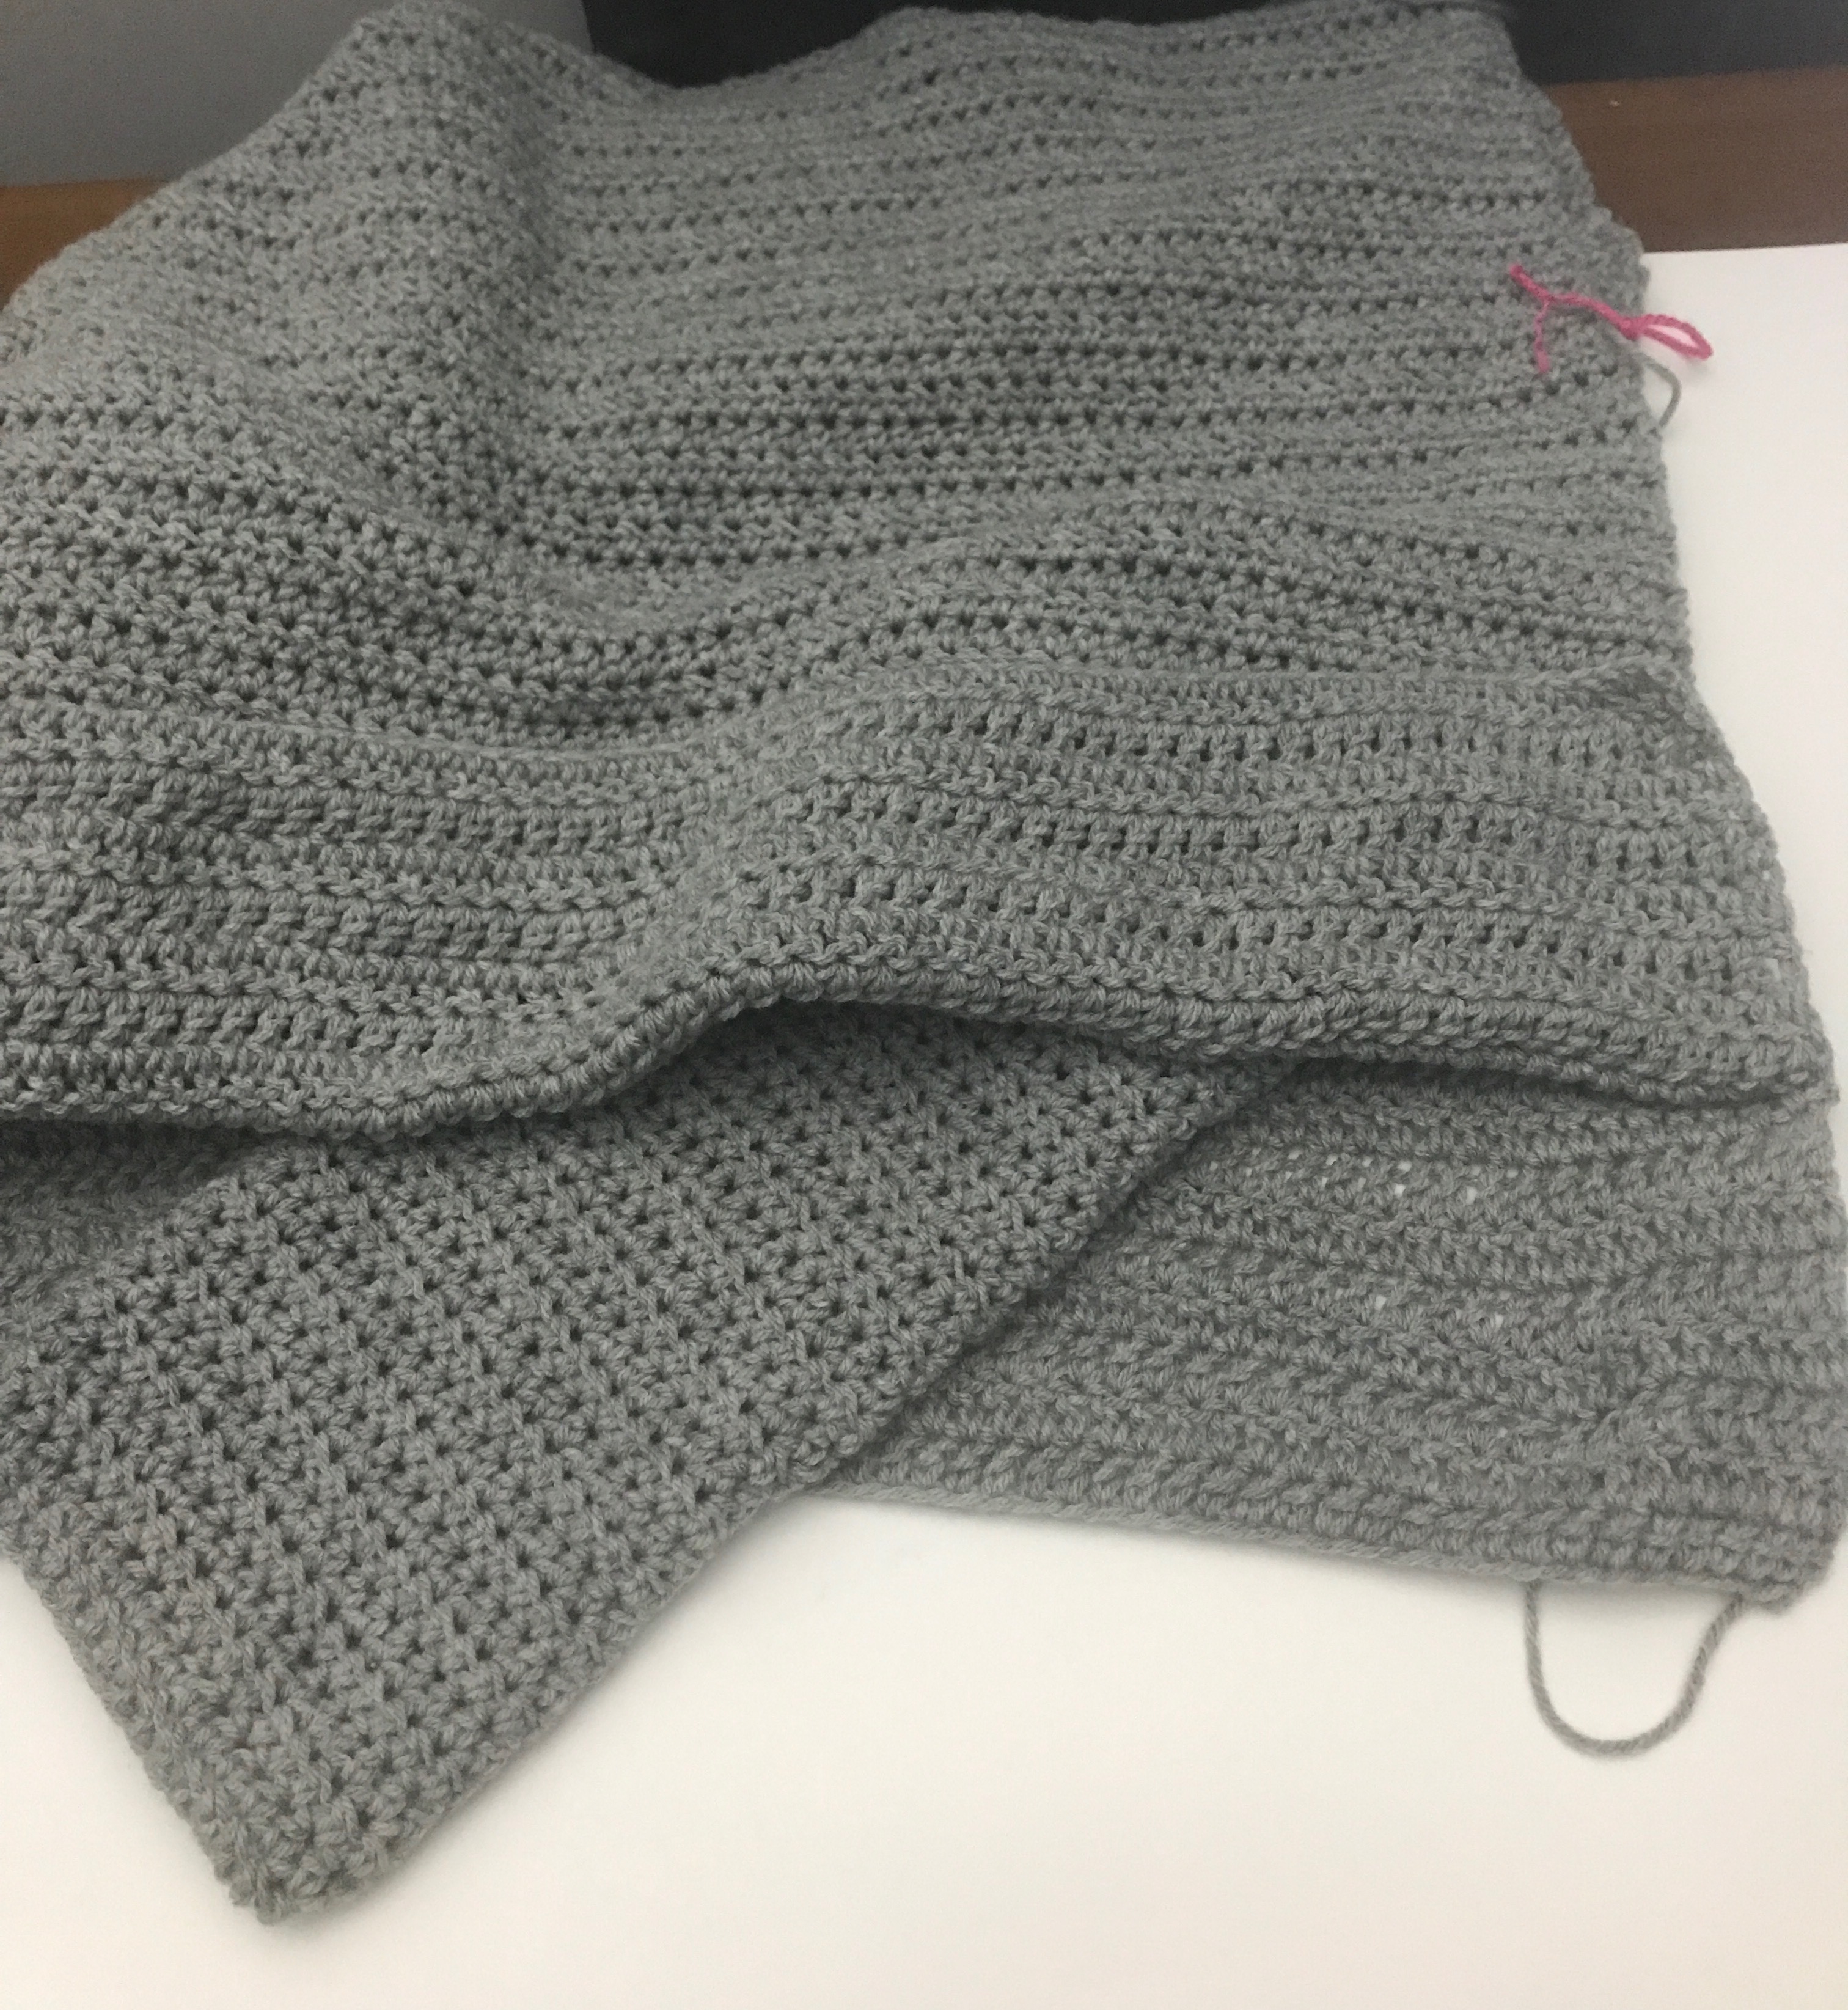
The Super Simple Sweater is made with two rectangles for the body. The sleeves are simple with just two increase rows and the increases are easily explained in the pattern. The style of the sweater is a drop shoulder, which is a very popular style right now.
Don’t Forget to Pin This For Later.

Are You A Visual Learner
Here is my Video Tutorial on How to Crochet a Super Simple Sweater.
Here is the Left Handed Version of the Super Simple Sweater Tutorial.
The Super Simple Sweater Pattern Comes in All The Sizes.
The other great thing about the Super Simple Sweater pattern is it comes in so many sizes, XS, S, Med, Large, XL, 2X, 3X, 4X and 5X. So no one is left out.
There are also tips on how you can make it as long or as short as you want.
Let me tell you what I love about the Super Simple Sweater Pattern.
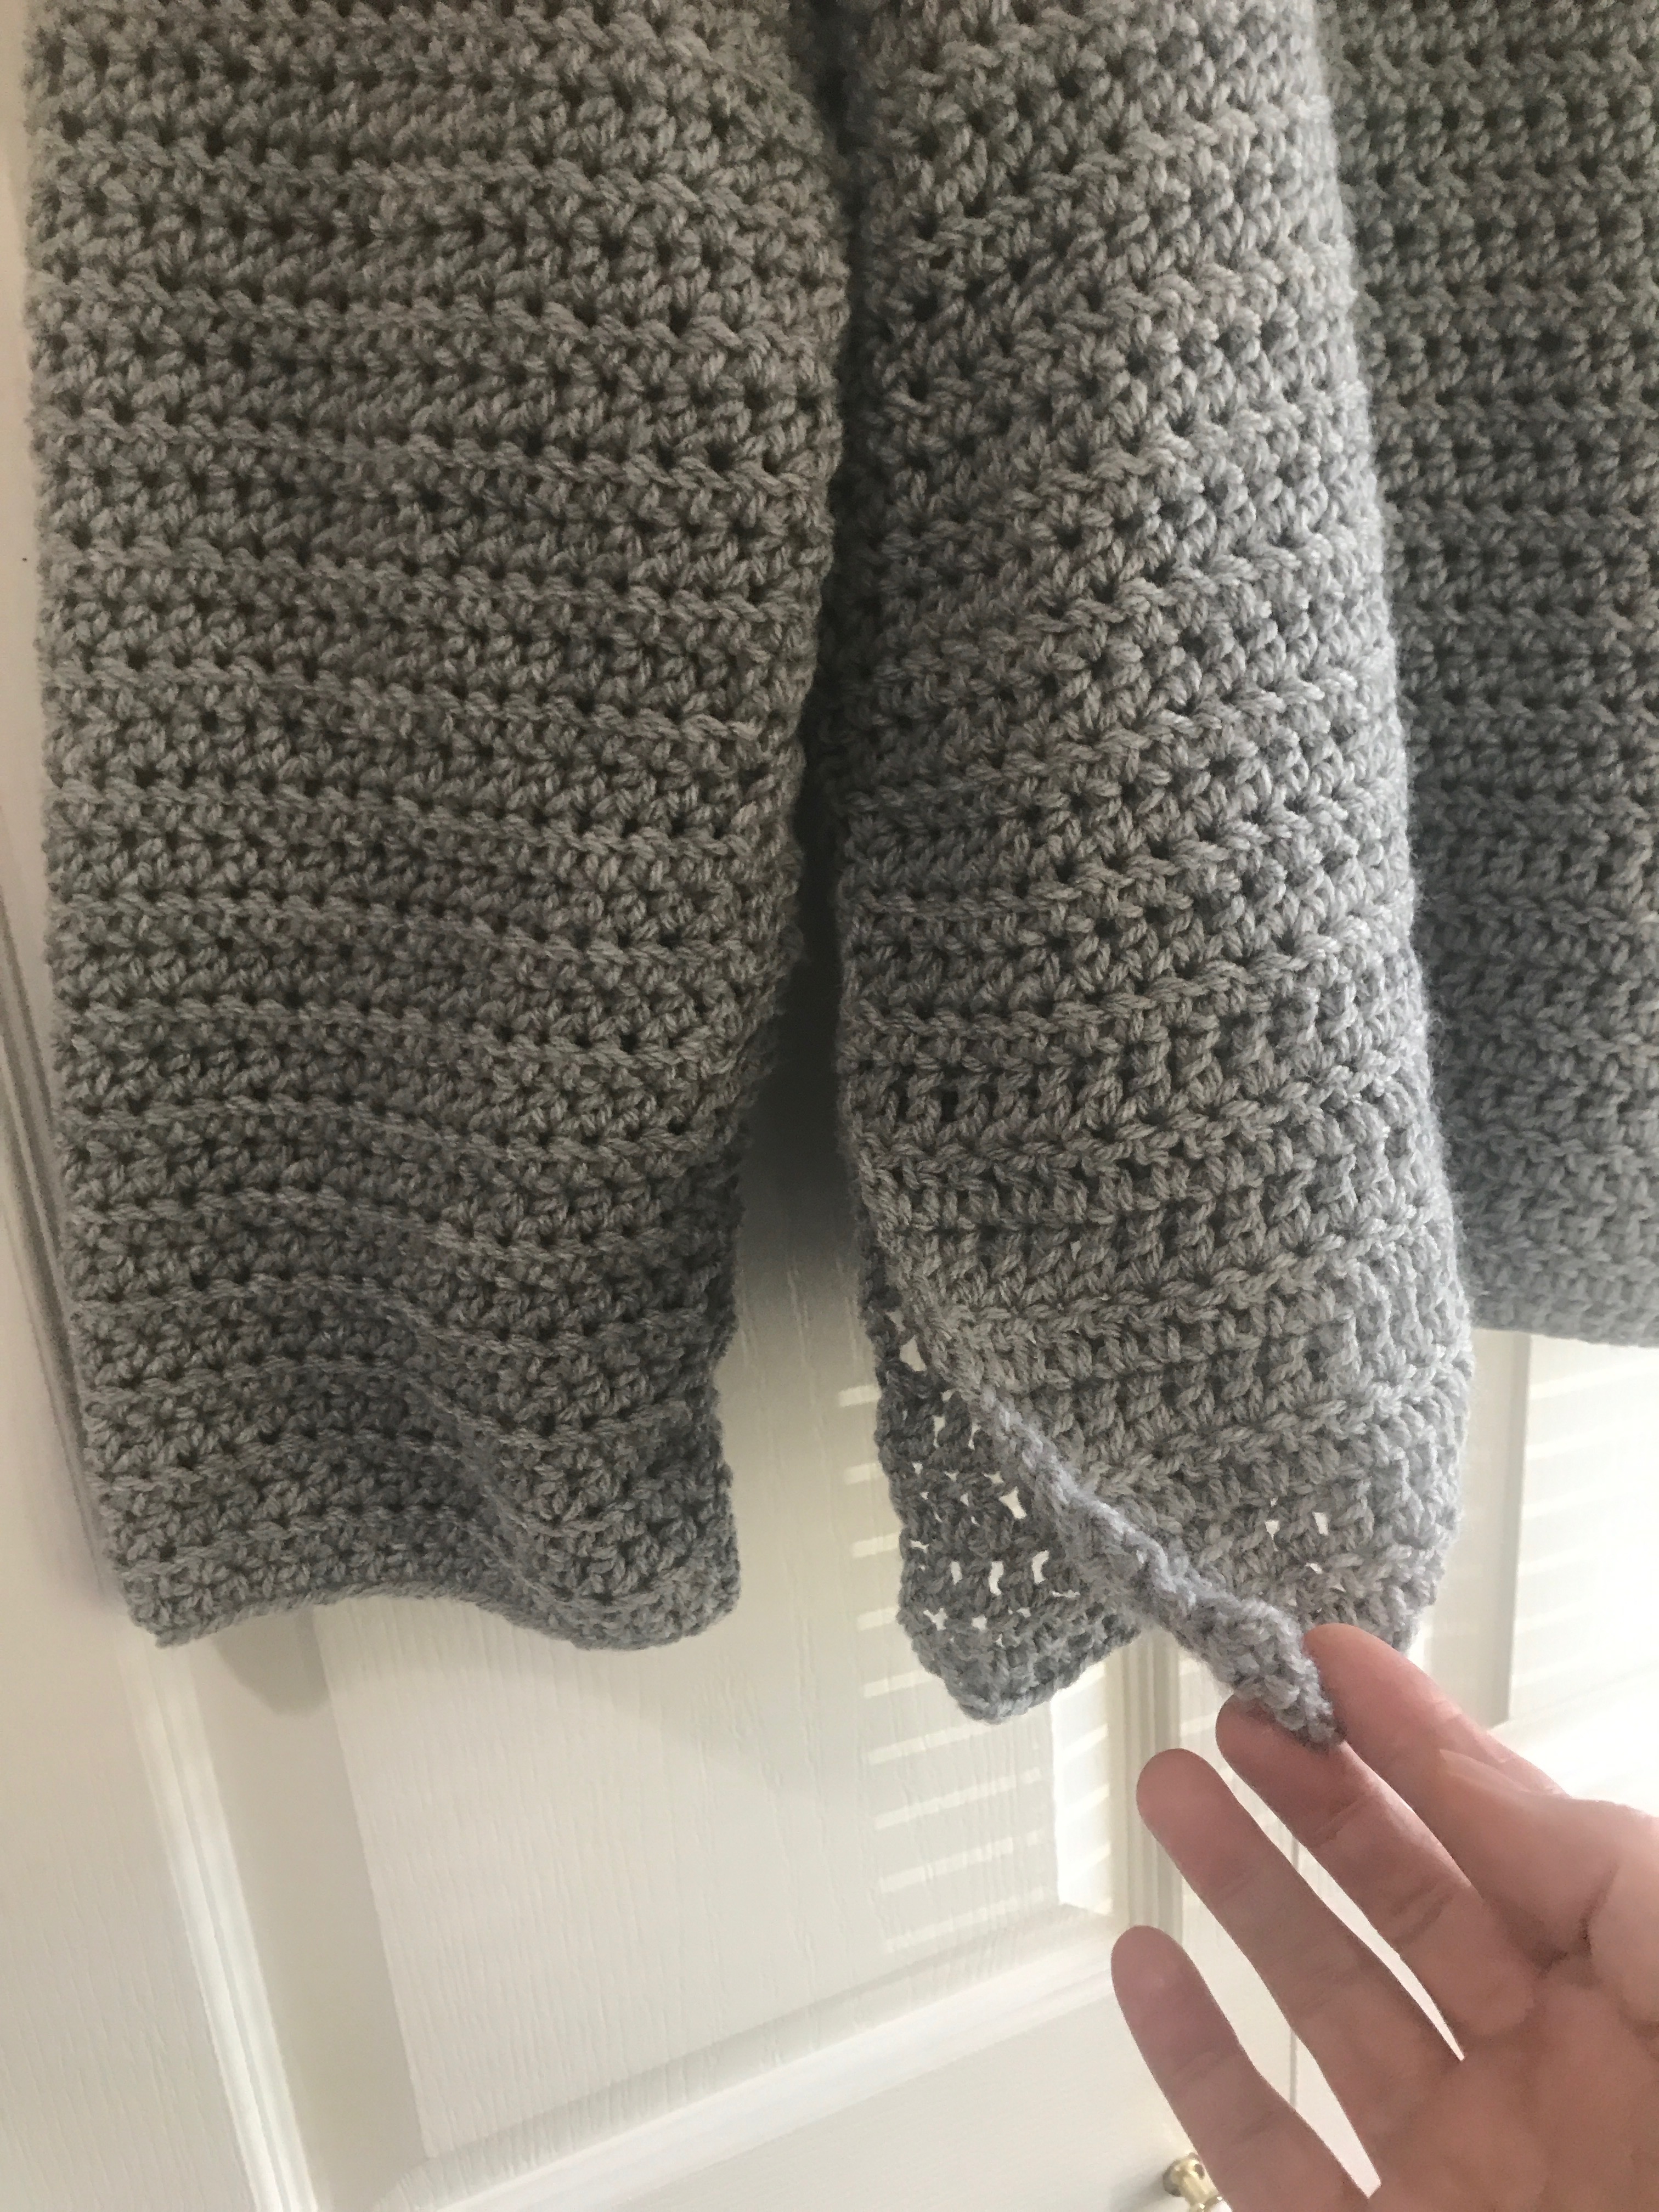
First, I love the look and feel of this garment. I especially like the simplicity of the texture created by the half double crochet stitch. There is a very subtle transition from the few rows of double crochet used along the bottom border, emphasizing the side vent feature. You can see the side vent in the picture below.
Secondly I love how the Super Simple Sweater has a feeling of calmness about it and the simple sleeves add to the classic lines of the sweater.
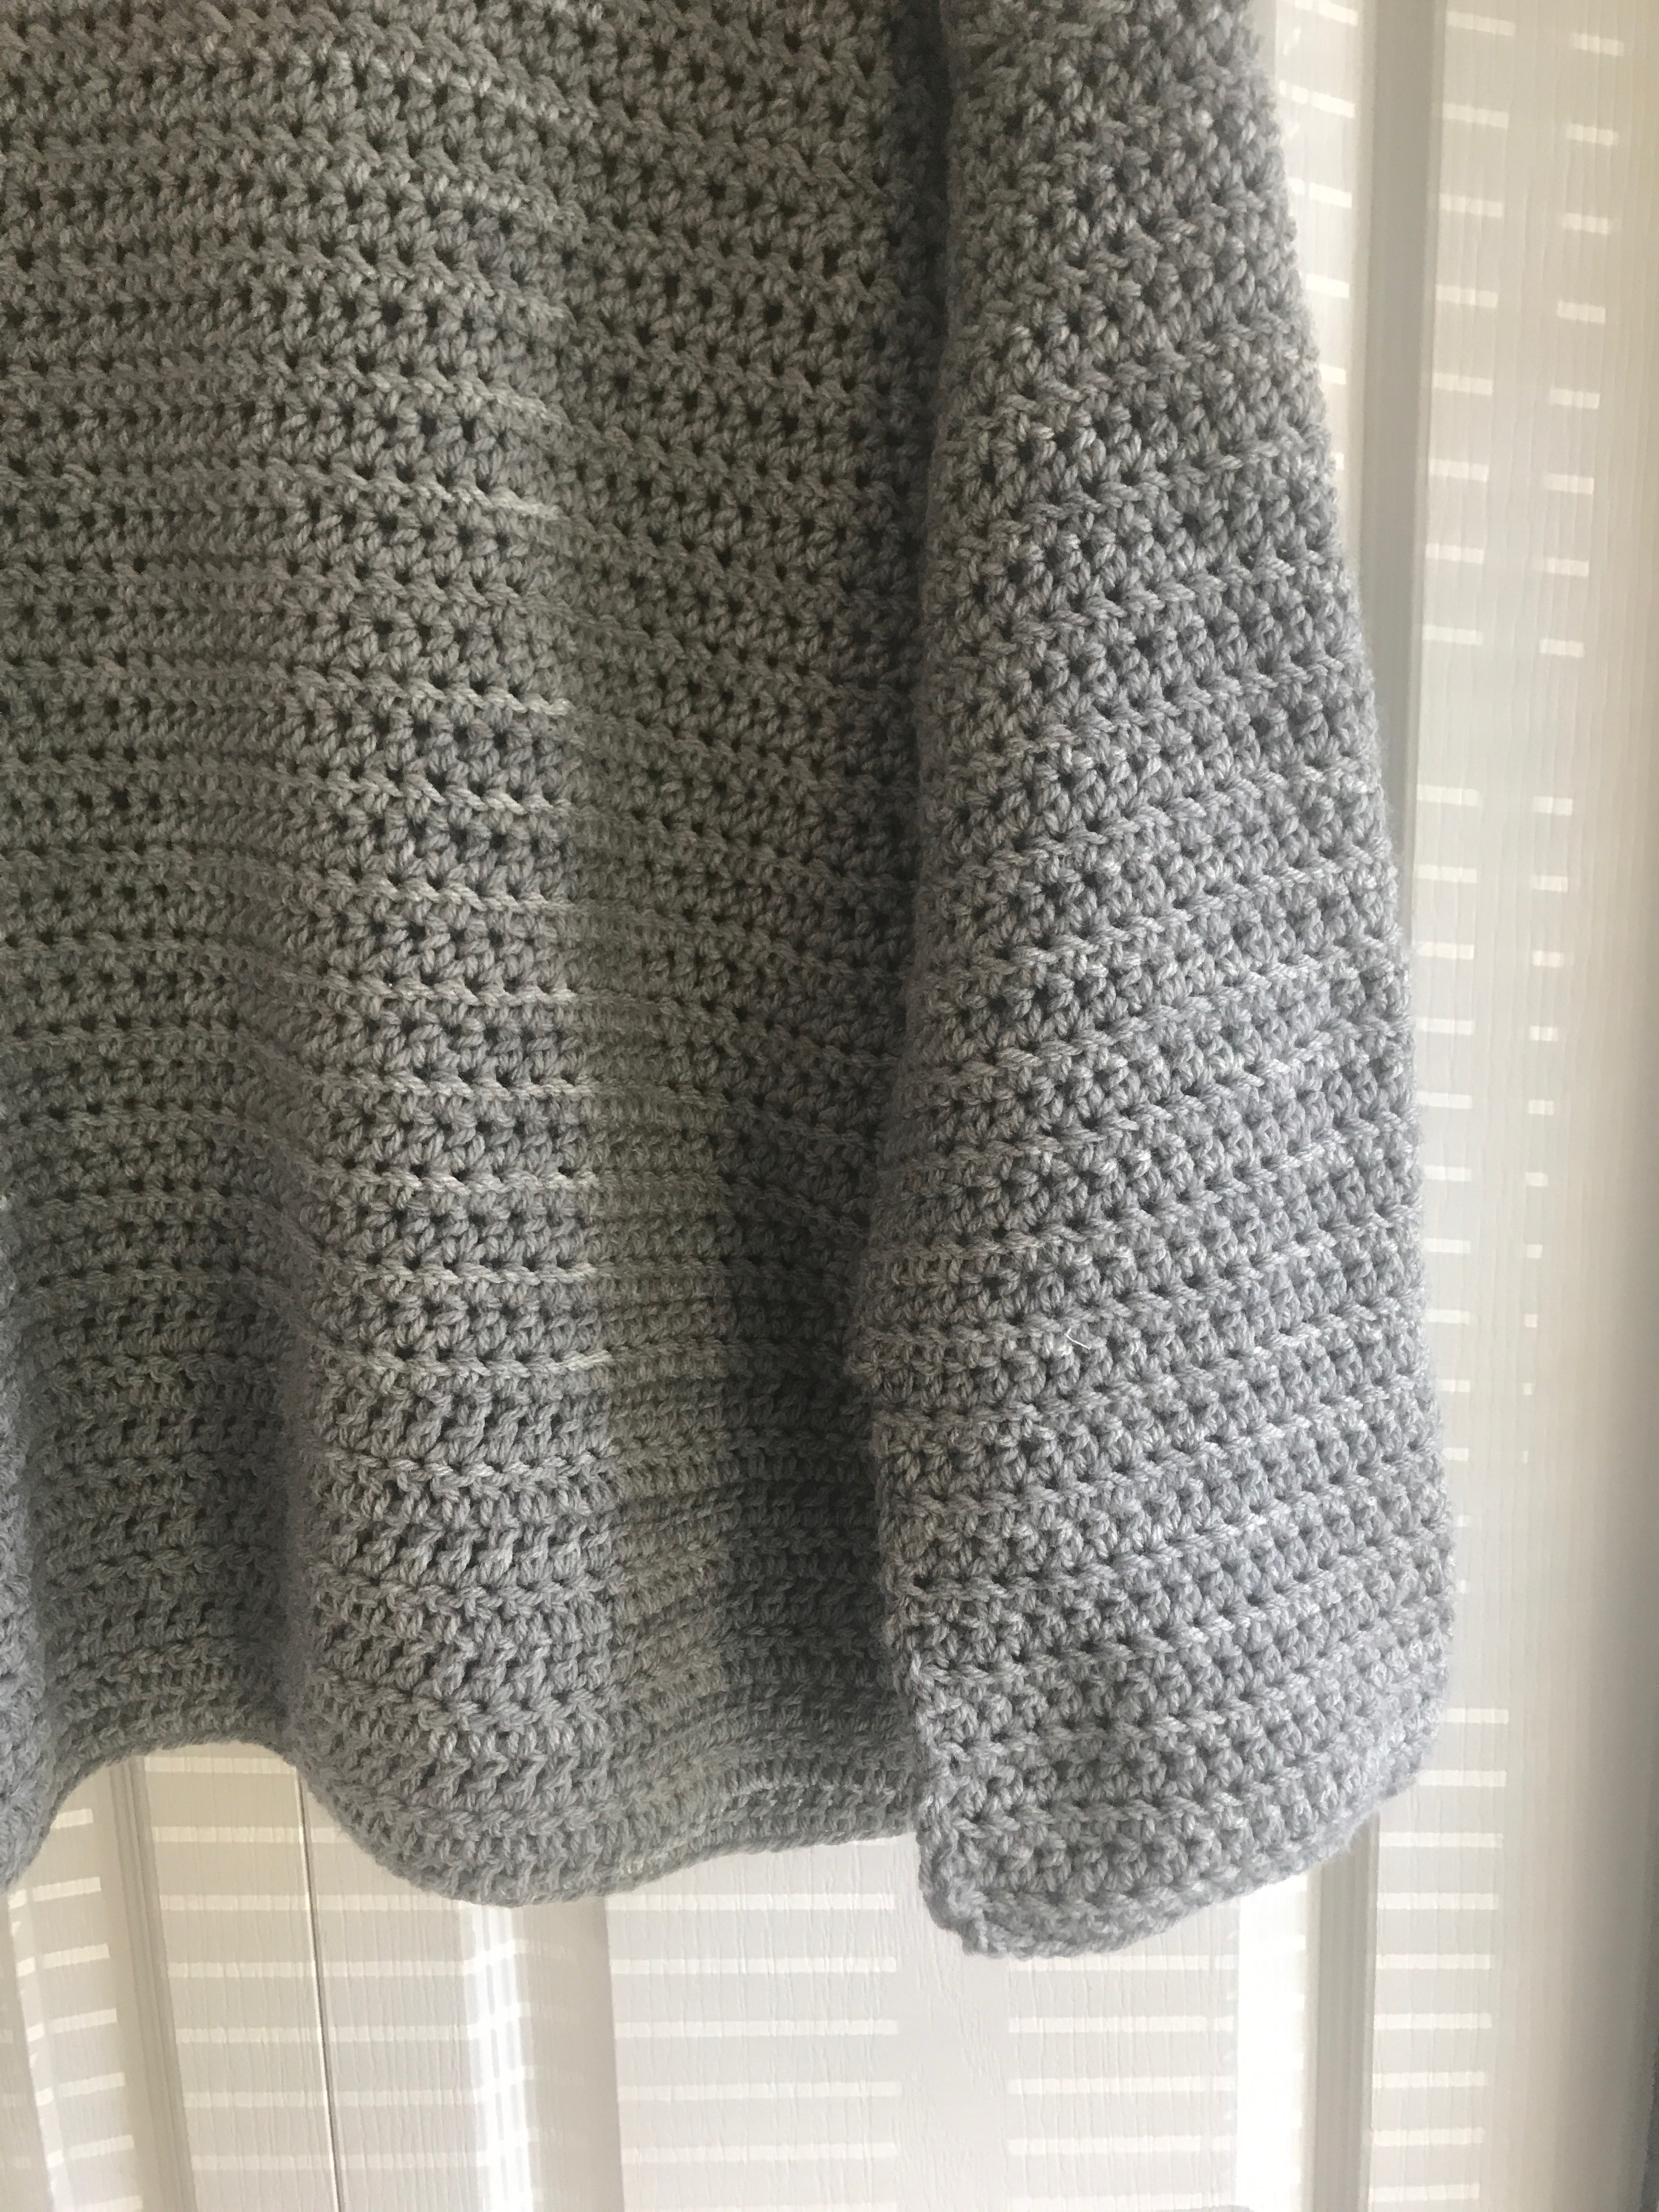
Thirdly, you can never go wrong with neutral colours. This sweater looks so good in neutral tones. I used grey, but I think an oatmeal or even charcoal grey would be equally stunning. When you make your Super Simple Sweater you can of course choose any colour you like.
Fourthly, the Super Simple Sweater pattern is a beginner friendly project as it uses basic stitches. If you know how to crochet the double crochet and half double crochet stitches then you can make a Super Simple Sweater.
It is made with two rectangles for the body and I have added lots of pictures in the construction instructions portion of the pattern so putting it together is a breeze. There is sewing involved for the side seams and the sleeve seams, as well as attaching the sleeves to the body. But all the pics are there to explain everything clearly.
If you prefer to have the pattern in front of you instead of on the screen you can get the ad free pdf .
Get the Pattern on Etsy.

Purchase the Super Simple Sweater Pattern on Ravelry.

The Super Simple Sweater Pattern.
Pam Carr 2020
Supplies you will need:
Yarn: Worsted Weight (4) Yarn.
Extra Small, 1000 yards, Small 1025 yards. Medium 1200 yards, Large 1300 yards, 1X 1400 yards, 2X 1500 yards, 3X 1600 yards, 4X 1700 yards, 5X 1800 yards.
Hook: K – 10.5/6.5mm
Notions: Scissors, tapestry needle.
Gauge: 10 sts and 9 rows = 4” square
Go up or down a hook size if you need to in order to get the correct gauge.
If you do not have the correct gauge then your sweater may not fit you for the size you select.
Abbreviations (US Crochet Terminology)
-
hdc = half double crochet
-
Dc = double crochet
-
ch(s) = chain(s)
-
st(s) = stitch(es)
This pattern uses US terminology. The US and UK crochet terms are different, but they use the same terms to describe different stitches. Here is a simple conversion chart for anyone in the UK.
USDouble Crochet (dc)Half Double Crochet (hdc)Single Crochet (sc) |
UKTreble (tr)Half Treble Crochet (htr)Double Crochet (dc) |
Sizing:
To fit bust measurement
Extra Small: 28”-30” [71- 76 cm]
Small: 32″-34″ [81 – 86.5 cm]
Medium: 36″-38″ [91.5-96.5 cm]
Large: 40″-42″ [101.5-106.5 cm]
XL: 44″-46″ [112-117 cm]
2X: 48″-50” [122-127 cm]
3X: 52″-54″ [132 – 137cm]
4X: 56” – 58” [142 – 147cm]
5X: 59” – 62” [150 – 157 cm]
The Super Simple Sweater Notes.
The pattern is written for size extra small with the directions for other sizes in parentheses as follows XS (S, M, L, XL, 2X, 3X, 4X, 5X)
The finished size of each panel
XS: 18” wide x 24.5” long
S: 20” wide x 25” long
M: 22” wide x 25” long
L: 24” wide x 25.5” long
XL: 26” wide x 26” long
2X: 28” wide x 26.5” long
3X/: 30” wide x 26.5” long
4X: 32” wide x 27” long
5X: 34” wide x 27.5” long
Sleeves: Length.
XS: 17” long
S: 17” long
M: 18” long
L: 19” long
XL: 20” long
2X: 21” long
3X: 22” long
4X: 22” long
5X: 23” long
Instructions.
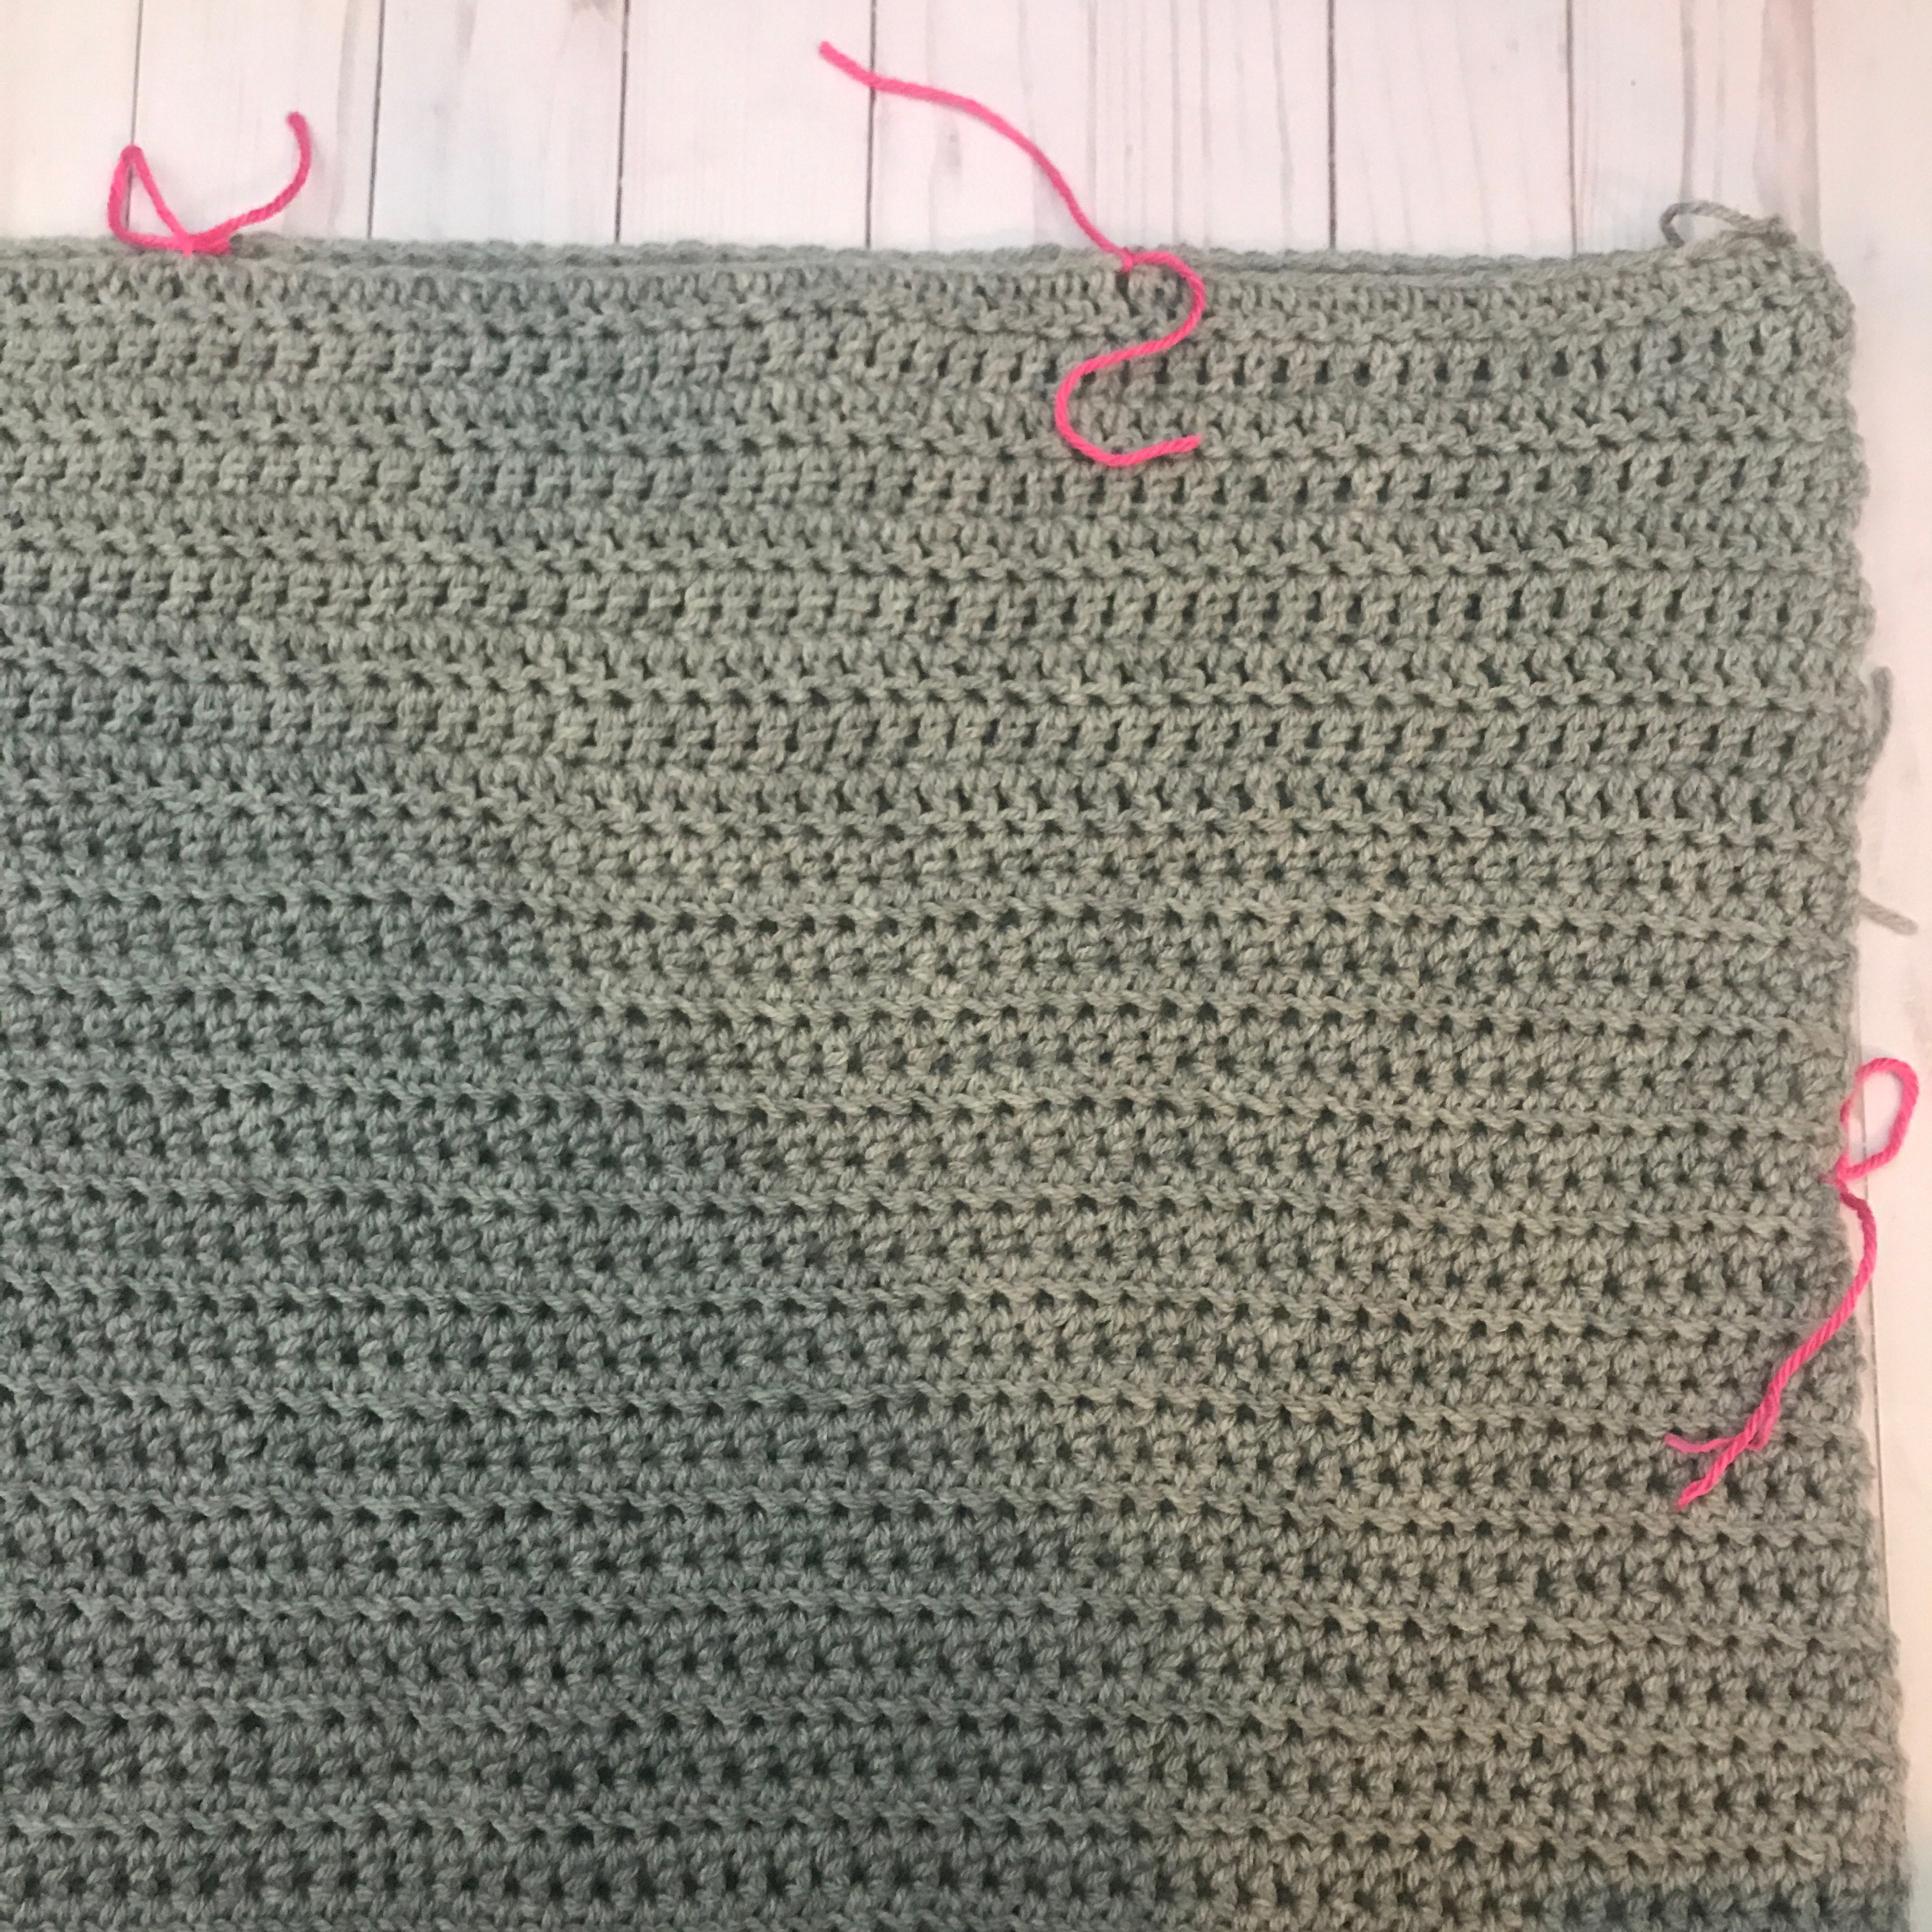
Front and Back Panels
Ch 46 (53, 58, 63, 68, 73, 78, 83, 88)
Row 1: 1 dc in 2nd ch from the hook, 1 dc in each ch across, turn. 45 (52, 57, 62, 67, 72, 77, 82, 87) st
Rows 2-9: Ch 2, 1 dc in the first st, 1 dc in each st across, turn. 45 (52, 57, 62, 67, 72, 77, 82, 87) st
Here is where you change to half double crochet for the rest of the body panel.
Row 10- 51 (52, 52, 53, 54, 55, 55, 57, 58) ch 1, 1 hdc in the first st, 1 hdc in each st across, turn. 45 (52, 57, 62, 67, 72, 77, 82, 87) st
To make a longer sweater continue crocheting rows. Make sure you crochet the same number of rows for both the front and back panels.
-
Fasten off and weave in the ends.
-
Make your 2nd panel.
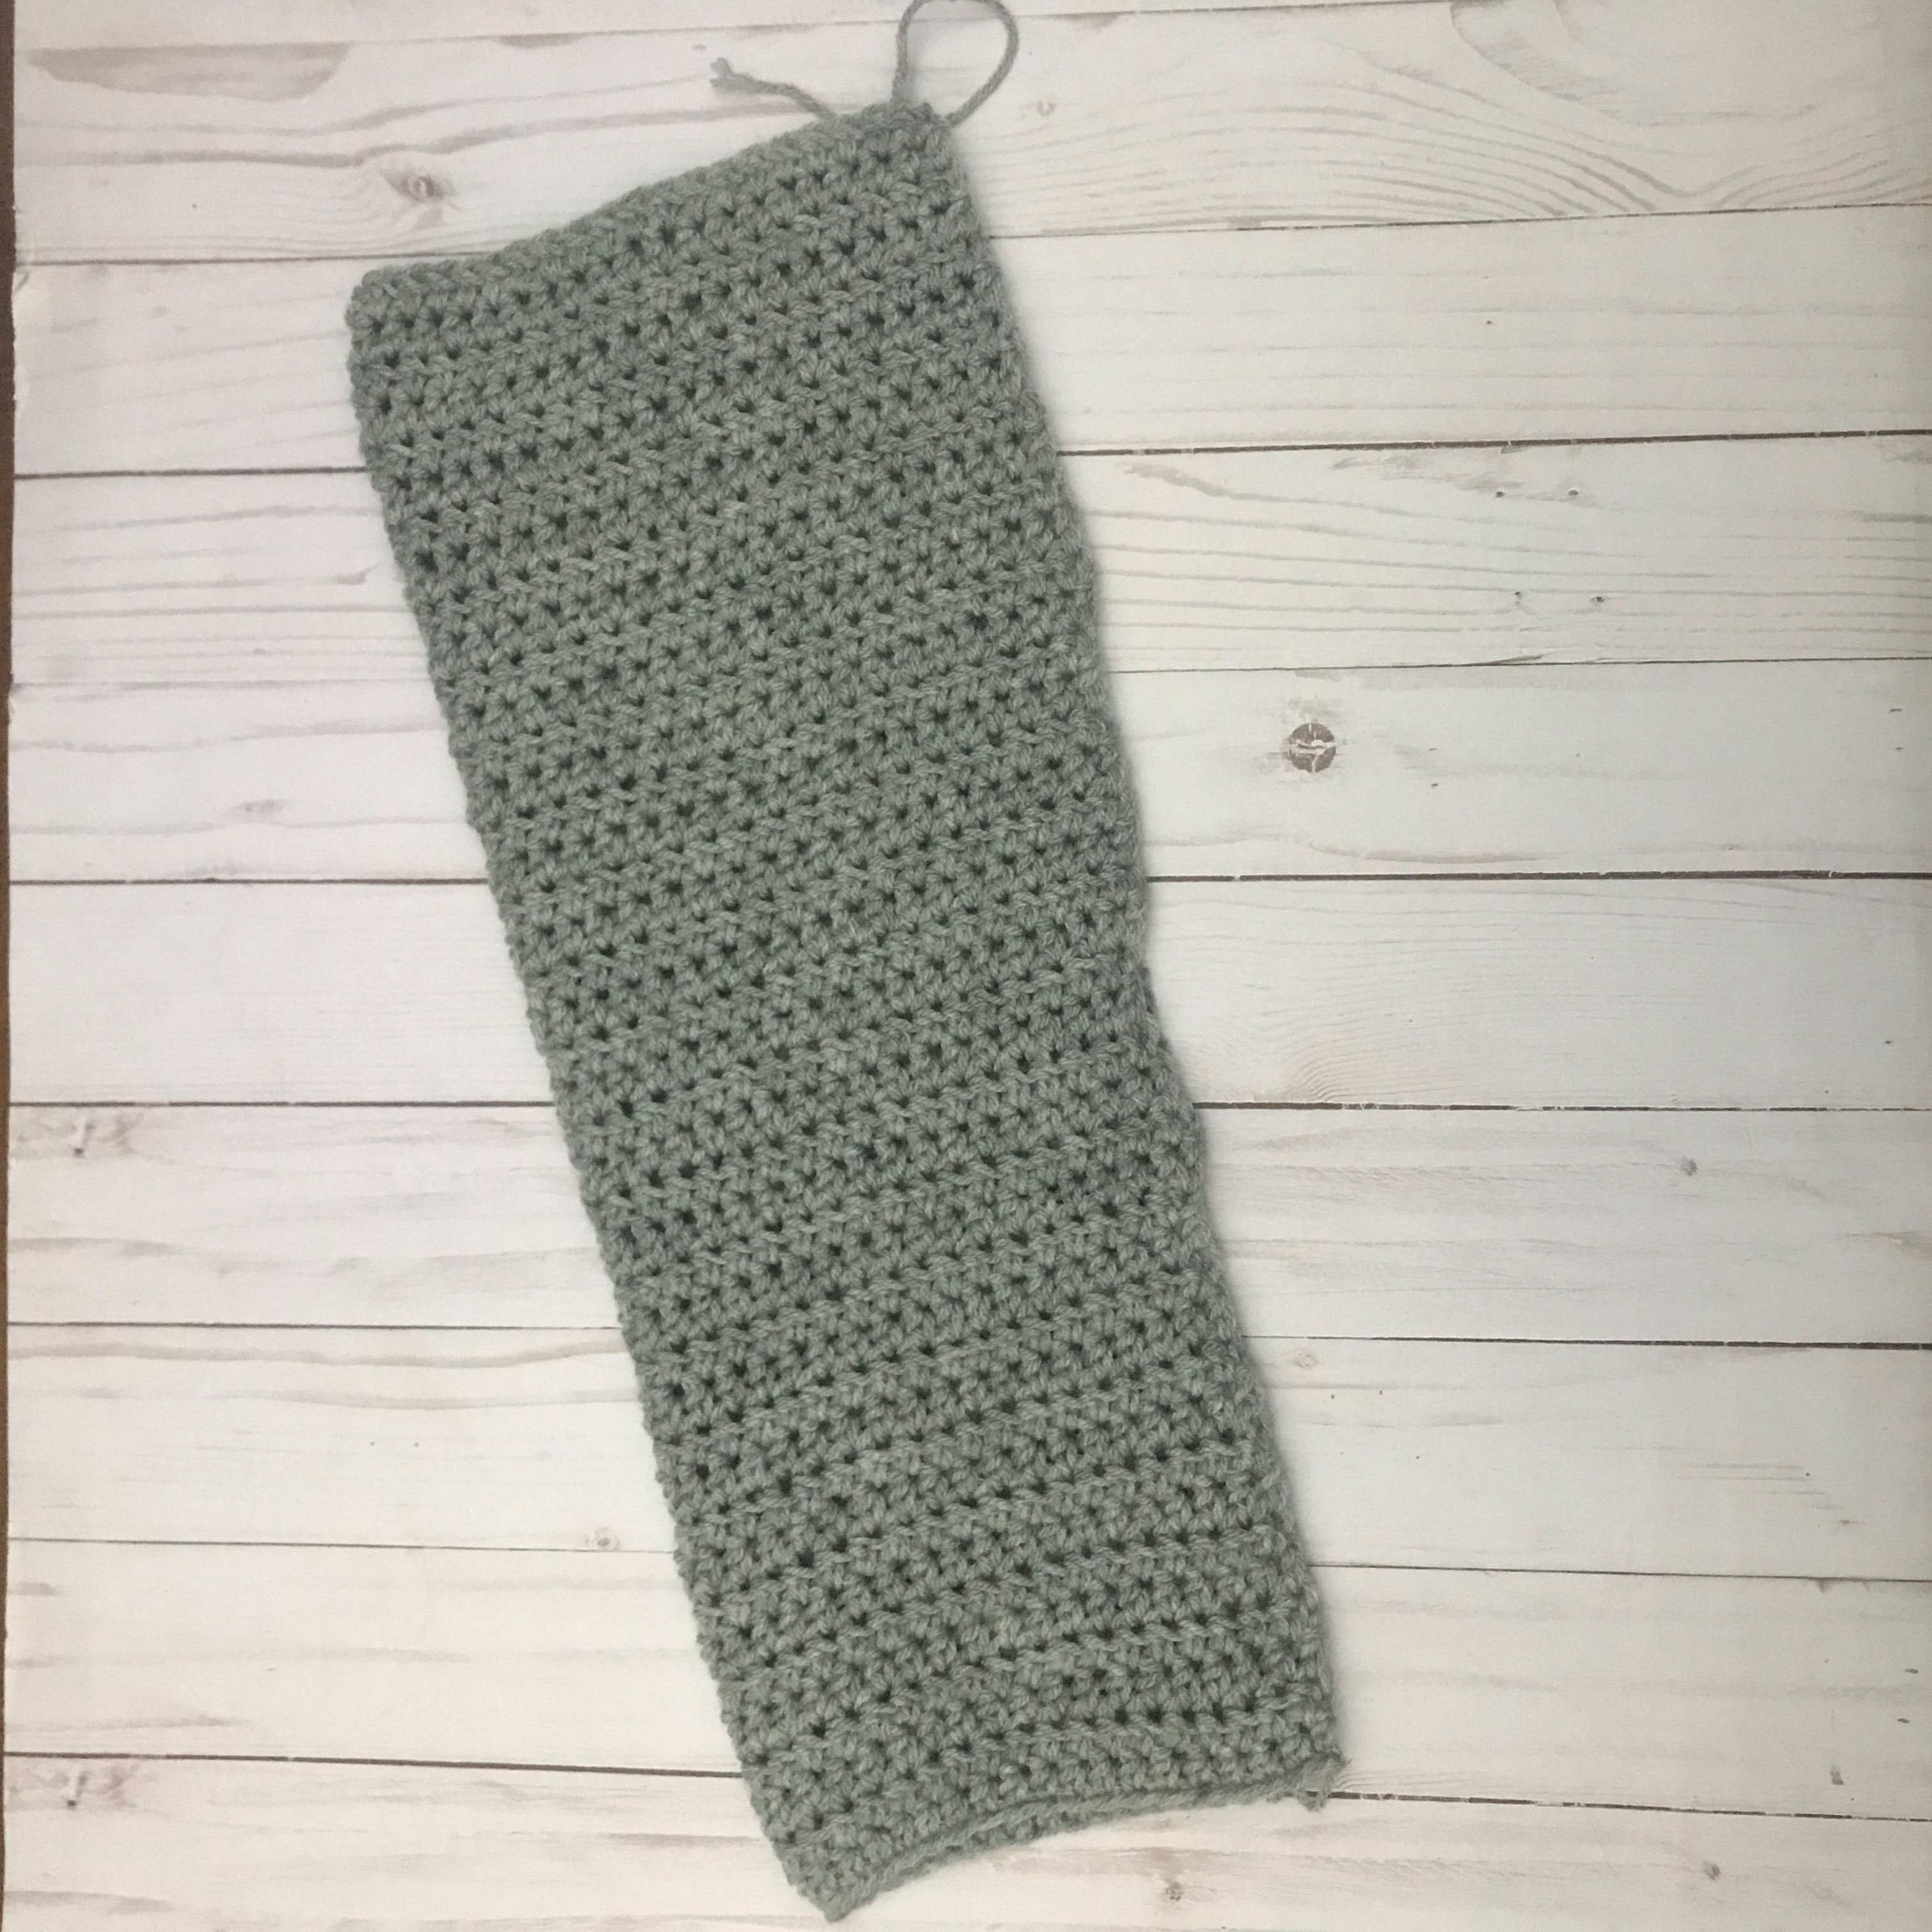
Sleeves:
Ch 27 (27, 29, 36, 39, 41, 43, 45, 46)
Row 1: 1 hdc in 2nd ch from the hook, 1 hdc in each ch across, turn. 26 (26, 28, 35, 38, 40, 42, 44, 45) sts
Rows 2-14 (14, 14, 14, 17, 17, 17, 17, 17) ch 1, make 1 hdc in the first st, make 1 hdc in each st across, turn. 26 (26, 28, 35, 38, 40, 42, 44, 45) sts
Increase Row: 15 (15, 15, 15, 18, 18, 18, 18, 18) ch 1, 2 hdc in the first st, 1 hdc in each st across until the final st, 2 hdc in the final st, turn. 28 (28, 30, 37, 40, 42, 44, 46, 47) sts
Continue to: ch1, hdc in each st across and turn work for the next 12 (12, 14, 16, 16, 16, 16, 16, 18) rows
Increase Row: ch 1, 2 hdc in the first st, 1 hdc in each st across until the final st, 2 hdc in the final st, turn. 30 (30, 32, 39, 42, 44, 46, 48, 49) sts
Continue to: ch1, hdc in each st across and turn work for 14 (14, 14, 14, 14, 16, 16, 18, 18) more rows or until your sleeve is your desired length. Remember this is a drop shoulder design.
Cut the yarn and sew in the ends.
Repeat these steps above to make the 2nd sleeve.
Construction.
Sewing together the front and back panels.
Place one panel with the right side facing up and lay the second panel on top of it with the right side facing down. (right sides together).
Side seams.
Measure down 6” (7”, 7.5.”, 8”, 9”, 9.5”, 10”, 10.5”, 11”)
from the top on each side sweater and mark with stitch markers or a short piece of yarn. This top opening will be where you attach the sleeves later.
Note: This measurement is a guide and you can adjust it to fit your sleeve if you need to.
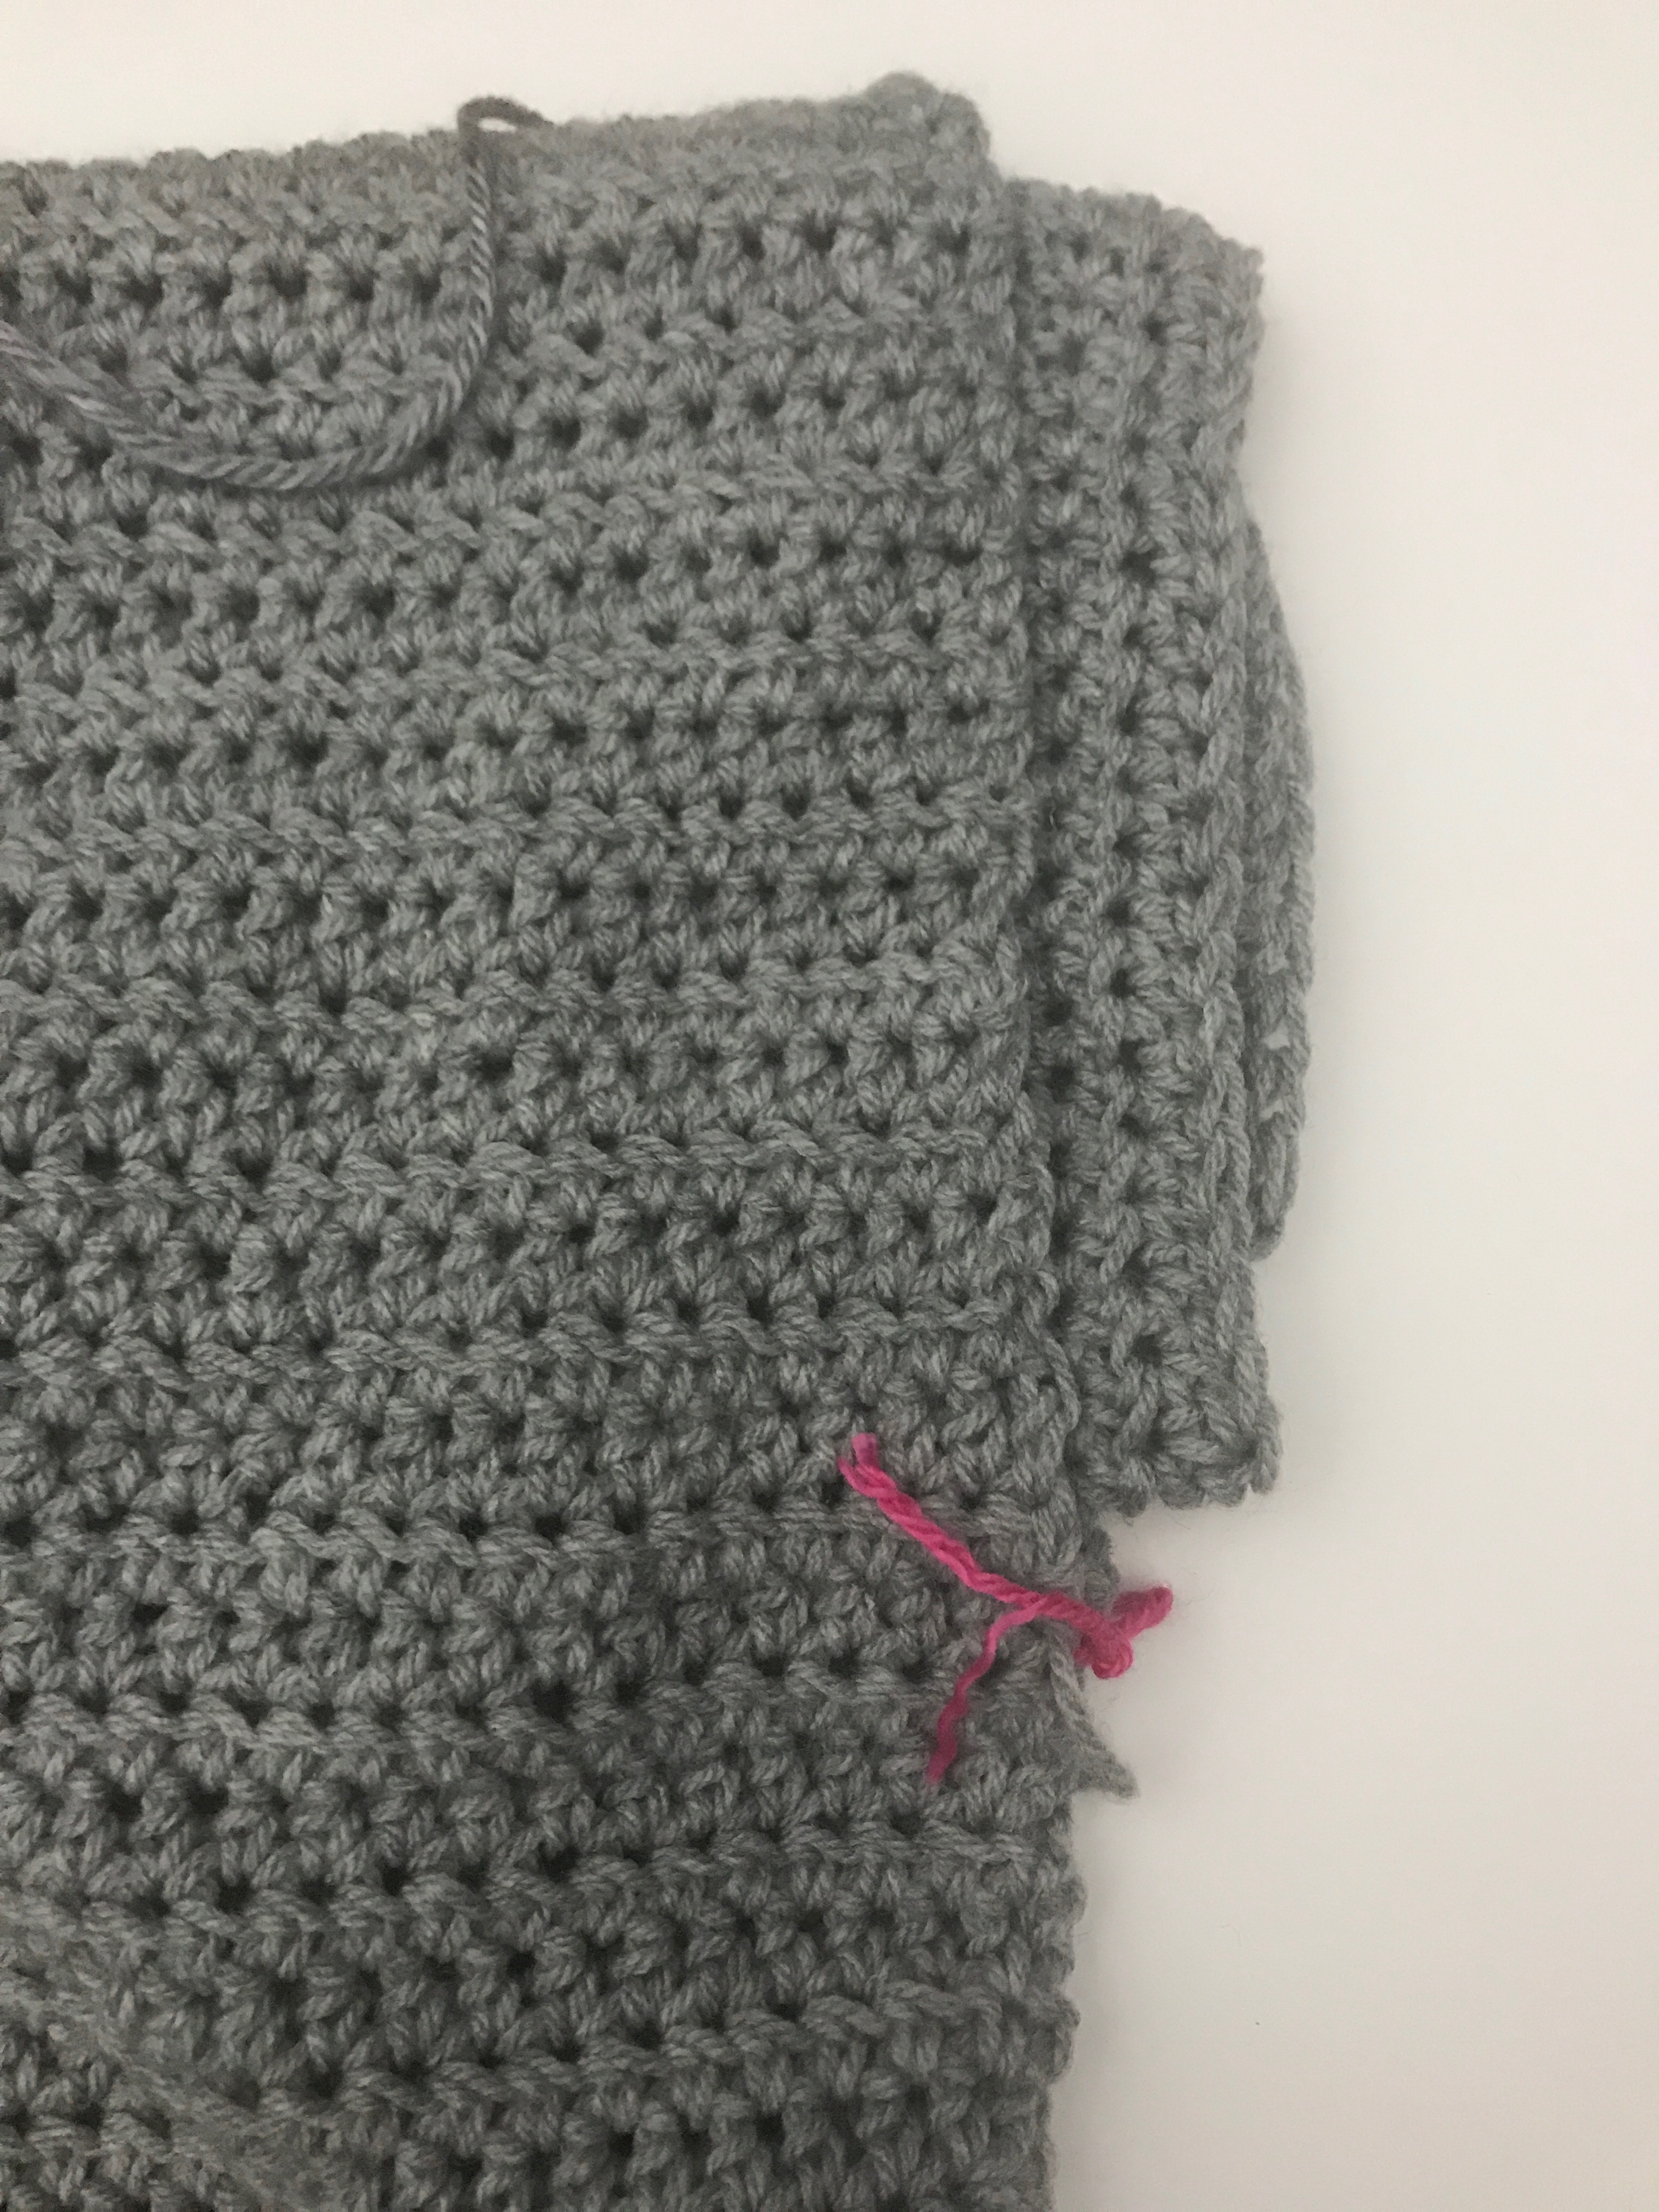
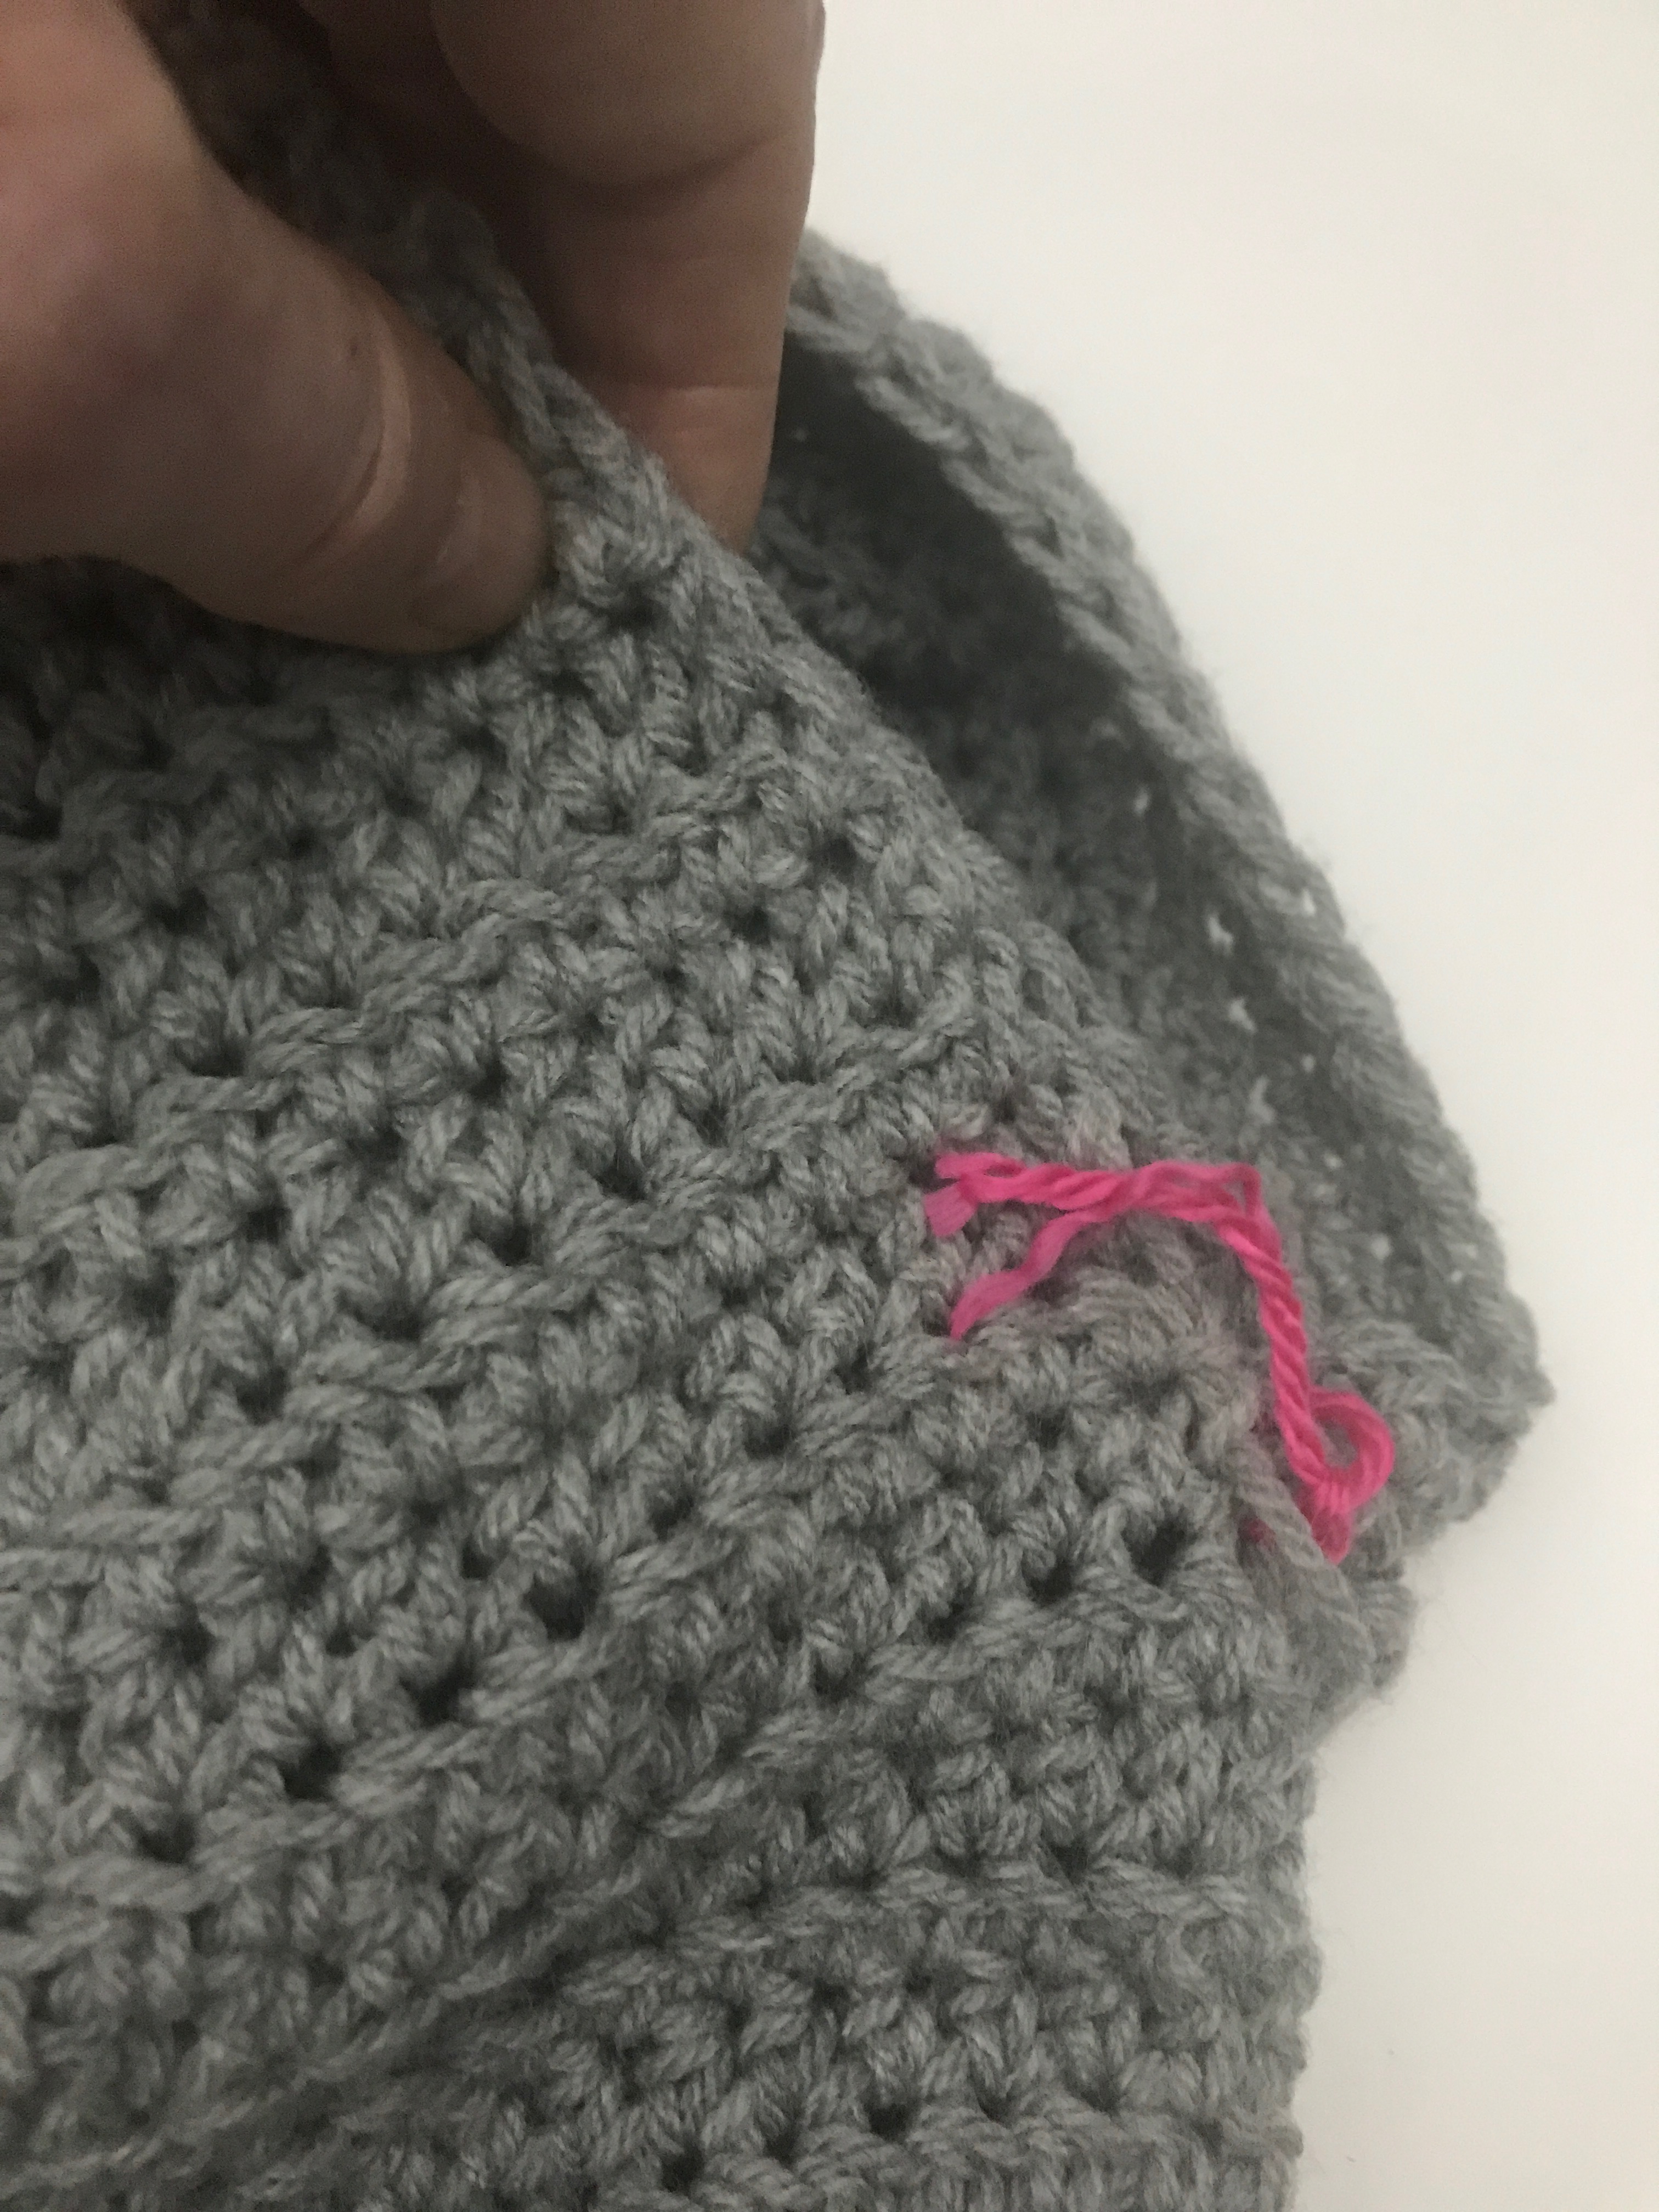
Use pins or stitch markers to join the back and front as you go down the side seams matching up the rows until you get to the nine rows of double crochet at the bottom edge of the panels.
If you want to have a vent on each side of your sweater you will stop your side seam here.
Using the whip stitch or your preferred method, of sewing, start at the bottom and sew the back and the front sides together. Make sure you are matching the rows you go. Stop when you get to the stitch marker at the bottom of the arm hole.
Finish off and weave in the ends.
Do the same on the other side of the sweater.
Finish off and weave in the ends.
Shoulders.
Count in 16 (18, 19, 21, 23, 24, 26, 28, 29) stitches from each side and place stitch markers to mark where the shoulders are to be sewn on either side of the neck space.
Note: This measurement is adjustable to fit your body type and how big you want the opening to be. Each body type is different. After sewing the shoulders, try it on and see how you like the fit.
Whip stitch across the shoulder to the neck opening, being sure to match the stitches from either side along the top of the panels.
Stop when you reach the neck opening and make a few extra stitches to secure the opening. Fasten off and weave in the ends.
Repeat for the other shoulder.
Fasten off and weave in the ends.
Sleeves.
Fold a sleeve with the right sides together and whip stitch up the seam from the wrist to the top of the sleeve. Be careful to match the rows as you sew the seam.
Finish off and weave in the ends.
Repeat for the second sleeve.
Putting in the Sleeves.
Turn the sweater so that the right side are facing each other as it lays flat. The wrong side is facing outwards. Lay it flat on a surface with the shoulders and neck at the top.
Turn one sleeve so that the right sides are facing outwards.
Lay it below the body of the sweater so the top opening is facing to the right side and the seam is at the bottom. The cuff is on the left side
Open the bottom of the sweater and slide the sleeve up to the arm hole opening.
Position it so the underarm sleeve seam matches up with the side seam on the sweater and the top of the sleeve matches up with the shoulder seam of the sweater. Fasten in place with stitch markers or pins.
Start at the underarm seam and whip stitch the sleeve in place.
Fasten off and weave in the ends.
Now take the other sleeve, making sure the right sides are facing outwards.
-
Open the bottom of the sweater and slide the top of the sleeve up to the arm hole opening.
-
Position it so the underarm sleeve seam matches up with the side seam of the sweater and the top of the sleeve matches up with the shoulder seam of the sweater. Fasten in place with stitch markers or pins.
-
Using yarn and a yarn needle, start at the underarm seam and whip stitch the arm in place.
-
Fasten off and weave in the ends.
Turn the sweater inside out and you can admire your completed Super Simple Sweater.
I can’t wait to see all your Super Simple Sweaters. Remember to share your pics on Instagram and Facebook. Please tag me @carrowaycrochet so I can see them and #supersimplesweater.

OTHER FREE CROCHET PATTERNS YOU MIGHT LOVE!
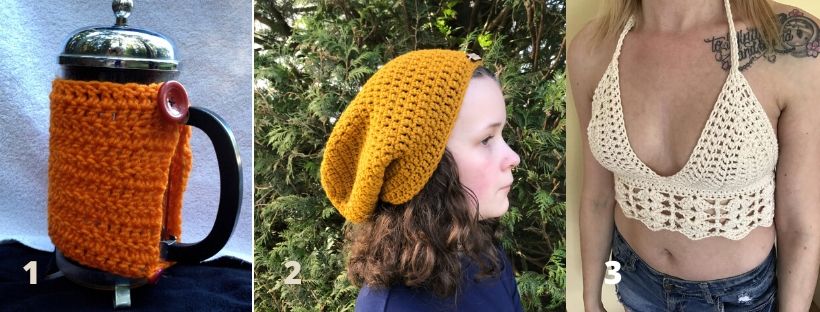
1. French Press Cozy
2. The Dreamer Beanie
3. The Ivory Lace Bralette
More Places to Find Crochet Free Patterns:
If you love crochet, you can find over a thousand free crochet patterns including some for crop tops and bralettes over at All Free Crochet
I am honoured to have my free crochet bralette pattern, the Earth Mother Bralette Pattern added to the All Free Crochet site.
 It is a great resource for crochet lovers and I am proud to also have my Take Me Outside Infinity Scarf Pattern posted over on the All Free Crochet Site.

Selling items made from my patterns?
You are more than welcome to se items made from my pattern. Please do share my link and tag and help promote it on social media. Thank you.
If you have any questions or need help with the patterns, please email me at carrowaycrochet@outlook.com, and Iʼll be glad to help you.
Thank you again for trying y pattern, I hope you enjoy it! Please share pictures of your completed Gloves on Instagram and Facebook. Tag them @carrowaycrochet #carrowaycrochet #shortandchunkygloves on Instagram.
Find other patterns by Carroway Crochet in my Etsy Shop and on Ravelry.
Let’s Share and Connect!
Thank you for trying my free crochet bralette pattern, I hope you enjoyed it! Please share pictures of your completed Bralettes on Instagram and Facebook. Tag them @carrowaycrochet #carrowaycrochet and #ivorylacebralette on Instagram.
Thank you so much for visiting me here at Carroway Crochet .
Find other patterns by Carroway Crochet in my Etsy Shop and on Ravelry.
Other places you can find me are:
This design, written work and images are a copyright of
©CarrowayCrochet and may not be copied or reproduced in any way.
You have permission to sell finished products made from this pattern, but please leave a link to my blog, www.carrowaycrochet.com in your product listing specifying that I am the designer of this pattern.
Thank you.