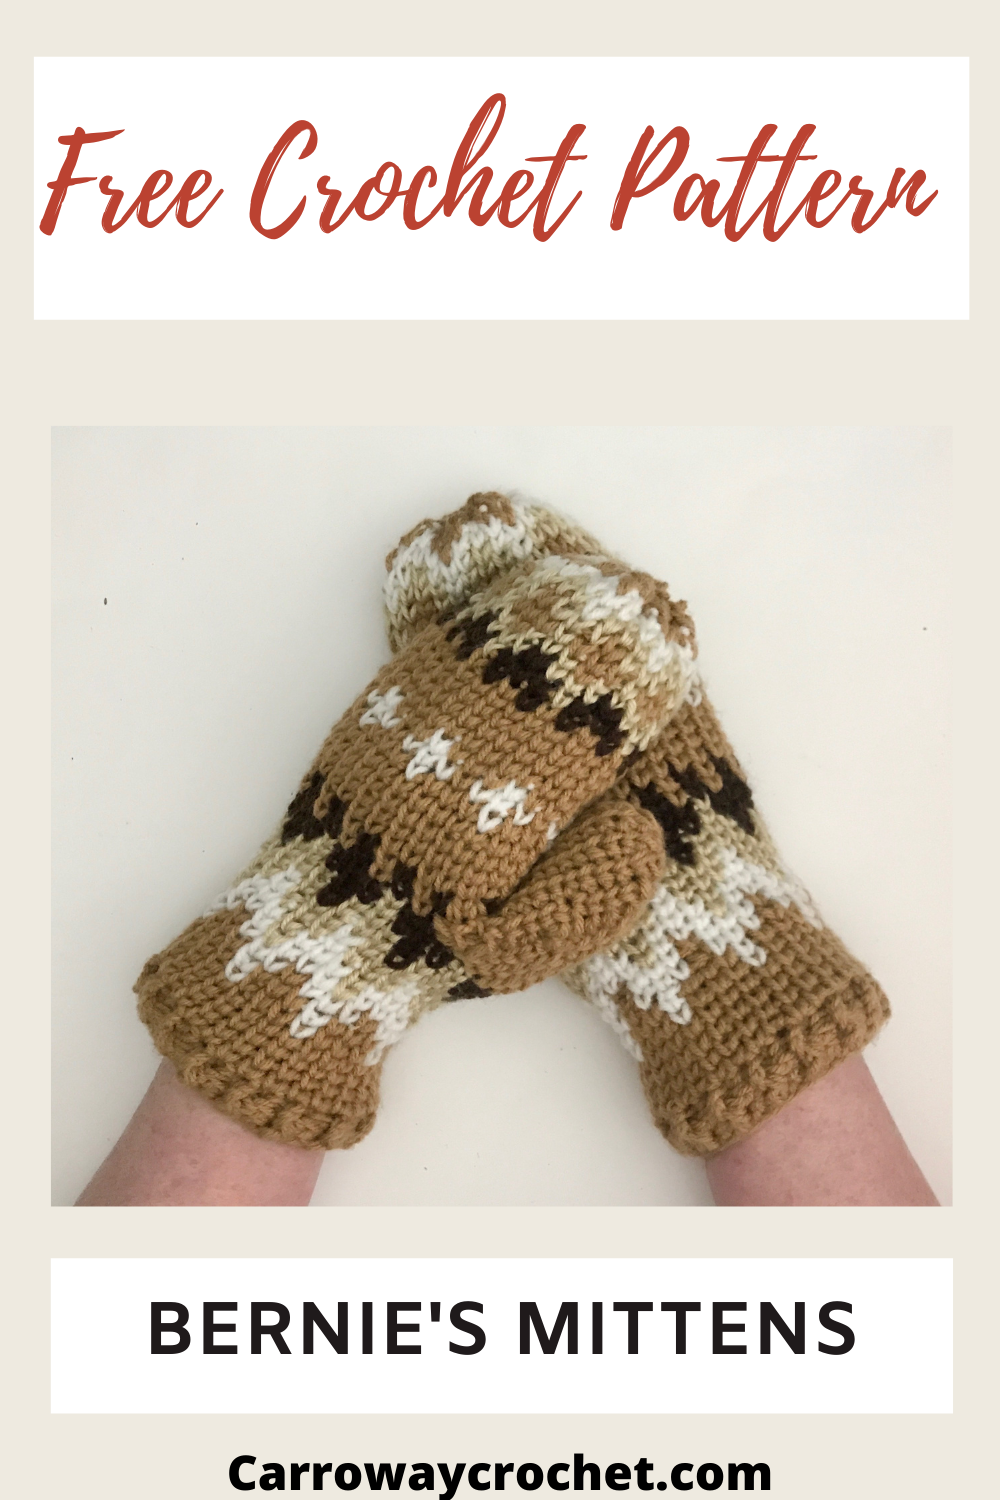
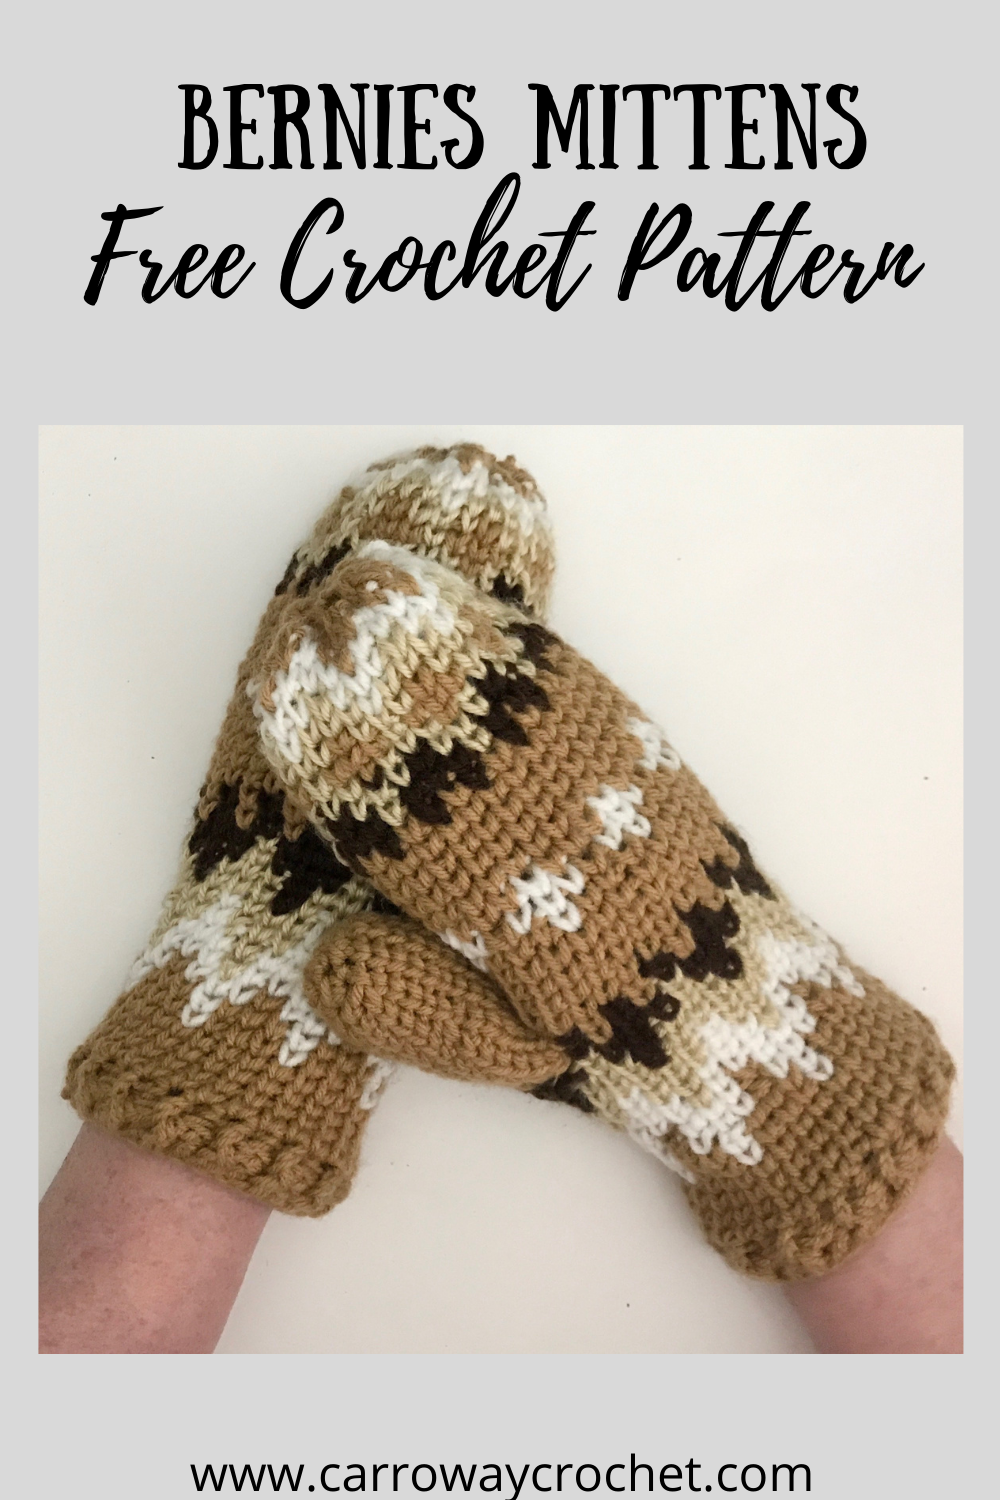
Bernie’s Mittens Free Pattern

Looking for a way to make your own Bernie Sanders inspired mittens? Look no further. Here is the Bernie’s Mittens Free Pattern for you?
Bernie set the internet on fire with all the creative memes of him sitting, socially distanced, at the inauguration on Jan 20th. It has become an iconic image of him bundled up against the cold, and wearing a distinctive pair of mittens. These mittens were made of recycled sweaters by Jen Ellis from Vermont, and you can read her story here.
**This post contains affiliate links. If you make a purchase using some of my links I may receive a small commission at no extra cost to you.**
The Inspiration for my Bernie’s Mittens Free Pattern.
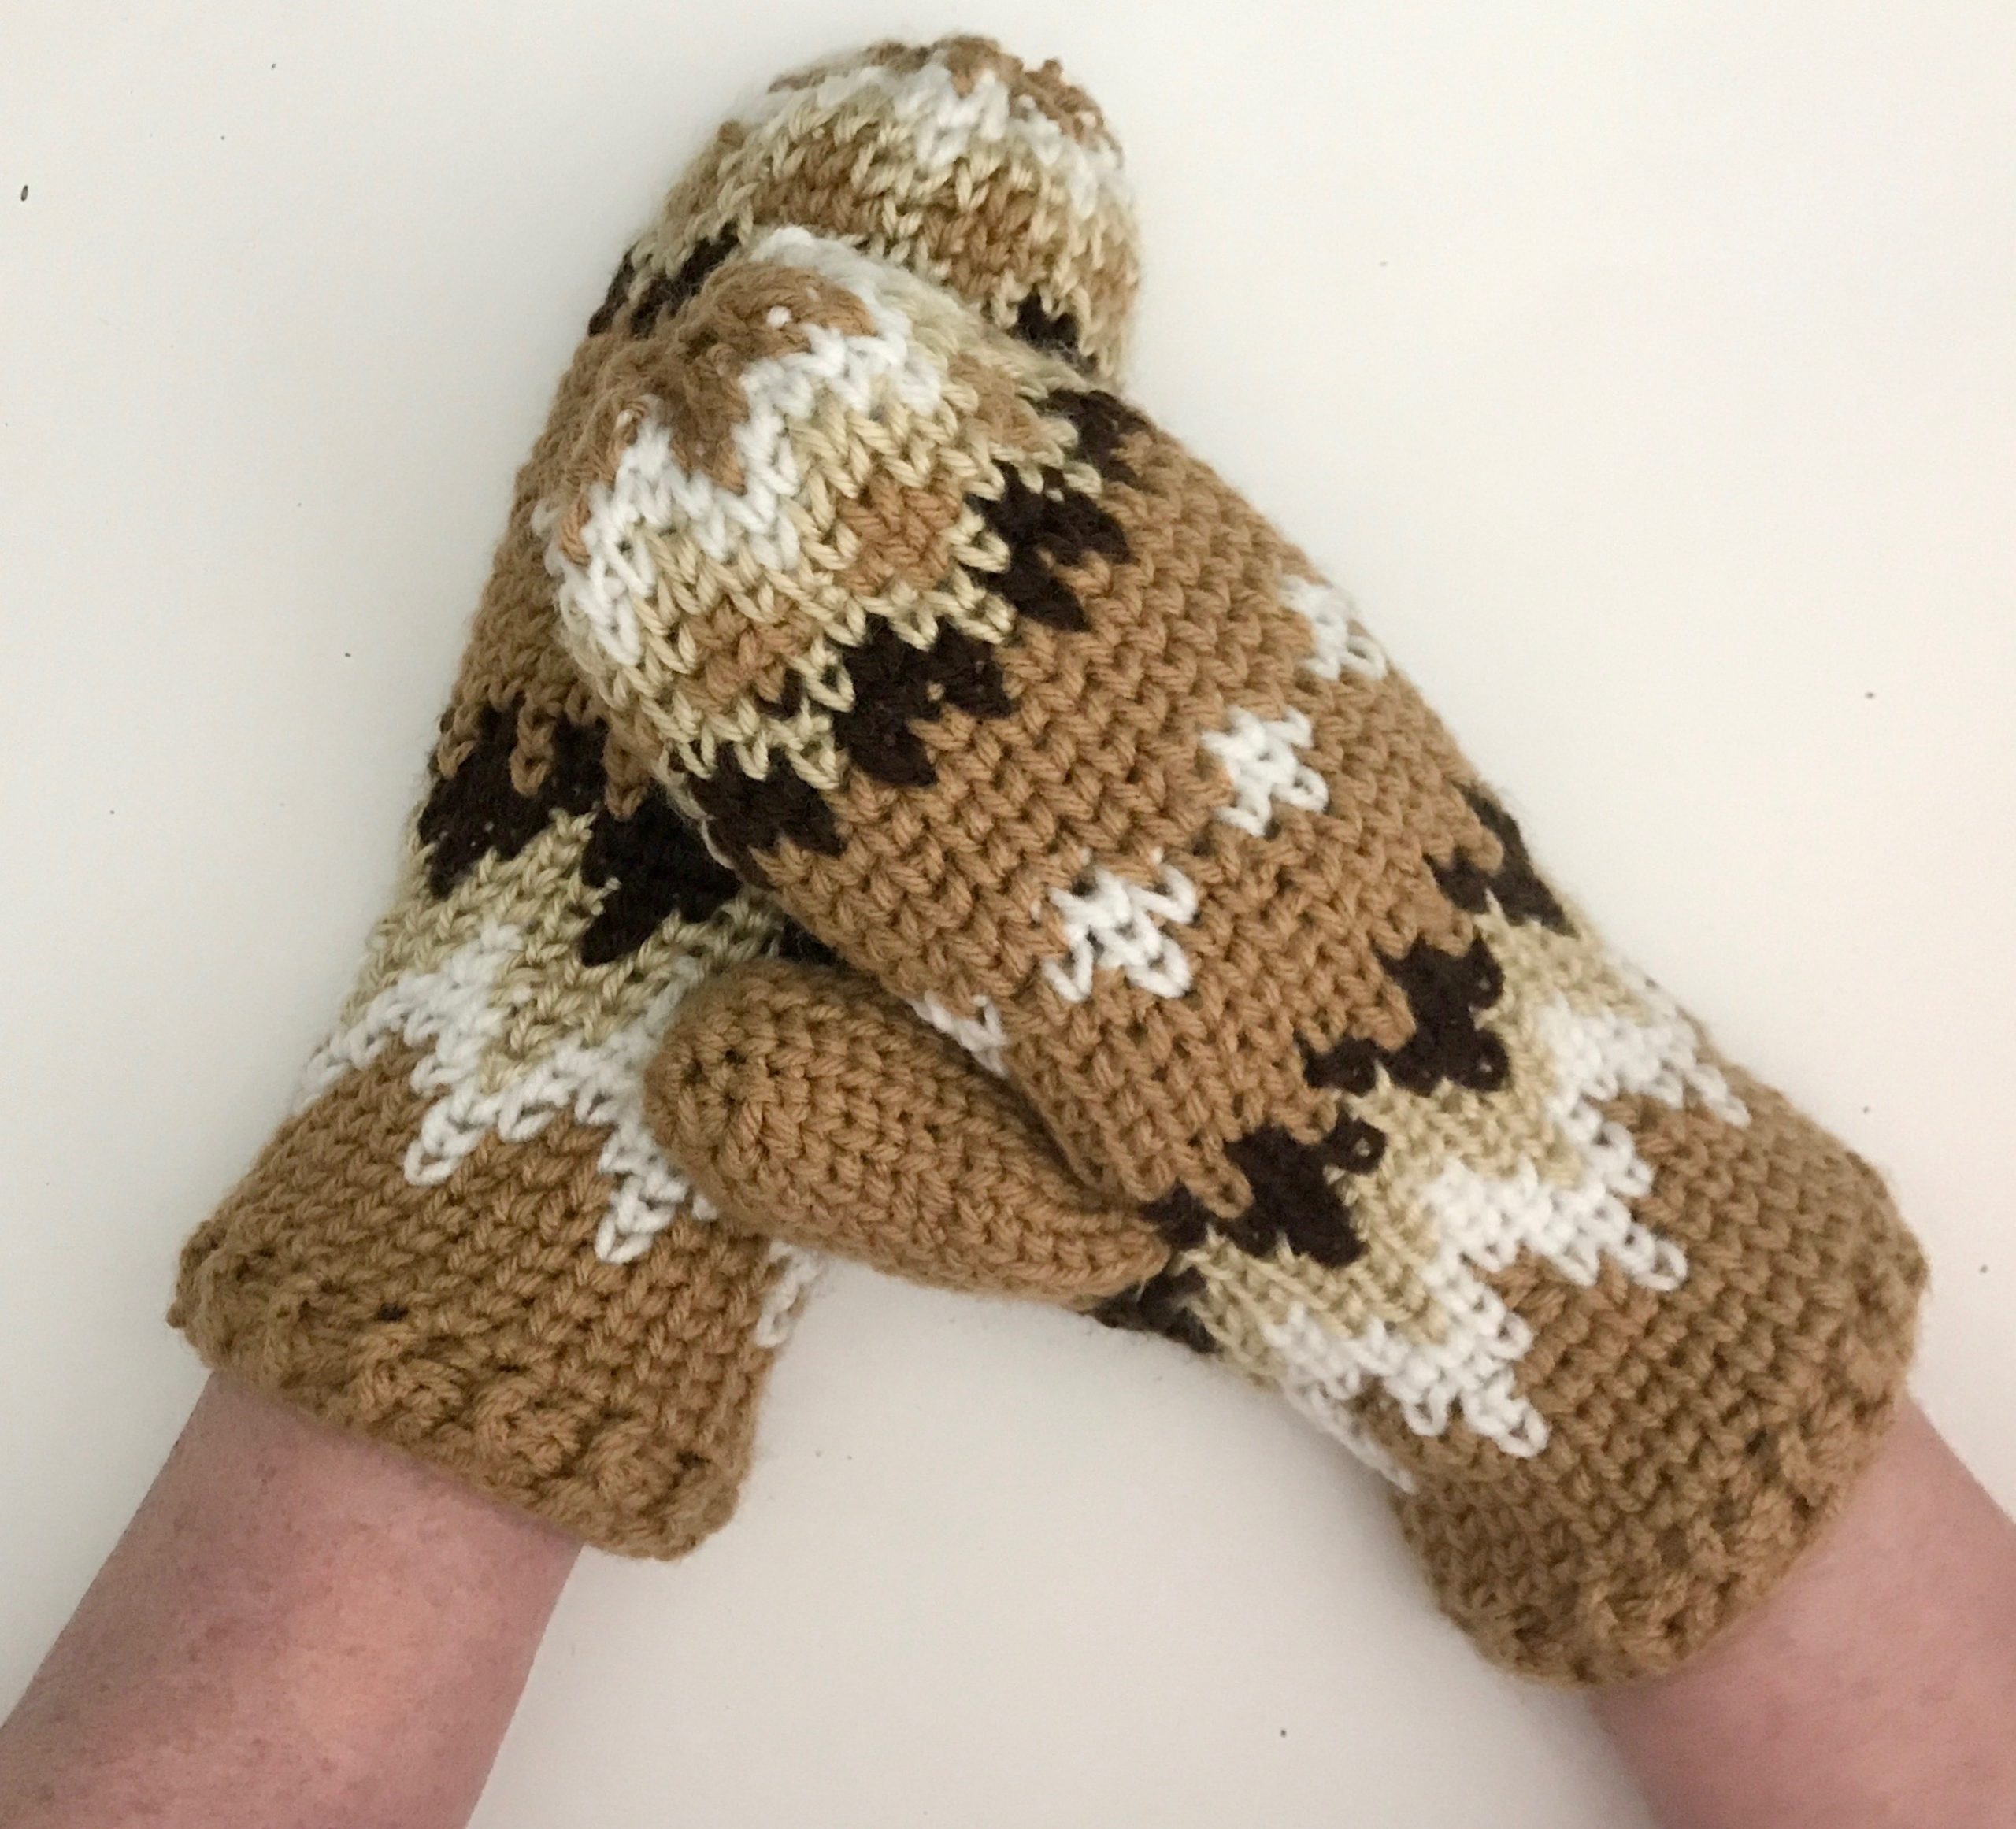
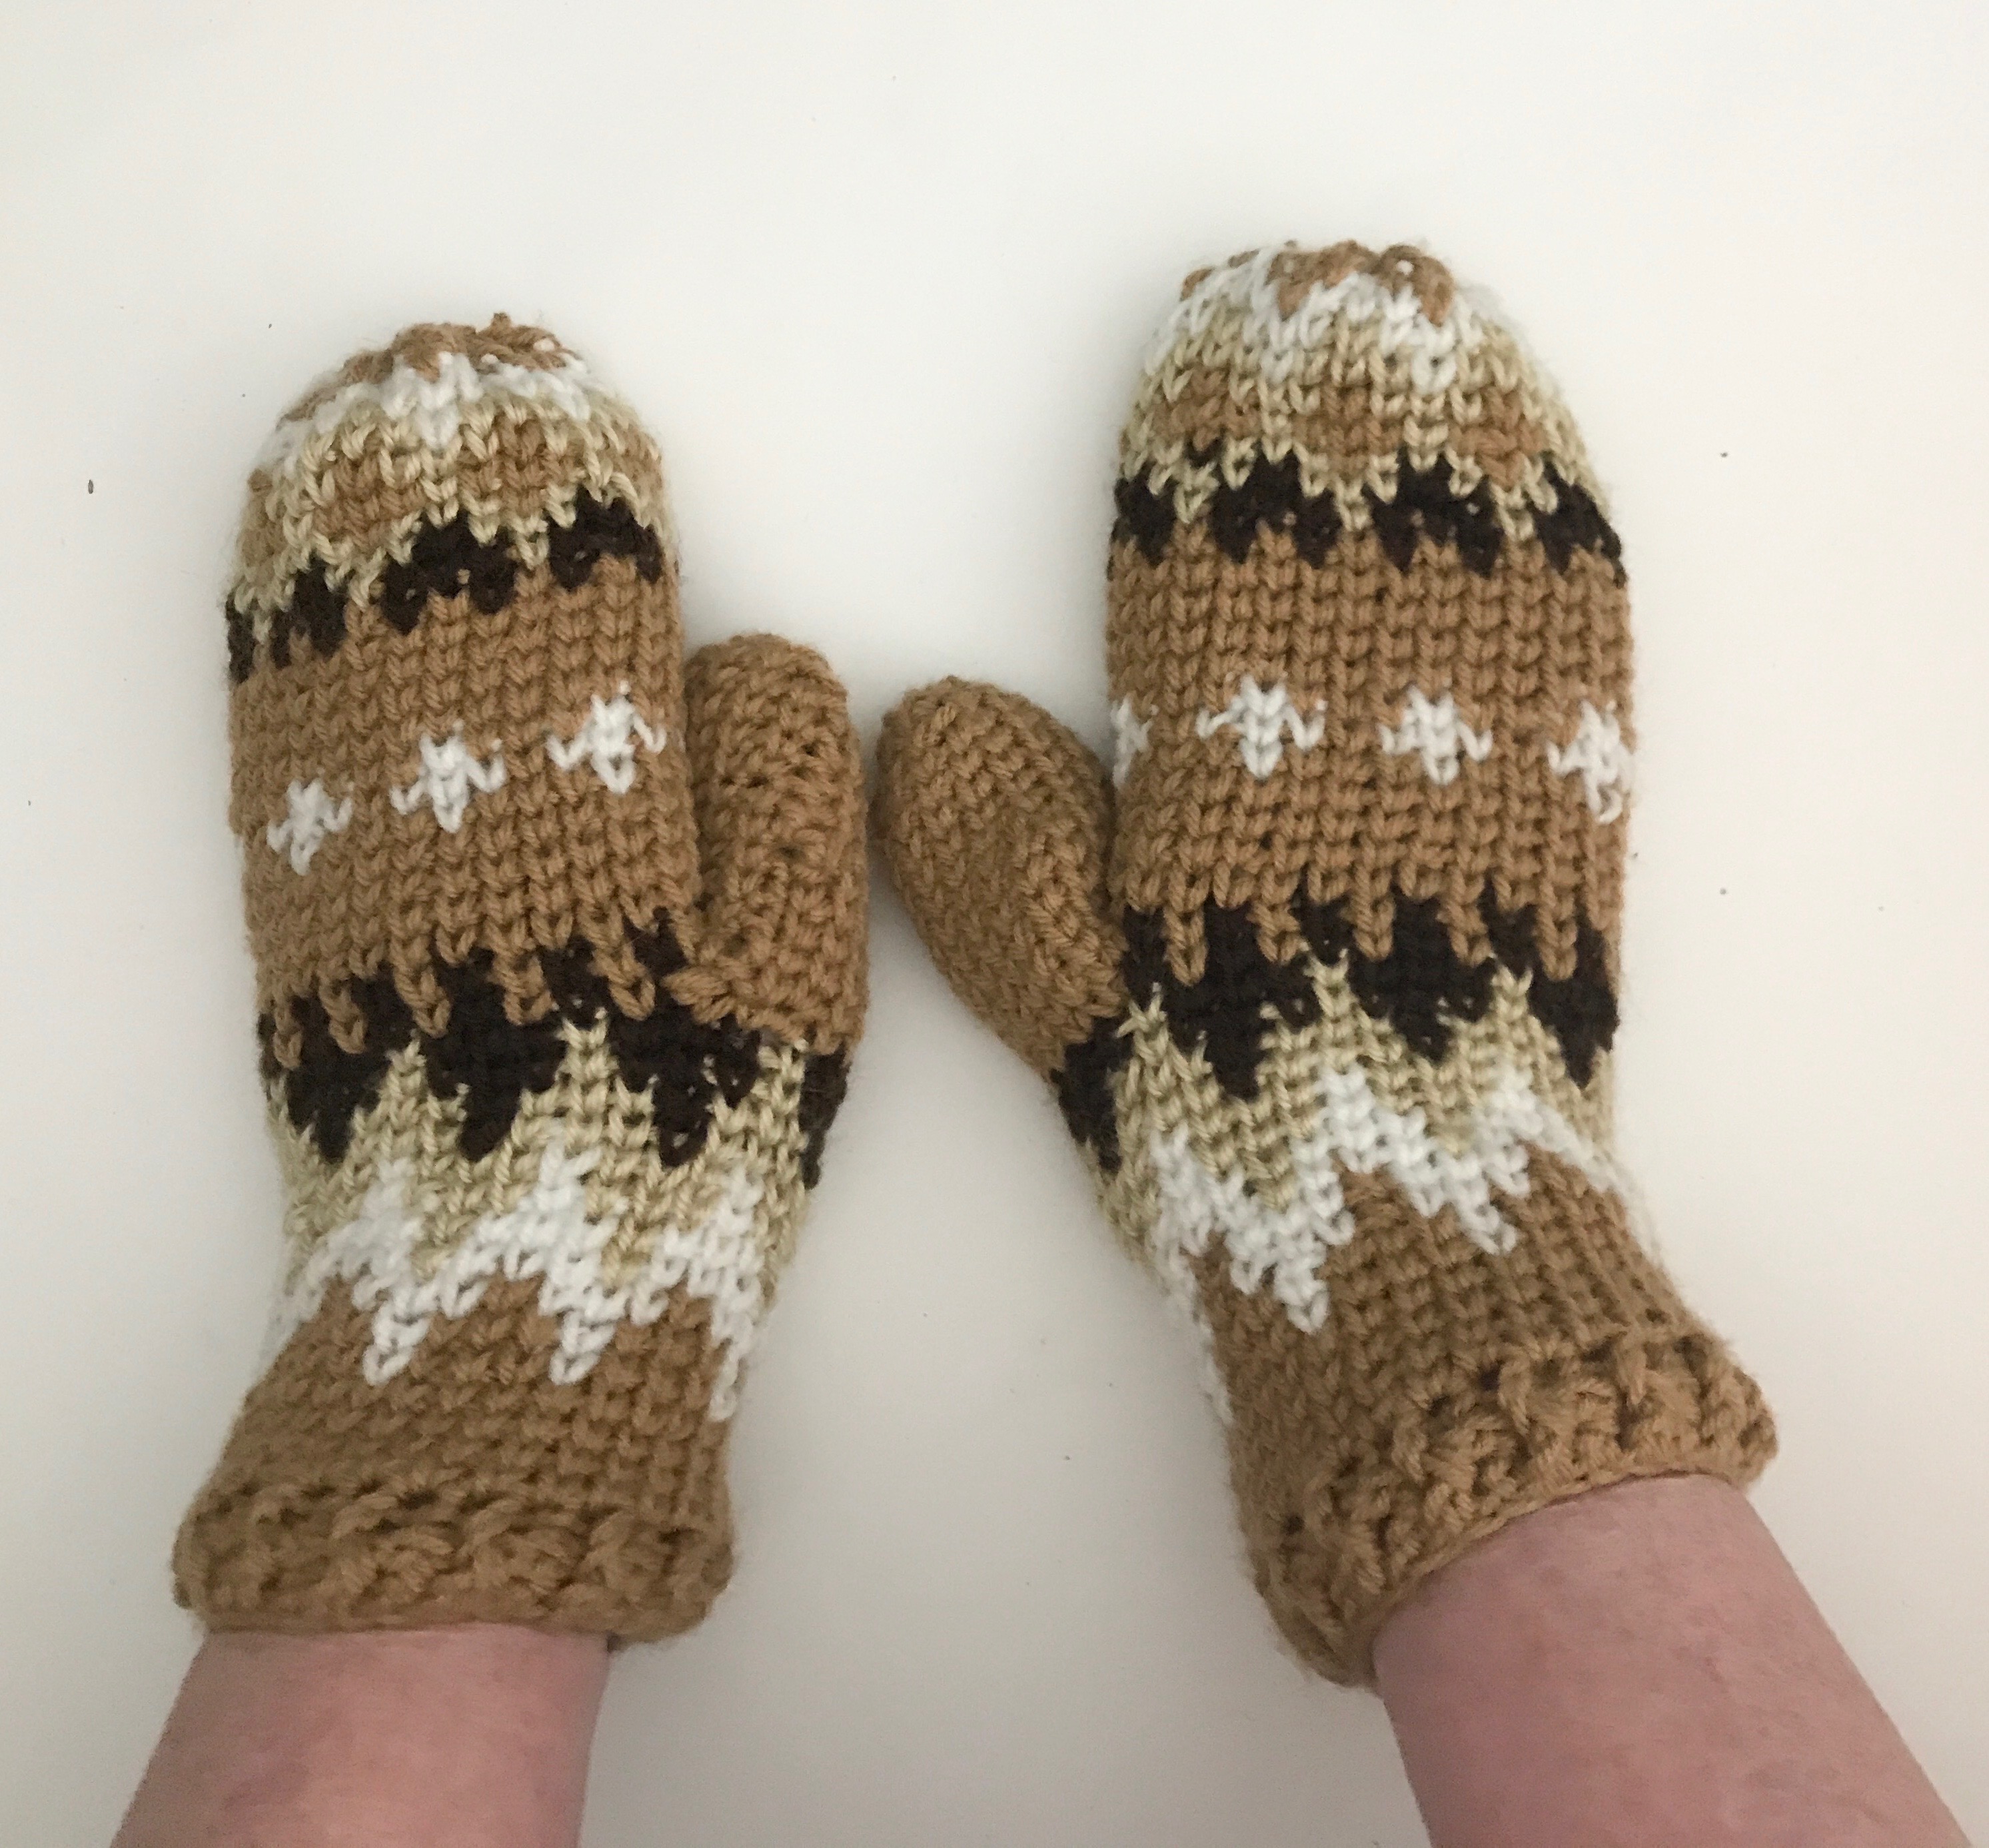
The inspiration for my Bernie’s Mittens free pattern came Saturday morning when I woke up. I thought, I could try and emulate Bernie’s Mittens and offer the pattern to the maker community. I am always looking for new challenges and this was a good one. First of all I would need to use the waistcoat or crochet knit stitch, to make them look knit, like Bernies own mittens, made from a recycled sweater. Then there was the pattern with the fairisle like design. There are lots of photos of the mittens online so it was a matter of carefully copying the colours onto a colour chart.
Then I had to decide whether to add a cuff, which I did after several false starts. I ended up deciding on a simple fpdc, bpdc ribbing.
The second challenge for me was the thumb, as the the mitten was being crocheted in the round. If you turn the work with this stitch it would not work. I like how my thumb turned out, even though it is quite roomy, lol. If you want a thinner thumb you could adjust the amount of stitches you chain and skip.
If you love these Bernie’s Mittens, then I think you might want to check out the Winter Time fingerless gloves crochet pattern as well as my Short and Chunky Fingerless Gloves. All these gloves are popular with customers on my market stalls, especially during the Christmas Season. They make fantastic gifts and make up so quickly.
PIN THIS FOR LATER. 

There is an ad free, printer friendly PDF pattern for my Bernie’s Mittens pattern available in my Etsy shop if you would prefer a written pattern. Just click the button for the PDF pattern.

Or if you are a Ravelry lover you can find it on Ravelry.


The Bernie’s mittens Free Pattern is recommended for intermediate crocheters. They are made in the round, and the stitch is made to look like knitting. It is a bit tricky to learn but once you have practised the waistcoat or crochet knit stitch you can progress easily. I have a link to a waistcoat stitch tutorial below in the Bernie’s Mittens Free pattern. You will have so much fun making these once you master the stitch and then the colour changes. There is also a great video explaining the best way to change the colours so you get the results below.
I used yarns out of my stash as I needed these colours and it was a real spur of the moment idea to create this pattern. It was all worsted weight (4) yarn and I was so lucky I had the right colours and enough to complete the mittens.
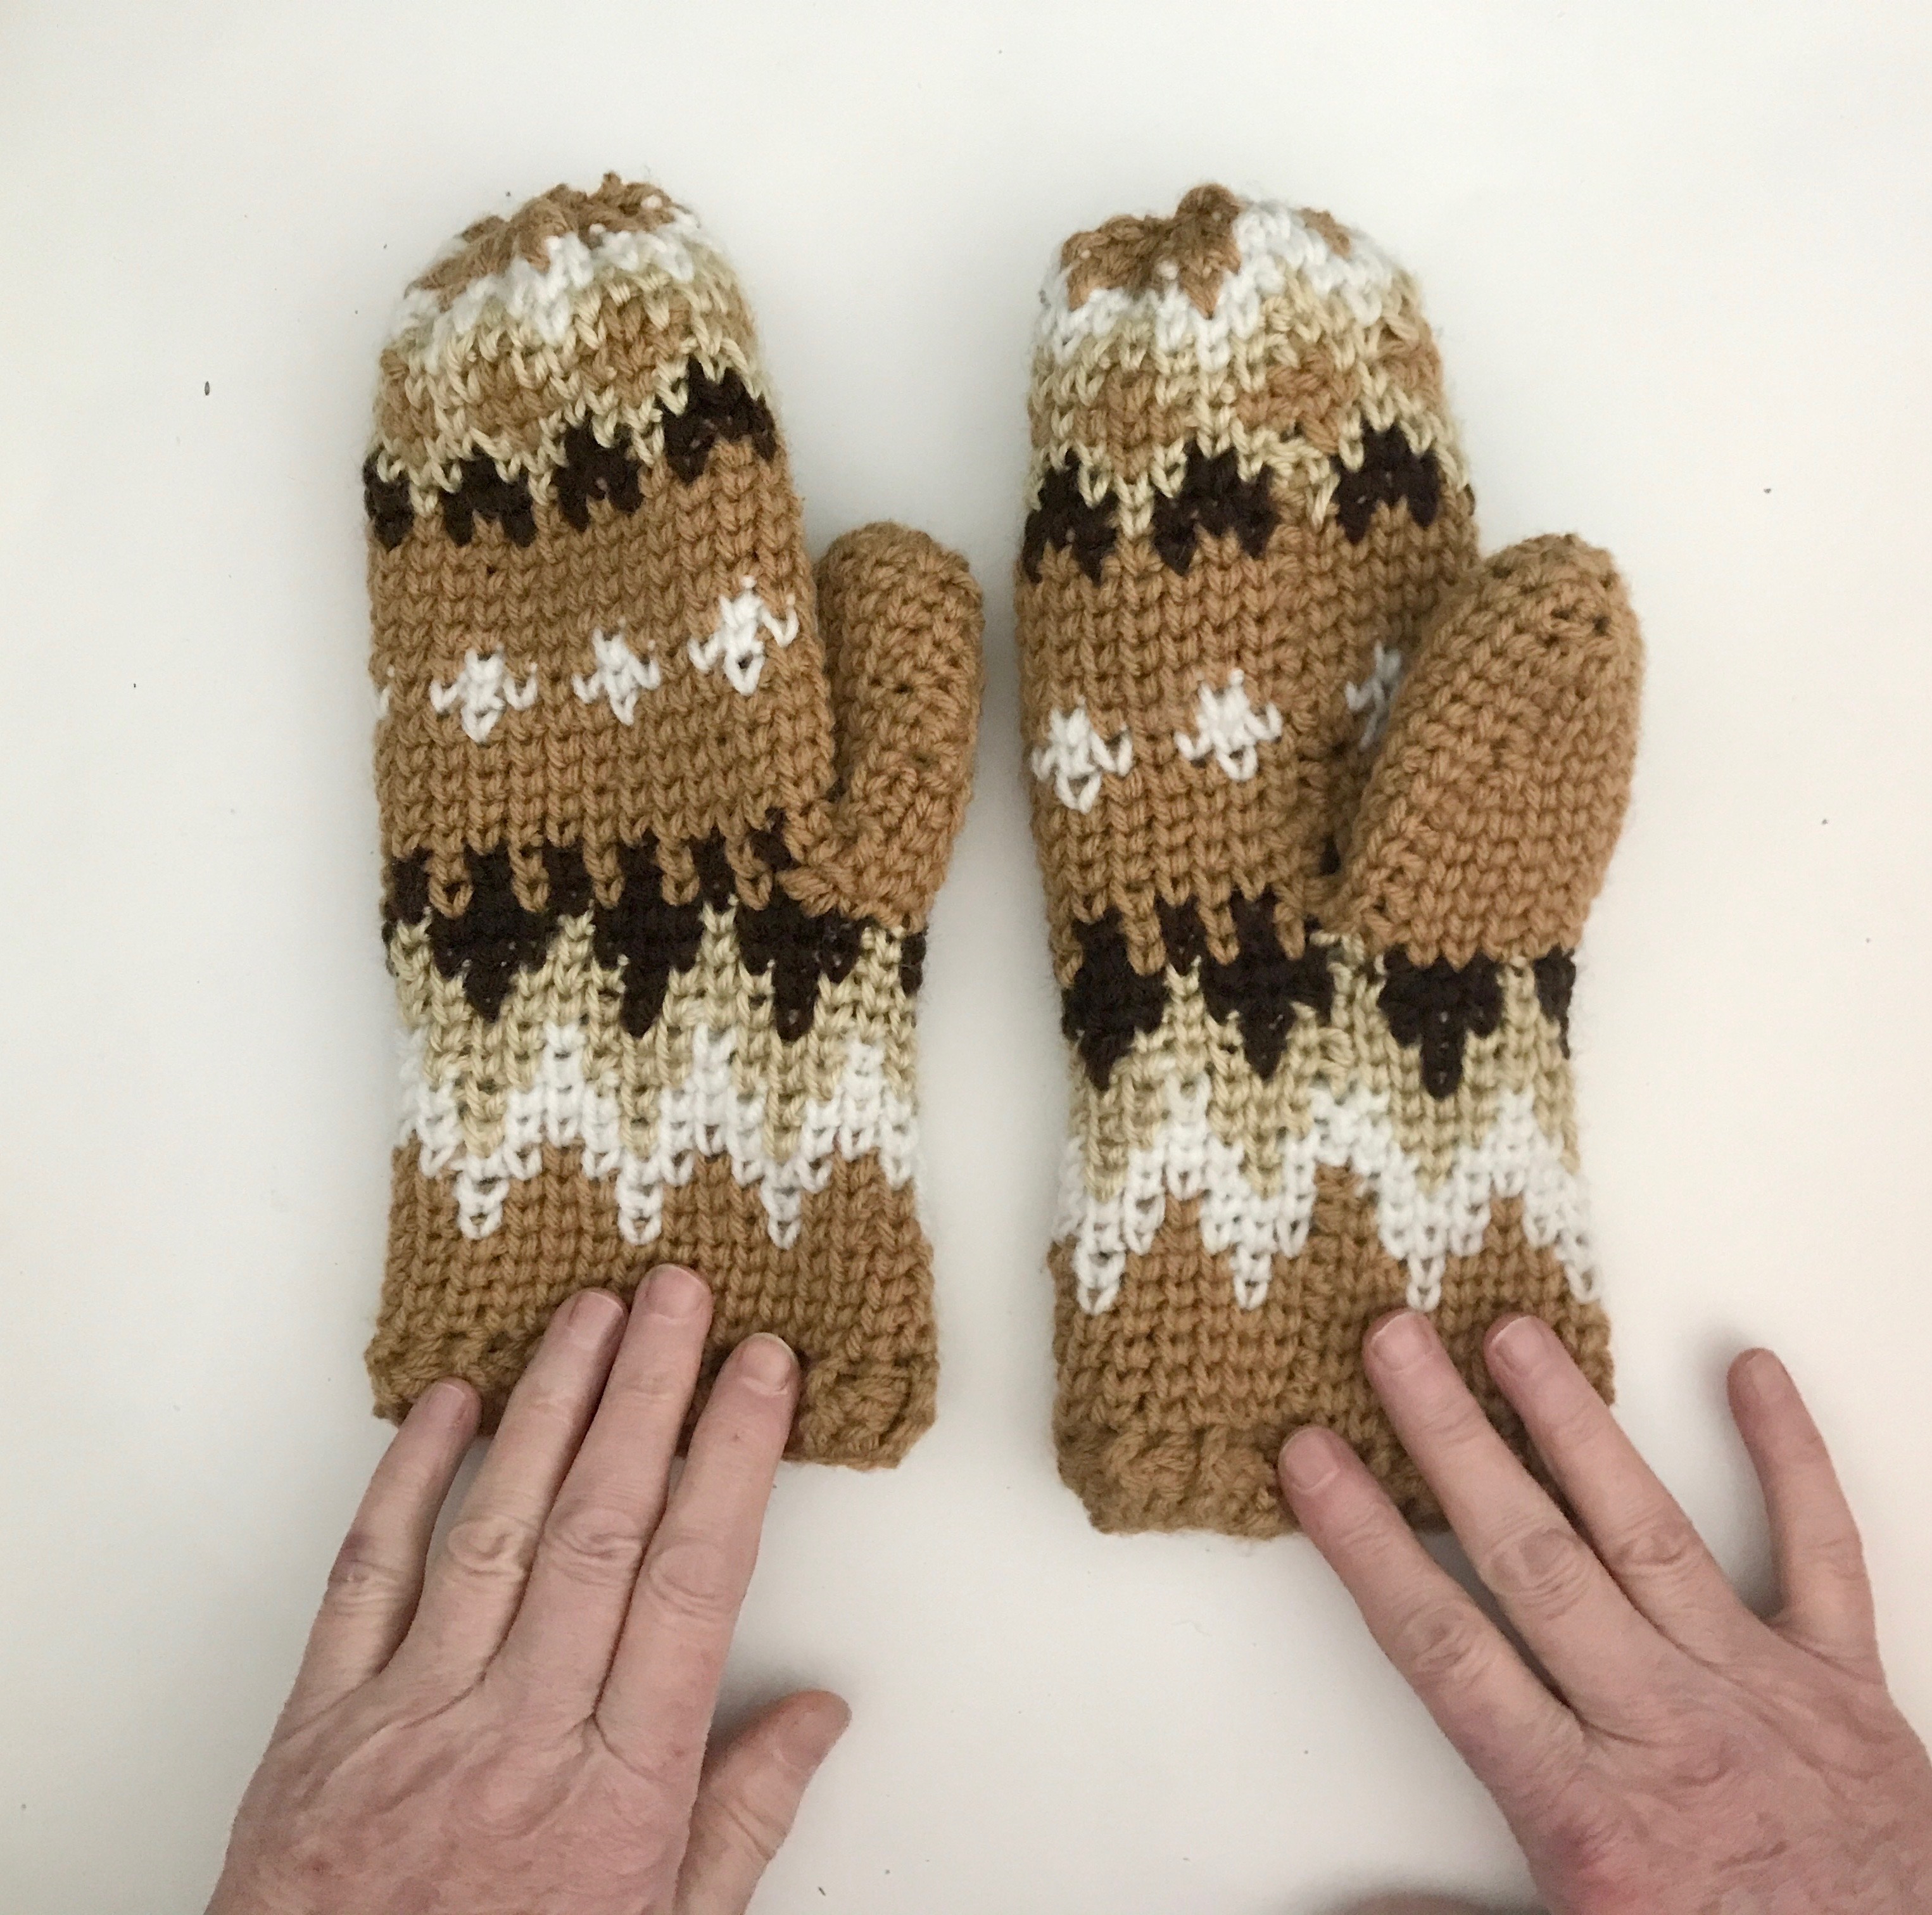
These mittens are one size only and will fit an average adult.
Don’t forget to pin it for later.

Special Notes about the Stitches Used In Bernie’s Mittens.
You make the Bernie’s Mittens free pattern using the waistcoat or crochet knit stitch. Sometimes it is called the center post stitch or the center single crochet. When done in the round, like we do with these mittens, it looks just like knitting.
Sometimes this stitch can get very tight and this can make getting the hook through the V difficult. I managed ok with the H-5mm hook, but it is ok to go up a hook size from the recommended size if it helps you.
I added a small little cuff to the mittens. You can leave it off if you prefer.
CHECK OUT CARROWAY CROCHET ON YOUTUBE.
Are you looking for a fun project? If you haven’t heard of a Temperature Blanket and you also love learning new stitches you should check out my Introduction to my Lotsa Stitches Temperature Blanket Crochet Along. (CAL)

The Bernie’s Mittens Pattern
Pattern by Pam Carr ©2020
This is an intermediate pattern that uses the waistcoat stitch or crochet knit stitch and it is worked in the round. There is a great video demonstrating this stitch and also how to crochet in the round. https://youtu.be/K41sz7wRwRo
Bernie’s Mittens are so special because of the colour work and you can see the technique for changing colours here.
Finished Size:
Adult: 11” tall x 4.5” across the palm of the hand.
Supplies you will need for the mittens:
You will need four colours of worsted weight (4) yarn. I used some from my stash. The colours for the Bernie Mitten I used were Café Latte, Bone, White and Chocolate Brown.
Hook. H/5.0 mm crochet
Yarn needle
Scissors
Gauge: 12 knit stitch sc x 16 rows = 4”x 4”
Abbreviations:
Ch: chain
Sc: single crochet
DC: double crochet
FPDC: front post double crochet
BPDC: Back post double crochet
This pattern uses US terminology. The US and UK crochet terms are different, but they use the same terms to describe different stitches. Here is a simple conversion chart for anyone in the UK.
| US
Double Crochet (dc)
|
UK
Treble (tr)) |
Special Stitch used in the Cuff of the Bernie’s Mittens free pattern.
The Cuff
For the cuff you will do Front Post Double Crochet and Back Post Double Crochet.
Here is a great video tutorial to learn this technique.
https://www.youtube.com/watch?v=5S2D25Aa5oA
FPDC or front post double crochet stitch.
Yarn over, insert hook from the front side of the work to back and then to front again, around the post of the indicated stitch on the previous row; yarn over and pull up a loop (3 loops on hook), yarn over and draw through two loops, (2 loops on hook), yarn over and draw through two loops, (1 loop on hook).
BPDC or back post double crochet.
Yarn over, insert hook from the back side of the work to front and to back again around the post of the indicated stitch on the previous row; yarn over and pull up a loop (3 loops on hook), yarn over and draw through two loops (2 loops on hook), yarn over and draw through two loops (1 loop on hook)
A tip to remember when working this ribbed cuff.
When you work 1 front post double crochet (FP DC) around the post of the double crochet in the row below, this stitch is raised on the surface of the fabric facing you. Always make sure that the post stitches are raised to the same side in each successive row or round. Keep an eye on the ribs and remember: If the stitch you’re working is raised to the front, work a front post stitch; if the stitch is raised to the back, work a back post stitch.
Special Notes: Please read before beginning the instructions.
These mittens are crocheted in the round so you do not turn the work.
Do not count ch st(s) at the beginning of each row as a stitch.
The last stitch of each round is joined to the first stitch of the round with a slip stitch. This is in the instructions.
This pattern should fit an average adult. You can adjust the size by adding or subtracting rounds. Make any customisations in the sections where there is solid colour A so the pattern is not interrupted. If you want them wider then go up in increments of 4 so the colour pattern will work.
You will need four colours of worsted weight (4) yarn.
A, light brown
B White
C. Bone
D. Dark Brown
NOTE: I will refer to each colour by the letters of the alphabet as assigned above.
Invisible Colour Change with the waistcoat stitch.
- Insert hook,
- Yarn over with colour for that stitch,
- Pull up a loop. (2 loops on hook)
- Yarn over with the new colour for the following stitch.
- Pull through the loops on your hook. Your color change is made!
Instructions:
First hand.
With colour A ch 28 join and join with a sl st into the first chain to form a ring, being careful not to twist the chain.
Round 1: ch2, dc into the first and into every stitch around, join to the top of the ch1 with a sl st (28 stitches)
Round 2: ch2, make one fpdc into the row below, next make 2 bpdc into the row below, repeat these two stitches to the end, join to the top of the ch 2 with a sl st (28 stitches)
Round 3; ch1 sc across (28)
From now on all stitches are waistcoat or crochet knit stitch unless otherwise noted.
Round 4: Ch1 waistcoat st, across, join with a sl st to top of ch 1(28)
Round 5: Ch1 waistcoat st, across, join with a sl st to top of ch 1(28)
Round 6: Ch1 waistcoat st, across, join with a sl st to top of ch 1(28)
Note: Remember you are working each stitch in the waistcoat stitch.
Also, when you change the colour, remember to use the method described above.
We are now working up the mitten and creating the colour work section.
Round 7: Ch1. *2 st with A, 1 st with B, 1 st with A* repeat between * and * to the end, join with a sl st to top of ch 1. (28)
Round 8: Ch1. *2 st with A, 1 st with B, 1 st with A* repeat between * and * to the end, join with a sl st to top of ch 1. (28)
Round 9: Ch1. *1 st with A, 3 st with B* repeat between * and * to the end, join with a sl st to top of ch 1. (28)
Round 10: Ch1. *1 st with A, 3 st with B* repeat between * and * to the end, join with a sl st to top of ch 1. (28)
Round 11: Ch1. *2 st with B, 1 st with C, 1 st with B* repeat between * and * to the end, join with a sl st to top of ch 1. (28)
Round 12: Ch1. *2 st with B, 1 st with C, 1 st with B* repeat between * and * to the end, join with a sl st to top of ch 1. (28)
Round 13: Ch1. *1 st with B, 3 st with C* repeat between * and * to the end, join with a sl st to top of ch 1. (28)
Round 14: Ch1. *1 st with B, 3 st with C* repeat between * and * to the end, join with a sl st to top of ch 1. (28)
Round 15: Ch1. *2 st with C, 1 st with D, 1 st with C* repeat between * and * to the end, join with a sl st to top of ch 1. (28)
Round 16: Ch1. *2 st with C, 1 st with D, 1 st with C* repeat between * and * to the end, join with a sl st to top of ch 1. (28)
Round 17: Ch1. *1 st with C, 3 st with D* repeat between * and * to the end, join with a sl st to top of ch 1. (28)
Round 18: Ch1. *1 st with C, 3 st with D* repeat between * and * to the end, join with a sl st to top of ch 1. (28)
Now we make the opening for the thumb.
Round 19: Ch 1, make 1 stich into the first st with D, ch 8, skip 8 stitches, * 1 stitch with A into the next st, 1 st with D* repeat between * and * to the end finishing with A. Join with a sl st to the top of the ch1. (8 ch st plus 20 stitches is 28 stitches)
Round 20: Ch1. *1 st with D, 1 st with A* repeat between * and * to the end, join with a sl st to top of ch 1. (28)
Round 21-24: All stitches are made with A for these 4 rows.
Round 25: Ch1, * 2 st with A, 1 st with B, 1 st with A * repeat between * and * to the end, join with a sl st to the top of the ch1. (28)
Round 26: Ch1. *1 st with A, 3 st with B* repeat between * and * to the end, join with a sl st to top of ch 1. (28
Round 27: Ch1. *2 st with A, 1 st with B, 1 st with A* repeat between * and * to the end, join with a sl st to top of ch 1. (28)
Round 28-31: All stitches are made with A for these 4 rows.
Round 32: Ch1. *1 st with A, 1 st with D* repeat between * and * to the end, join with a sl st to top of ch 1. (28)
Round 33: Ch1. *1 st with C, 3 st with D* repeat between * and * to the end, join with a sl st to top of ch 1. (28)
Round 34: Ch1. *2 st with C, 1 st with D, 1 st with C* repeat between * and * to the end, join with a sl st to top of ch 1. (28)
Round 35: Ch1. *1 st with A, 3 st with C* repeat between * and * to the end, join with a sl st to top of ch 1. (28)
Round 36: Ch1. *2 st with A, 1 st with C, 1 st with A* repeat between * and * to the end, join with a sl st to top of ch 1. (28)
Round 37: Ch1. *1 st with A, 3 st with C* repeat between * and * to the end, join with a sl st to top of ch 1. (28)
Round 38: Ch1. *2 st with C, 1 st with B, 1 st with C* repeat between * and * to the end, join with a sl st to top of ch 1. (28)
Round 39: Ch1. *1 st with C, 3 st with B* repeat between * and * to the end, join with a sl st to top of ch 1. (28)
Round 40: Ch1. *2 st with B, 1 st with A, 1 st with B* repeat between * and * to the end, join with a sl st to top of ch 1. (28)
Round 41: Ch1. *1 st with B, 3 st with A* repeat between * and * to the end, join with a sl st to top of ch 1. (28)
Round 42: Ch1. Working with A, *2 sc tog around to the end. (14 st)
Turn inside out and with a tapestry needle, weave in and out of the stitches from Row 42 and gather and pull tightly and tie off.
Fasten off and weave in the ends.
Adding the Thumb
Round 1: Attach yarn into the thumb hole with a slst. Ch 1, and pick up 16 stitches around the thumb hole. Join with a sl st to top of 1st sc (16)
Rounds 2-6: Ch 1, waistcoat stitch around (16)
Round 7: Ch 1, waistcoat stitch 2 tog, waistcoat st in the next 6 st, waistcoat stitch 2 tog, waistcoat stitch around to the end (14)
Rounds 8-11: Ch 1, waistcoat around (14)
Round 12: Ch 1, * waistcoat stitch 2 tog, waistcoat stitch in the next 2 st* repeat between * and * to the end (9)
Round 13: waistcoat stitch around (10)
Rounds 14: sc2tog around.
Cut and tie yarn leaving a long tail. Turn inside out. Using a yarn needle, weave through every other stitch around the top. Pull to cinch the thumb shut and tie off.
Fasten off and weave in the ends.
Making the Other Hand
Make as the previous hand but for the thumb placement use these two rounds in place of Rounds 19 and 20.
Round 19: Ch 1, work *1 stitch with D, 1 stitch with A* repeated (for 19 stitches) until there are 9 stitches left in the row, ch 8, skip 8 stitches, 1 stitch with A into the last st, join with a sl st to the top of the ch1. (8 ch st plus 20 stitches is 28 stitches)
Round 20: Ch1. *1 st with D, 1 st with A* repeat between * and * to the end, working over the chain and making 1 stitch with A in the final stitch of the row, join with a sl st to top of ch 1. (28)
Return to the First Hand to finish your mitten.
If you have any questions or need help with the patterns, please email me at carrowaycrochet@outlook.com, and Iʼll be glad to help you.
Please share pics of your mittens on social media and tag me and the #berniesmittens
Join my Carroway Crochet Community on Facebook to share your crochet and get some inspiration from fellow crochet lovers.
Other Patterns You May Like.
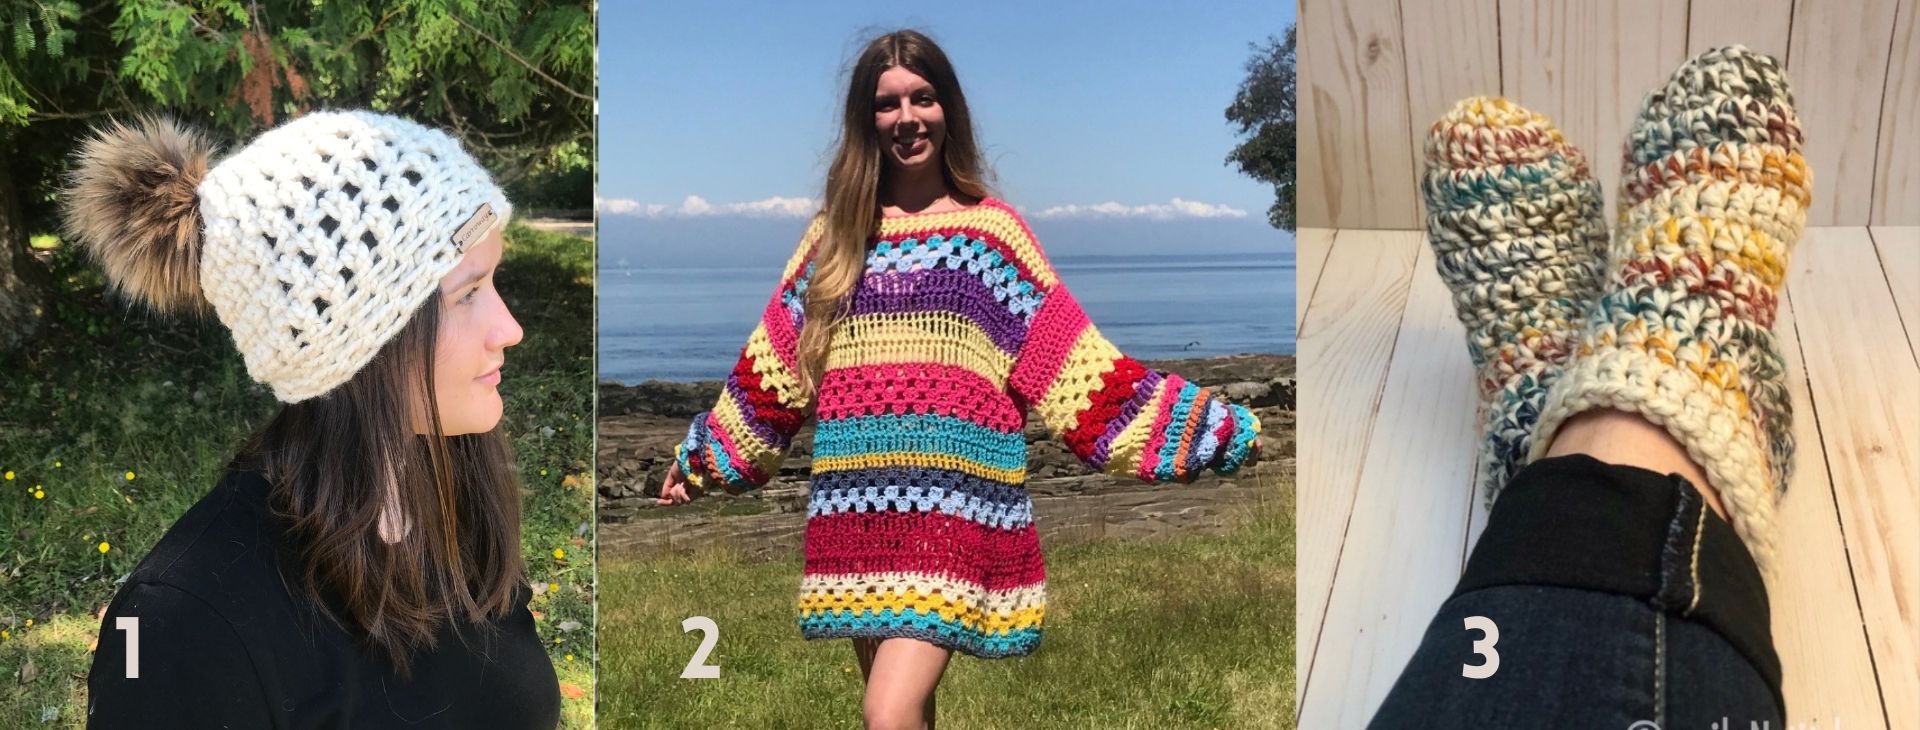
3. The Warmest Feet Ever Slipper Socks.
More Places to Find Crochet Free Patterns:
If you love crochet, you can find over a thousand free crochet patterns including some for crop tops and bralettes over at All Free Crochet
I am honoured to have my free crochet bralette pattern, the Earth Mother Bralette Pattern added to the All Free Crochet site.
 It is a great resource for crochet lovers and I am proud to also have my Take Me Outside Infinity Scarf Pattern posted over on the All Free Crochet Site.
Selling items made from my patterns?
You are more than welcome to sell items made from my pattern. Please do share my link and tag and help promote it on social media. Thank you.
If you have any questions or need help with the patterns, please email me at carrowaycrochet@outlook.com, and Iʼll be glad to help you.
Find other patterns by Carroway Crochet in my Etsy Shop and on Ravelry.
Let’s Share and Connect!
Thank you so much for visiting me here at Carroway Crochet. Your support and visits help me to grow and add more and more great content to my blog.
Other places you can find me are:
This design, written work and images are a copyright of
©CarrowayCrochet and may not be copied or reprodced in any way.
You have permission to sell finished products made from this pattern, but please leave a link to my blog, www.carrowaycrochet.com in your product listing specifying that I am the designer of this pattern.
Thank you and happy crocheting.