Crochet Cloud Bucket Hat Free Crochet Bucket Hat Pattern

How to Crochet a Cloud Bucket Hat.
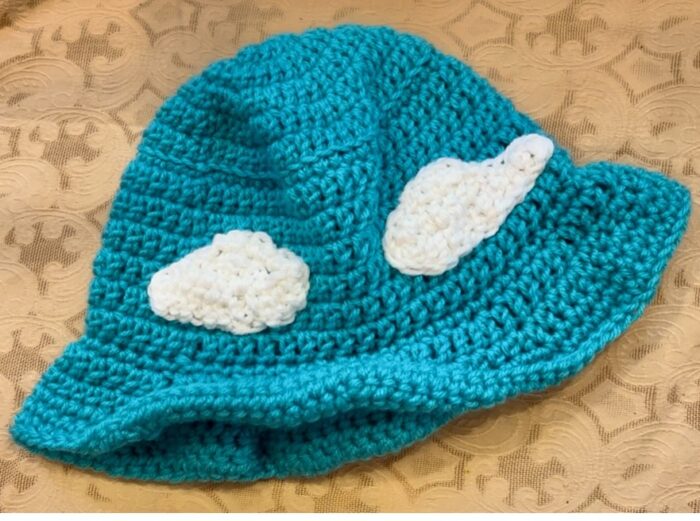
The Cloud Bucket Hat pattern is a free crochet pattern and the perfect hat to spread the happiness. This cute bucket hat is pure joy.
I love modern crochet projects and this Cloud Bucket Hat definitely has a whimsical feel.


**This post contains affiliate links. If you make a purchase using some of my links I may receive a small commission at no extra cost to you.**
Description of The Cloud Bucket Hat Pattern.
This Cloud Bucket Hat Free Crochet Pattern is for a teen/adult size. This popular Cloud Bucket Hat design is meant for it to have a loose fit, it is not a fitted hat like a beanie.
The Cloud Bucket Hat pattern uses double crochet stitches. I made the brim of this bucket hat so it has a gentle flare to it.
This is a top down hat and is beginner friendly. First we make the crown and then work down the sides and finally complete the brim.

This pattern is available in an ad-free, printable PDF on Ravelry

Sign up for my Newsletter
Get the latest info on free patterns and fun blog hops.
Join Me on Facebook.
Follow me on Facebook for lots of great crochet news and all the latest videos and free patterns coming from Carroway Crochet.
Join in With the Carroway Crochet Community .
You can also share your crochet projects with our Carroway Crochet Community on Facebook. You will also get the updates on new blog hops I host or new pattern releases.

Are You a Visual Learner.
If you love this Bucket Hat, there is a Video Tutorial for it on my YouTube channel. Here are links to the videos, and I also have left handed versions for all these videos. You can find them in the links that can be found in the descriptions below these videos.
Here is the video tutorial for how to make the Basic Bucket Hat. You can keep this Bucket Hat plain or add flowers and clouds etc to it.
Here is the video tutorial for how to make the clouds.
And here is Part 2 of How to make a Cloud Bucket Hat showing how to Sew on the Clouds.
Garments you might like to wear with your Cloud Bucket Hat.
This hat would work great with my Retro Hippy Shorts as they feature a granny square pocket. Also you could pair it will my with the Ivory Lace Bralette
I have also got a cool Granny Stripe Skirt Pattern you may like.

The Cloud Bucket Hat
Pattern by Pam Carr 2025

Introducing the Cloud Bucket Hat from Carroway Crochet. I fell in love with crochet Bucket Hats and have been exploring making them in as many ways as I can.
This simple version with added clouds has proven very popular at the market where I sell my items.
It is made with mainly the double crochet stitch. There are half double crochets and single crochets used in the brim. It is made from the top down and it is a beginner friendly pattern.
The Cloud Bucket Hat seen above uses four clouds, there are two cloud shaped appliques included in this pattern. You can customize your hat and have as many clouds as you like on your hat.
Size: Teen/Adult
Finished Hat Size: 18”-23“/ 51-56 cm in circumference. 9” tall including the brim.
Supplies you will need:
Yarn: One skein of worsted weight yarn (approximately 150-175 yds), in your main colour and scraps of white worsted weight yarn for your clouds.
Hook: size, H/8-5.00mm
Notions: Tapestry needle and scissors.
Gauge: 10 dc – 7 dc rows = 4” (10 cm)
Abbreviations (uses US conventions)
-
Ch = chain
-
st = stitch
-
sc = single crochet
-
ss = slip stitch
-
scblo = single crochet back loop only.
-
Scflo = single crochet front loop only
-
Rnd – round
This pattern uses US terminology. The US and UK crochet terms are different, but they use the same terms to describe different stitches. Here is a simple conversion chart for anyone in the UK.
USSingle crochet (sc)
|
UKDouble crochet (dc)
|
My YouTube channel, www.youtube.com/CarrowayCrochet, is a great resource for video tutorials for:
-
how to single crochet,
-
how to do the back loop only stitch and the front loop only stitch
-
and more.
Instructions:
Bucket Hat:
Size:
Teen/Adult
Finished Hat Size: 18”-23“/ 51-56 cm in circumference. 9” tall including the brim.
Instructions:
This hat is worked in the round.
Please note that the Ch 2 worked at the beginning of a Round does not count as a stitch.
Do not turn at the end of each Round
Chain 4 and join to make a small ring.
Round 1: Ch 2 and make 12 DC in the ring, join to top of ch2 with a sl st, (12 DC)
Round 2: Ch2, 2 DC in each stitch around, join to top of ch2, (24 DC)
Round 3: Ch 2, (2 DC in first st, DC in next st), repeat around, join to top of ch2, (36 DC)
Round 4: Ch 2, (2 DC in first st, DC in next 2 stitches), repeat around, join to top of ch2, (48 DC)
Round 5: Ch 2, (2 DC in first st, DC in next 3 stitches), repeat around, join to top of ch2, (60 DC)
Round 6: Ch 2, SCBLO in the first and every stitch around., (60 SCBLO)
Side of Hat:
Round 7: Ch 2, DC in the first and every stitch around., (60 DC)
Round 8: Ch 2, DC in the first and every stitch around., (60 DC)
Round 9: Ch 2, DC in the first and every stitch around., (60 DC)
Round 10: Ch 2, DC in the first and every stitch around., (60 DC)
Round 11: Ch 2, DC in the first and every stitch around., (60 DC)
Round 12: Ch 2, DC in the first and every stitch around., (60 DC)
Now we will work the brim of the bucket hat.
Round 1: Ch 1, scflo in the first st and into each st around, join with a slst to top of ch1.
Round 2: ch2, 2dc into the first st, *dc into each of the next 4 st, 2dc into the next st, * repeat between * and * until you get to the end of the round and join to the top of the ch2 with a sl st.
Round 3: ch1, 2hdc in first st, *hdc in each of the next 3 st, 2hdc into the next st,* repeat between * and * until you get to the end of the round and join to the top of the ch1 with a sl st. (there will be an odd number of hdc when you get to the end, but that is ok)
Round 4: Ch 1, *2 sc in first st, sc in each of the next 10 sts, * Repeat between * and * to the end of the round. Join with a slst to top of ch1
Round 5: Ch 1, 2 sc in first, sc in next 13 sts. * Repeat between * and * to the end of the round. Join with a slst to top of ch1.
Note: If you want a longer brim this is where you will add extra rounds.
Round 6: Ch 1, sc in each stitch to the end. Join to top of ch1 with a slst.
Fasten off and weave in the ends.
How to Make Clouds.

Abbreviations:
sc – single crochet
hdc – half double crochet
dc – double crochet
sl st – slip stitch
ch – chain
Cloud Instructions: Make 4
Note: There are two cloud shapes for you to use for your hat. You can make as many clouds as you like and place them on your hat as you choose. I used four and placed them evenly around the side of the hat.
Cloud 1:
Using the 5mm crochet hook, chain (ch) 12
Row 1: dc into the second ch from the hook, dc in each of the next 9 stitches, 2dc in last st, turn the work so you can work along the other side of your foundation ch,
– dc in each of the next 6 sts,
– hdc into the next st,
– sl st into the next st. turn work
Row 2: ch1, slst into each of the first 2 st, sc into each of the next 3 st, sl st into next st, turn work
Round 3: ch1, sc into each of the next 3 st. sl st into next st.
Fasten off and leave a long tail to sew your applique on. Weave in the end.
Cloud 2
Ch 12
Row 1: dc into the second ch from the hook, dc in each of the next 10 stitches, turn work.
Row 2: ch1, 4dc, 2hdc, 2sc, turn work
Row 3: ch1, sk1st, sl st into each of the next 2 st, dc into next 3 st, sl st into same st as last dc,
Fasten off and leave a long tail to sew your applique on. Weave in the ends.
Sewing on the Clouds. (There is a video on my YouTube Channel showing how to sew on the clouds.)
For the hat in the photos, I lay my bucket hat flat and placed a cloud in the middle of the front of the hat and sewed it on around the edges. Then I flipped the hat over and placed my second cloud directly behind the one on the front and sewed it in place.
Next, I rotated the hat so the clouds that were sewn on were at the sides, then I place the third cloud directly in the middle and sewed it on and then flipped it again adding the final cloud to the centre of the back.
You may want to add clouds randomly to your hat or place them in different ways, this is your cloud bucket hat and you can be as creative as you like. I hope you have fun with the crochet project.
Please share pictures of your finished hat with us over on my Carroway Crochet Facebook Group.
If you have any questions or need help with the patterns, please email me at carrowaycrochet@outlook.com, and Iʼll be glad to help you.
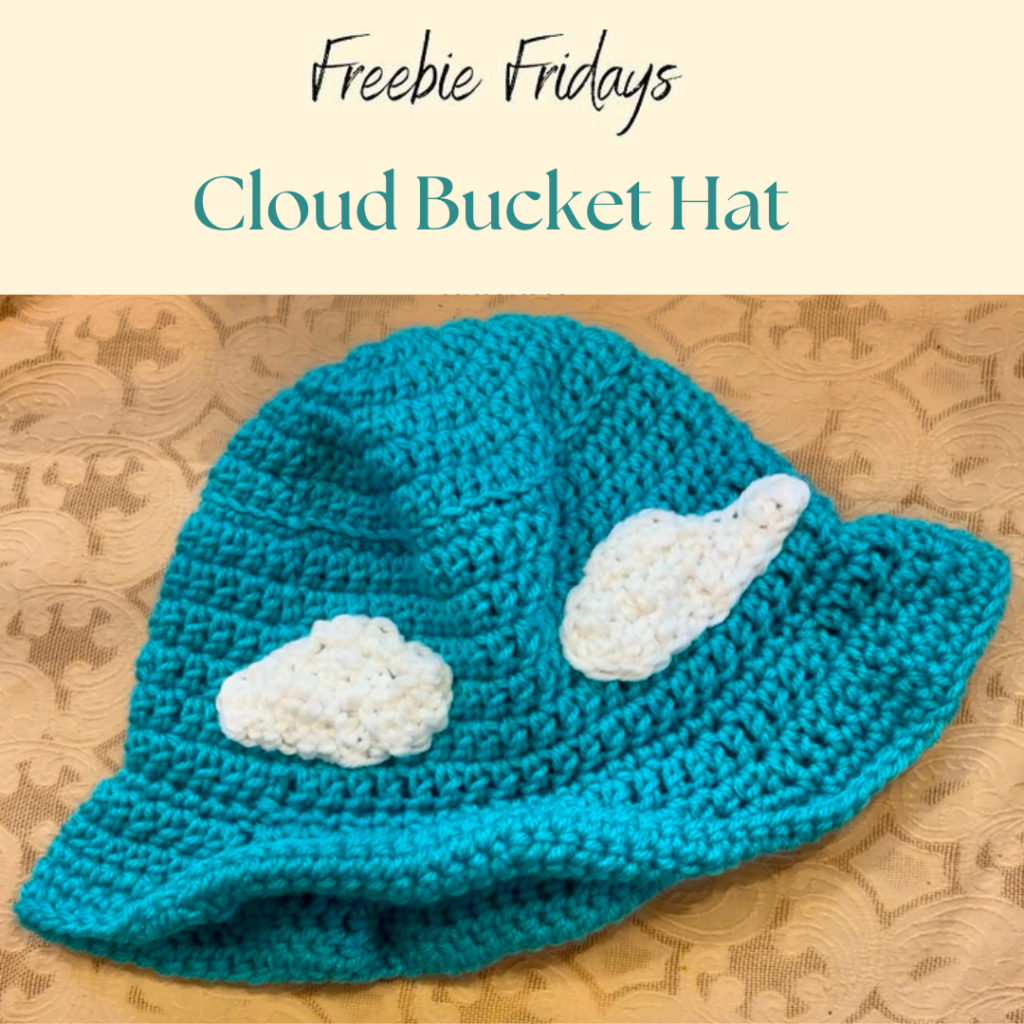
Friday’s Freebie.
Here is today’s Friday’s Freebie Pattern for you.
This pattern is free for Friday Feb 27th and Saturday Feb. 28th.
How to Get Your Friday’s Freebie PDF download.
Click on the image below and it will take you to the pattern listing on Ravelry.
Next click on ‘Buy Now”
At the checkout enter the coupon code FREEBIE26 Click on the apply coupon code.
DOWNLOAD YOUR FREE PATTERN.
Sign up for my newsletter to find out when the next Friday’s Freebie is.

Other Patterns You May Like.
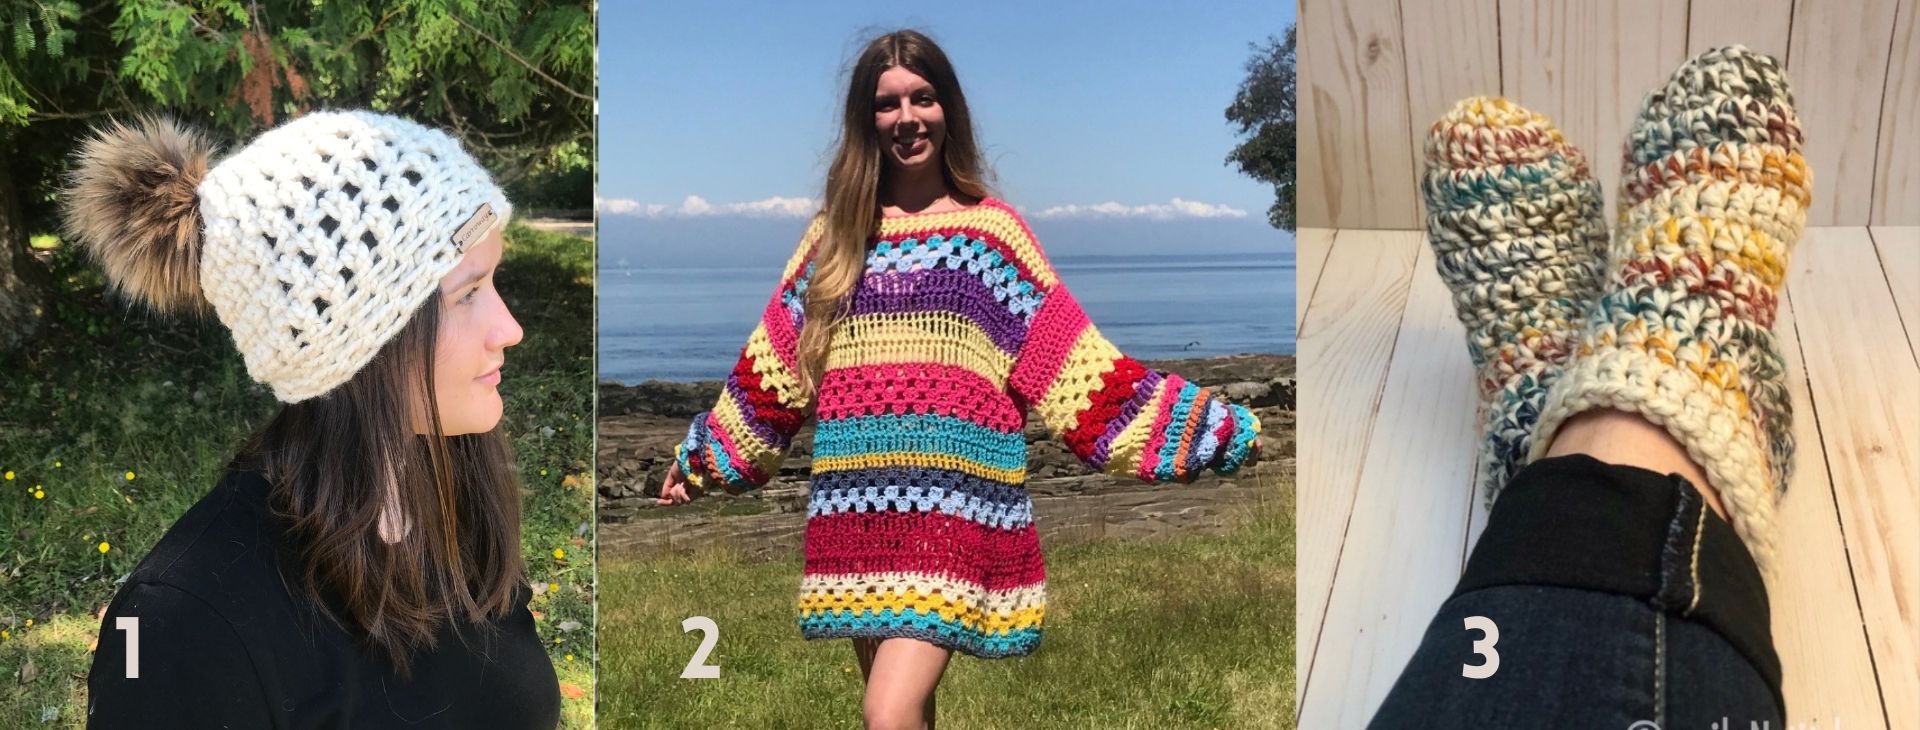
3. The Warmest Feet Ever Slipper Socks.
More Places to Find Crochet Free Patterns:
If you love crochet, you can find over a thousand free crochet patterns including some for crop tops and bralettes over at All Free Crochet
I am honoured to have my free crochet bralette pattern, the Earth Mother Bralette Pattern added to the All Free Crochet site.
 It is a great resource for crochet lovers and I am proud to also have my Take Me Outside Infinity Scarf Pattern posted over on the All Free Crochet Site.
 It is a great resource for crochet lovers and I am proud to also have my
Selling items made from my patterns?
You are more than welcome to se items made from my pattern. Please do share my link and tag and help promote it on social media. Thank you.
If you have any questions or need help with the patterns, please email me at carrowaycrochet@outlook.com, and Iʼll be glad to help you.
Thank you again for trying y pattern, I hope you enjoy it! Please share pictures of your completed Gloves on Instagram and Facebook. Tag them @carrowaycrochet #carrowaycrochet #shortandchunkygloves on Instagram.
Find other patterns by Carroway Crochet in my Etsy Shop and on Ravelry.
Let’s Share and Connect!
Thank you for trying my free crochet bralette pattern, I hope you enjoyed it! Please share pictures of your completed Bralettes on Instagram and Facebook. Tag them @carrowaycrochet #carrowaycrochet and #ivorylacebralette on Instagram.
Thank you so much for visiting me here at Carroway Crochet .
Find other patterns by Carroway Crochet in my Etsy Shop and on Ravelry.
Other places you can find me are:
YouTube
Ravelry
This design, written work and images are a copyright of
©CarrowayCrochet and may not be copied or reproduced in any way.
You have permission to sell finished products made from this pattern, but please leave a link to my blog, www.carrowaycrochet.com in your product listing specifying that I am the designer of this pattern.
Thank you.
Please follow and like us:
One thought on “Crochet Cloud Bucket Hat Free Crochet Bucket Hat Pattern”
Comments are closed.